Accurately Measure And Fit Kitchen Cabinet Handles
As one of the busiest rooms of the home, it’s no surprise if your kitchen has started to look tired and could do with a makeover. Don’t want to shell out on the cost of a full renovation? We don’t blame you 💁♀️Instead, it’s worth considering how you can elevate your culinary space through finer details, such as cabinet handles. This simple piece of hardware can complement your kitchen’s decor and create a stylish, unified appearance. Even something as simple as the positioning of your handles can make a huge impact on the final look of your kitchen.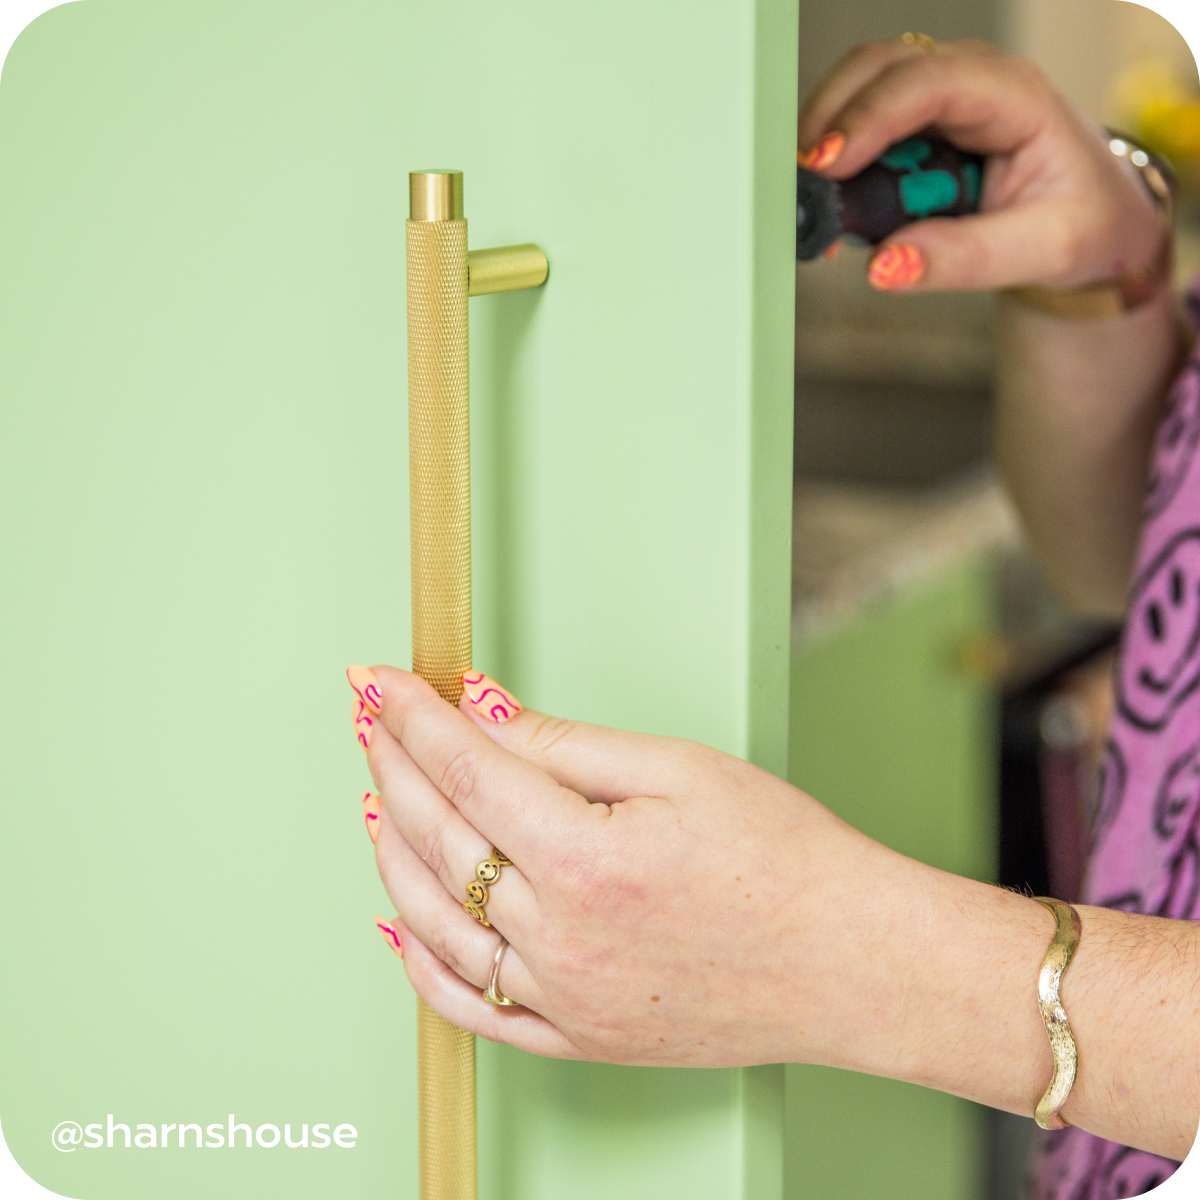
With the right know-how, installing your kitchen cabinet hardware is a doddle
In this expert guide, we’re teaching you how to fit kitchen cabinet handles with confidence. You’ll learn how to correctly position your handles and gain our insider tips for kitchen cabinet handles measuring. We get that it’s daunting when you do a DIY task for the first time. You’ll want to get your measurements bang on so that your handles are all level and in the right place. That’s why we’ve broken down everything you’ll need to do into easy, manageable steps and have all the kitchen cabinet handle fitting ideas you’ll ever need. Before you know it, you’ll be drilling your fixing holes, securing your handles and enjoying a well-deserved cuppa! ☕️Of course, there aren’t rules for fitting your kitchen handles – it’s completely down to your personal judgement. We just want to make sure you have all the knowledge you need to fit them as best as you can and make that dream kitchen you’ve manifested a reality 💪Get Equipped
As you can imagine, there isn’t too much equipment needed when installing kitchen cabinet handles. However, by now you’ll know that DIY success is all in the prep, so be sure you have these tools to hand before you begin work: Phillips screwdriverSpirit levelPencilProtective gogglesDrillYour new Plank Hardware handles, which come with the screws you’ll need

It’s time to install your trend-led hardware like a pro 🌟
Ideas For Kitchen Cabinet Handles
If you know exactly how you want your kitchen to look and have your Pinterest board down to a T, you can skip to the next stage 👇 But, if you’re struggling to work out what your style is and which Plank handle to choose, check out our wide range of moodboards on our Project Inspiration page. The moodboard below shows our eco-conscious Aluminium Collection against a neutral, earthy kitchen scheme. This enhances the cool, organic finish of the Mottled Aluminium finish. Featherweight to handle, Aluminium is super easy to transport and so creates minimal carbon emissions when manufactured and shipped. A planet-first kitchen is where it's at 🥈 
Ry creates an earthy kitchen scheme, featuring our Aluminium Collection in Mottled Grey.
Positioning Your Cabinet Handles
When it comes to positioning kitchen cabinet handles, you want them to be within easy reach so your kitchen supplies are as accessible as possible. As a general rule, base unit handles tend to go at the top of the door, so you don’t need to reach too far down for them.To avoid reaching up high or having to get a stool out, wall handle units are fixed towards the bottom of the door. Of course, there’s no definite rule for where you put your handles – it’s your kitchen, you can do what you like! However, these are some tried and tested positions we’d recommend:Drawers
Position your handles in the horizontal and vertical middle of each drawer face.Floor standing cupboards
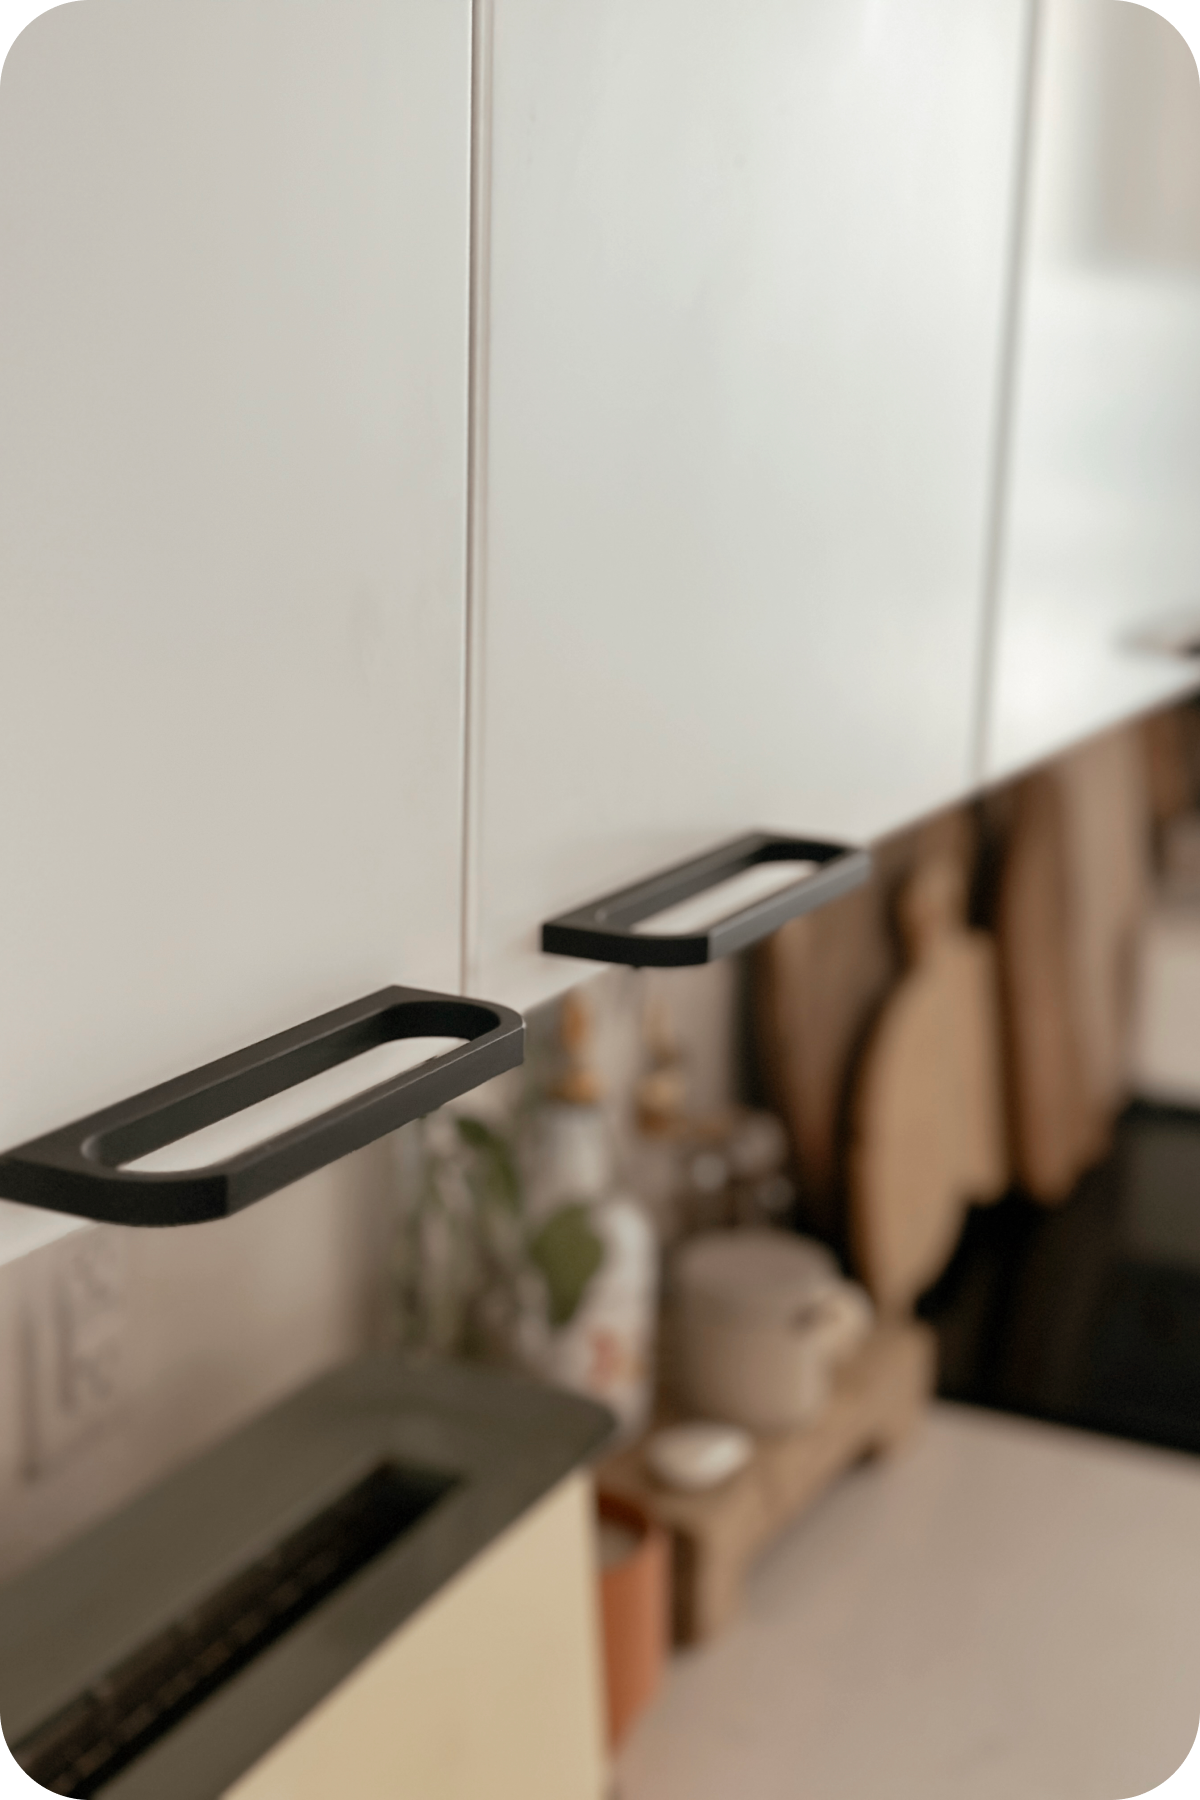
Position roughly 50mm in from the edge of the top side opposite the hinges.Wall mounted cupboards/units
Position roughly 50mm in from the edge opposite the hinges, only this time positioned near the bottom of the door.
If you’re still unsure where you’d like your handles to go, try sketching a mock-up of what you want everything to roughly look like. As you’ll see below, our KING Ring Pull adds a statement-making, premium accent to kitchen cabinets, ideal for minimalist, Scandi-style kitchen designs.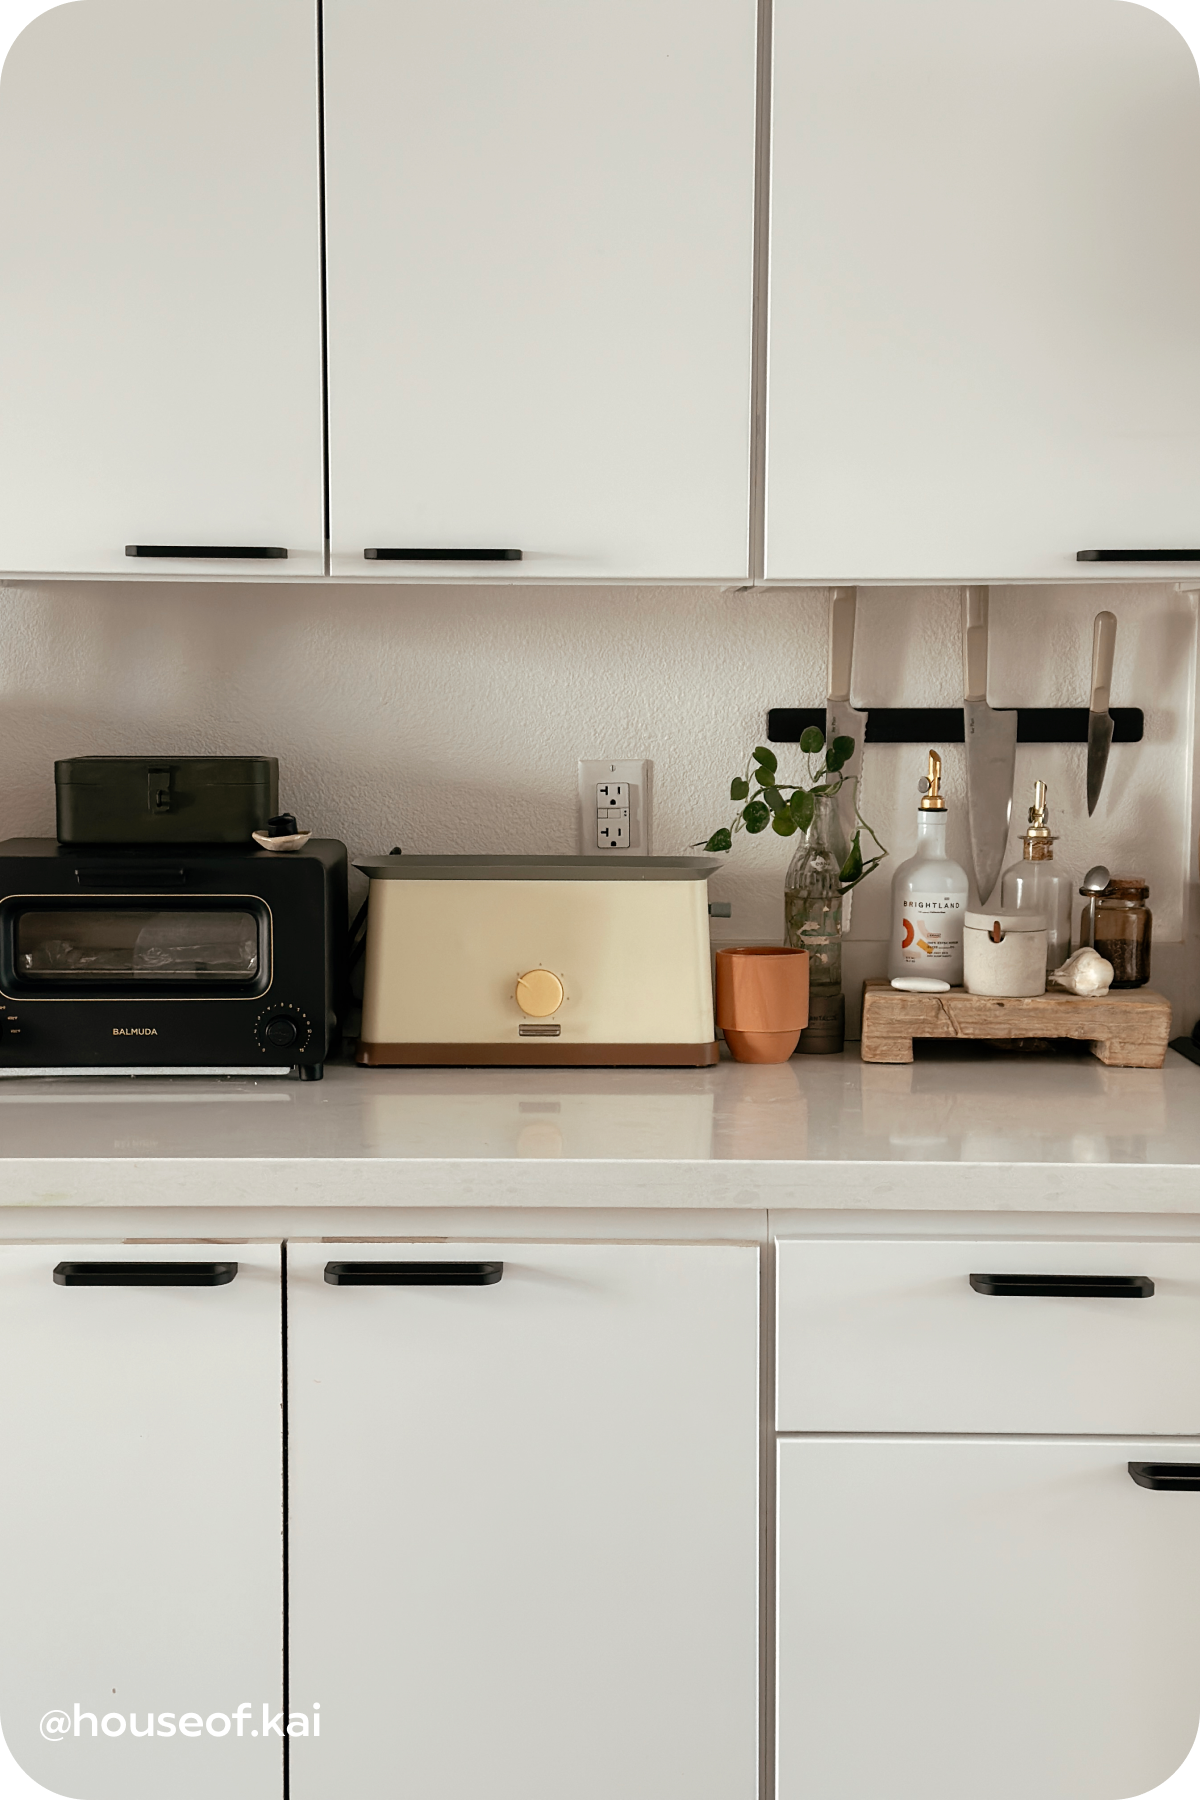
Fitting Your Cabinet Handles
Fitting cabinet handles is pretty straightforward. With the right tools and our guidance, you’ll have it nailed in no time 👊 Just go slow, pay attention and follow the golden rule – check and double check your measurements. Measuring And Marking
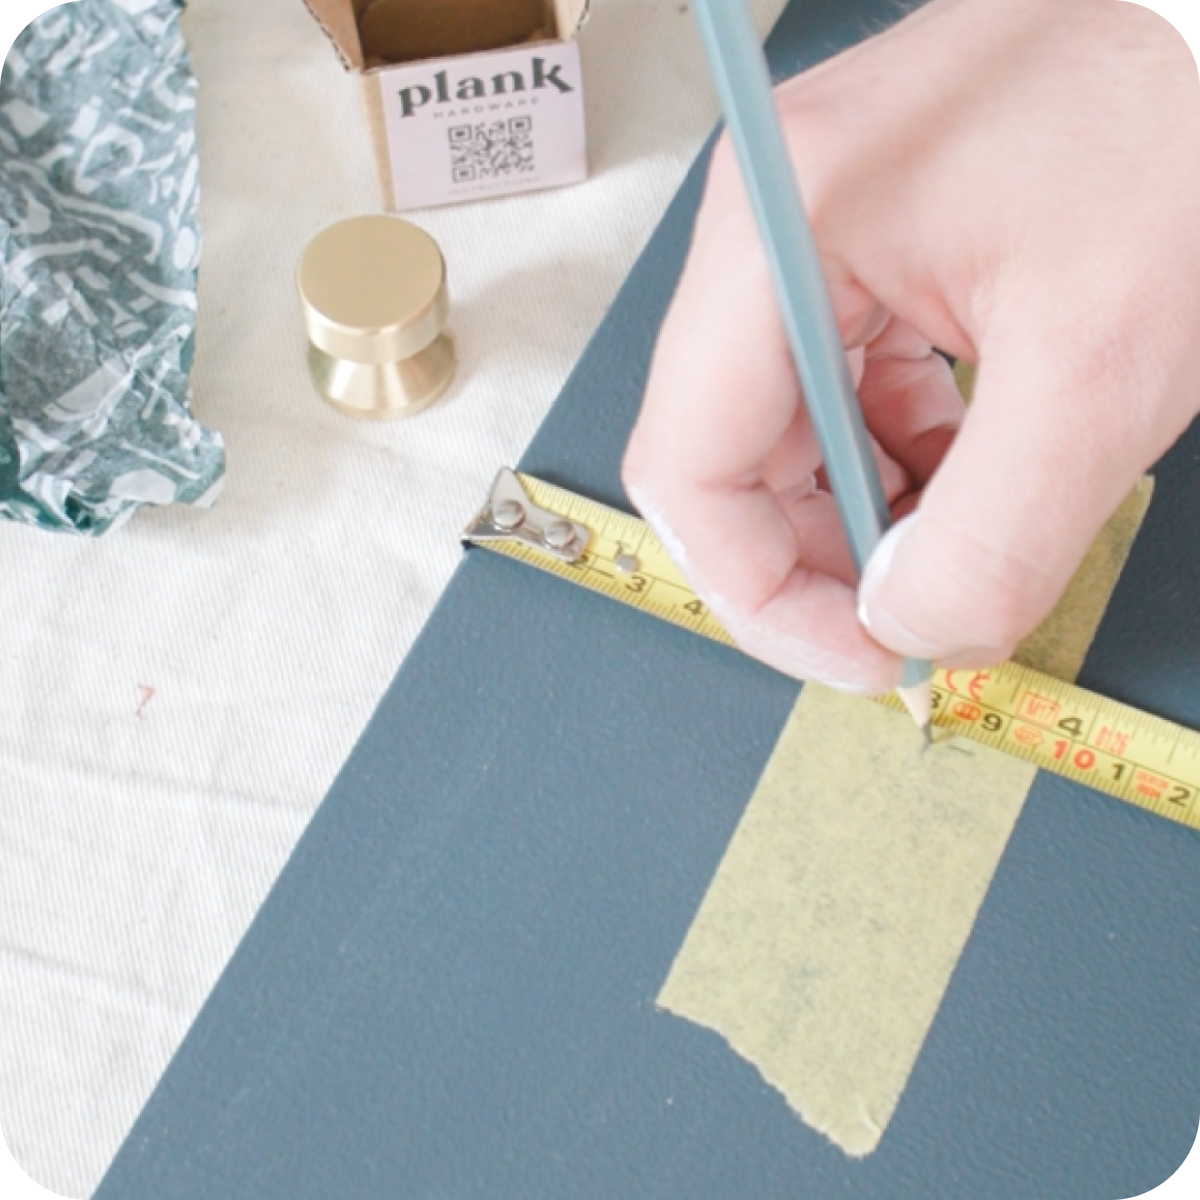
Not to put the pressure on, but as a regular DIY-er or interiors enthusiast, you’ll know how much getting the right measurements matters. Especially when you’re fitting several handles in a row, you’ll want them all to be level and in the same position for each drawer or drawer. Your guests might not notice if one of your measurements is slightly off, we can guarantee that you will! Before you get drilling, you’ll want to clearly mark the position of each handle.The easiest way to mark your drill holes involves dividing your cabinet doors into three equal parts – the top third, middle third and bottom third. Here’s how you’d mark out the cabinet handles for a floor standing cabinet or cupboard:
From the leading edge (the side of the door opposite the hinges), use a tape measure and measure in 50mm top and bottom.Make a light mark with your pencil – if you’re heavy handed you could dent the wood 🥴Draw a line across your marks using a spirit level to ensure your handle is level.Measure the total height of the door and then divide it by three to get the sizes of your top, middle and bottom thirds.From the top of the door, measure down the amount of one third and put a mark with your pencil. Your handle is going to go somewhere in this top third.Measure the distance between the two fixing holes of your handle, from the centre of one hole to the centre of the next.Subtract this measurement from the height of the top third of your door, then divide this number by two. Now you have the distance from the top of the door to where your first screw hole will go – mark this with a pencil.Last one 👉 Measure down from the first screw hole mark on the door the distance you measured earlier between the two screw holes on the handle. Make a light pencil mark for your final screw hole.
What if you’re fitting cabinet knobs?
Yes this guide is all about handles, but we wouldn’t want you to miss out if you’re installing cabinet knobs in your kitchen or elsewhere in your home. Fitting door knobs isn’t that different to handles. Repeat steps one through to four so you have your cabinet thirds all figured out, then you’ll want to:Measure down your first line the amount of one third and make a mark.Divide the total height of the third of the door by two.Measure this distance down from the top of the door and make a mark. This mark should now be in the centre of the top third of your door.
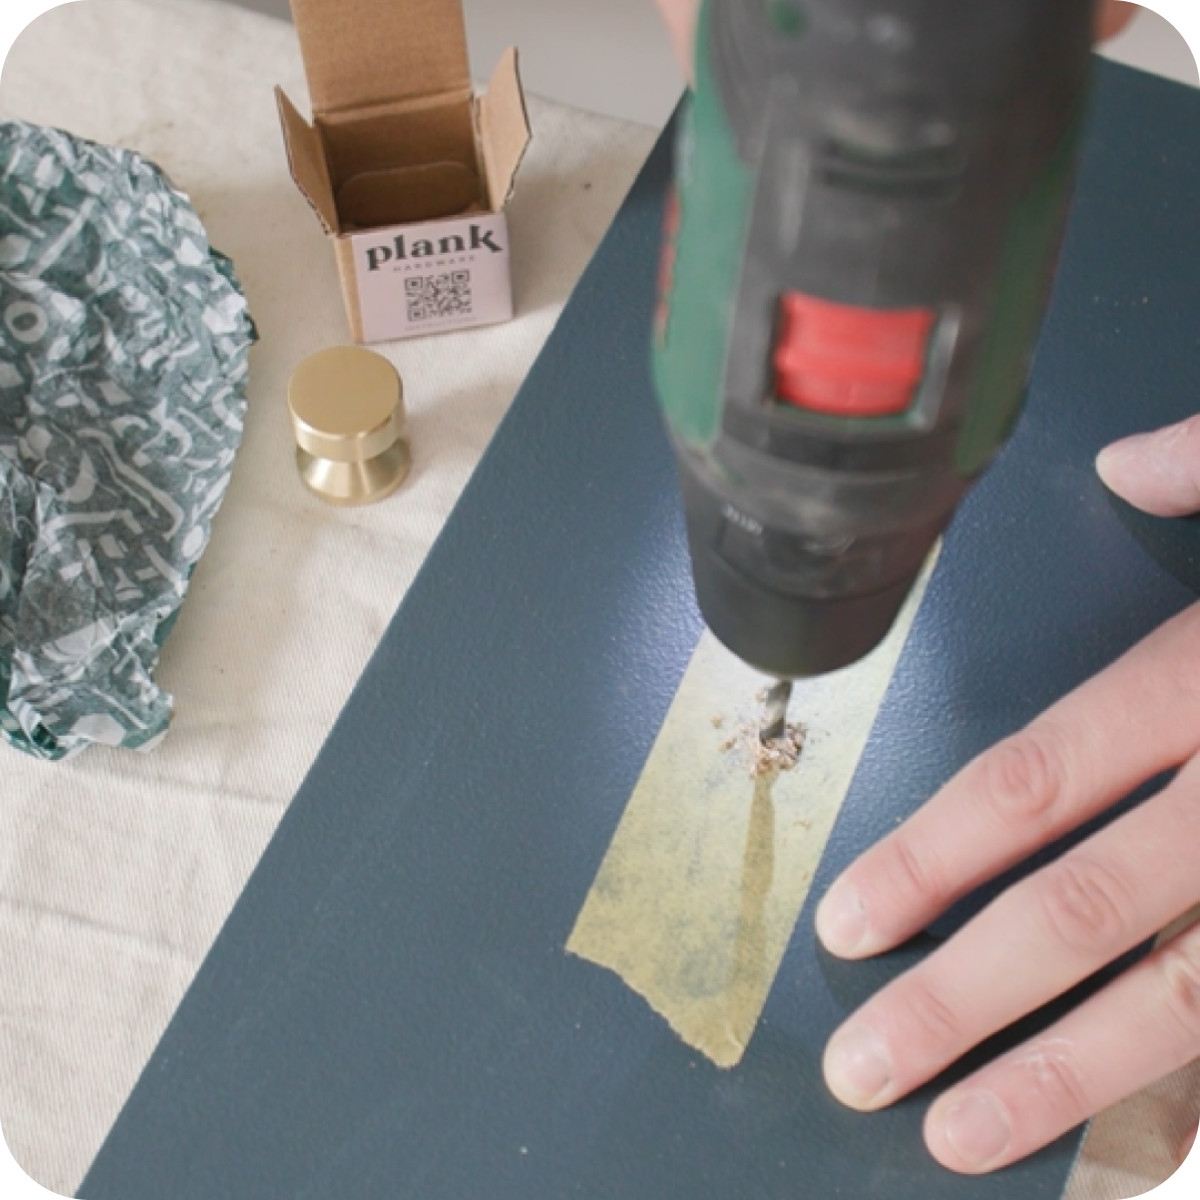
Drilling Fixing Holes
Protective goggles on, drill at the ready – let’s do this 💪 Before you start drilling, position your handles against the door to check you’re happy with the final position. Each mark should correspond with a screw hole. Use a smaller drill bit to drill a ‘starter hole’
Larger drill bits have a tendency to skid from their marked position, which can cause damage to the wood. To avoid this, you can use a smaller drill bit to create a smaller hole. This will give your larger drill bit something to grip onto. Line up your drill to the pencil mark you made using your template and slowly drill into the wood, keeping your hand as level and steady as possible. Make sure your drill is set at exactly 90 degrees to the door’s surface and keep your fingers well away while drilling.Or, use an awl instead
This is a metal shaft with a point that creates a slight indentation in the wood, which the drill can grip onto. You can use an awl to dent the spot you plan to drill instead of drilling a starter hole.Drill a larger hole
Whether you’ve drilled a starter hole or marked the spot with your awl, you’re now ready to drill the hole precisely. Simply use a drill bit the size of the screw you’re using and begin drilling (for standard cabinet hardware screws, this is usually 5mm but check the screws supplied to make sure it’s the right size first). Aim to keep the hole neat and tidy, avoiding any splits or chips of paint that your handle may not be able to cover.
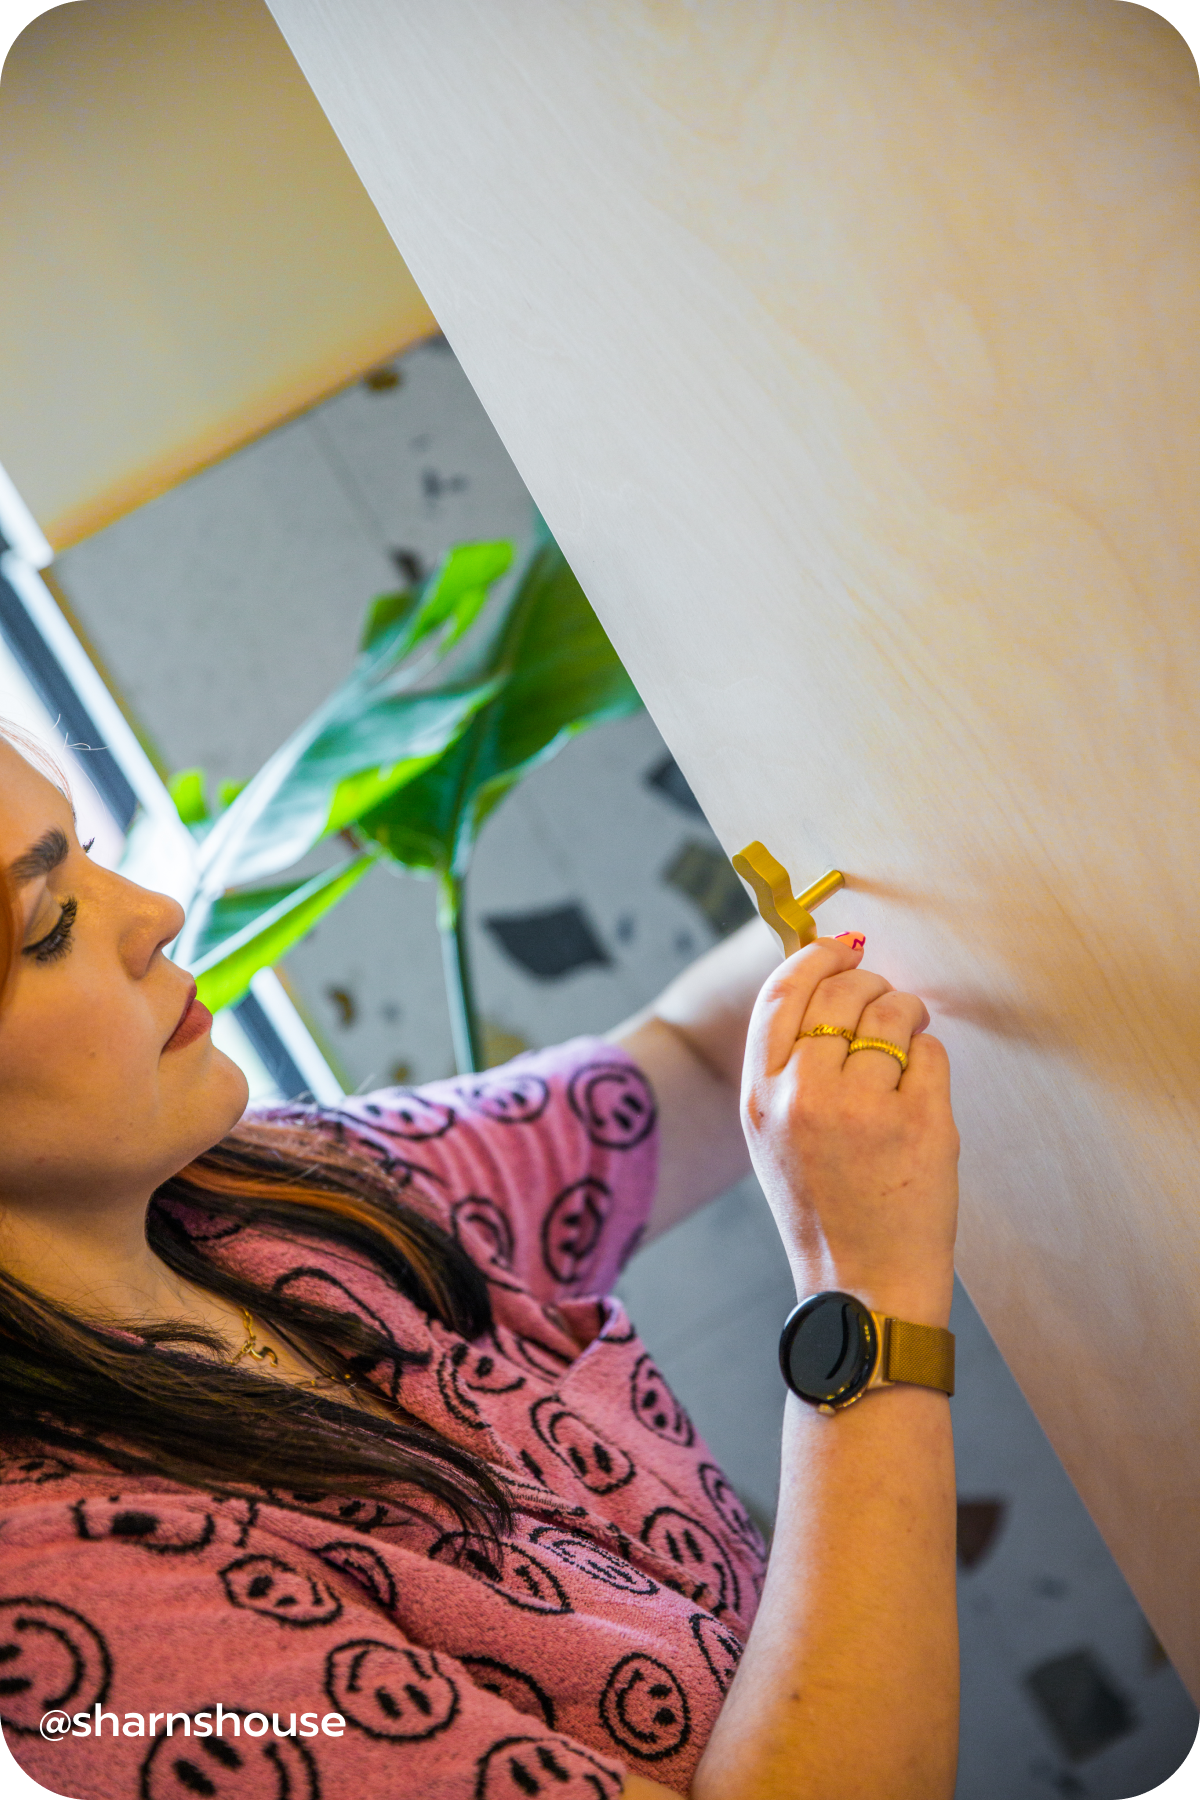
Securing Your Cabinet Handles
Almost there! Whether you’ve chosen cabinet handles or knobs, the final step is to screw on your shiny new Plank hardware. Here’s how to do it:Push your screw(s) into each hole from the inside so they poke outwards.Grab your handle and place the screw hole in front of the first screw.Use your screwdriver to secure the screw into the fixing – we won’t judge if you use "righty tight-y, lefty loose-y" to remember which way to go! Don’t tighten it all the way, as you want to be able to fit your second screw, if there is one.Repeat the step above for the second screw and then tighten up both screws fully.
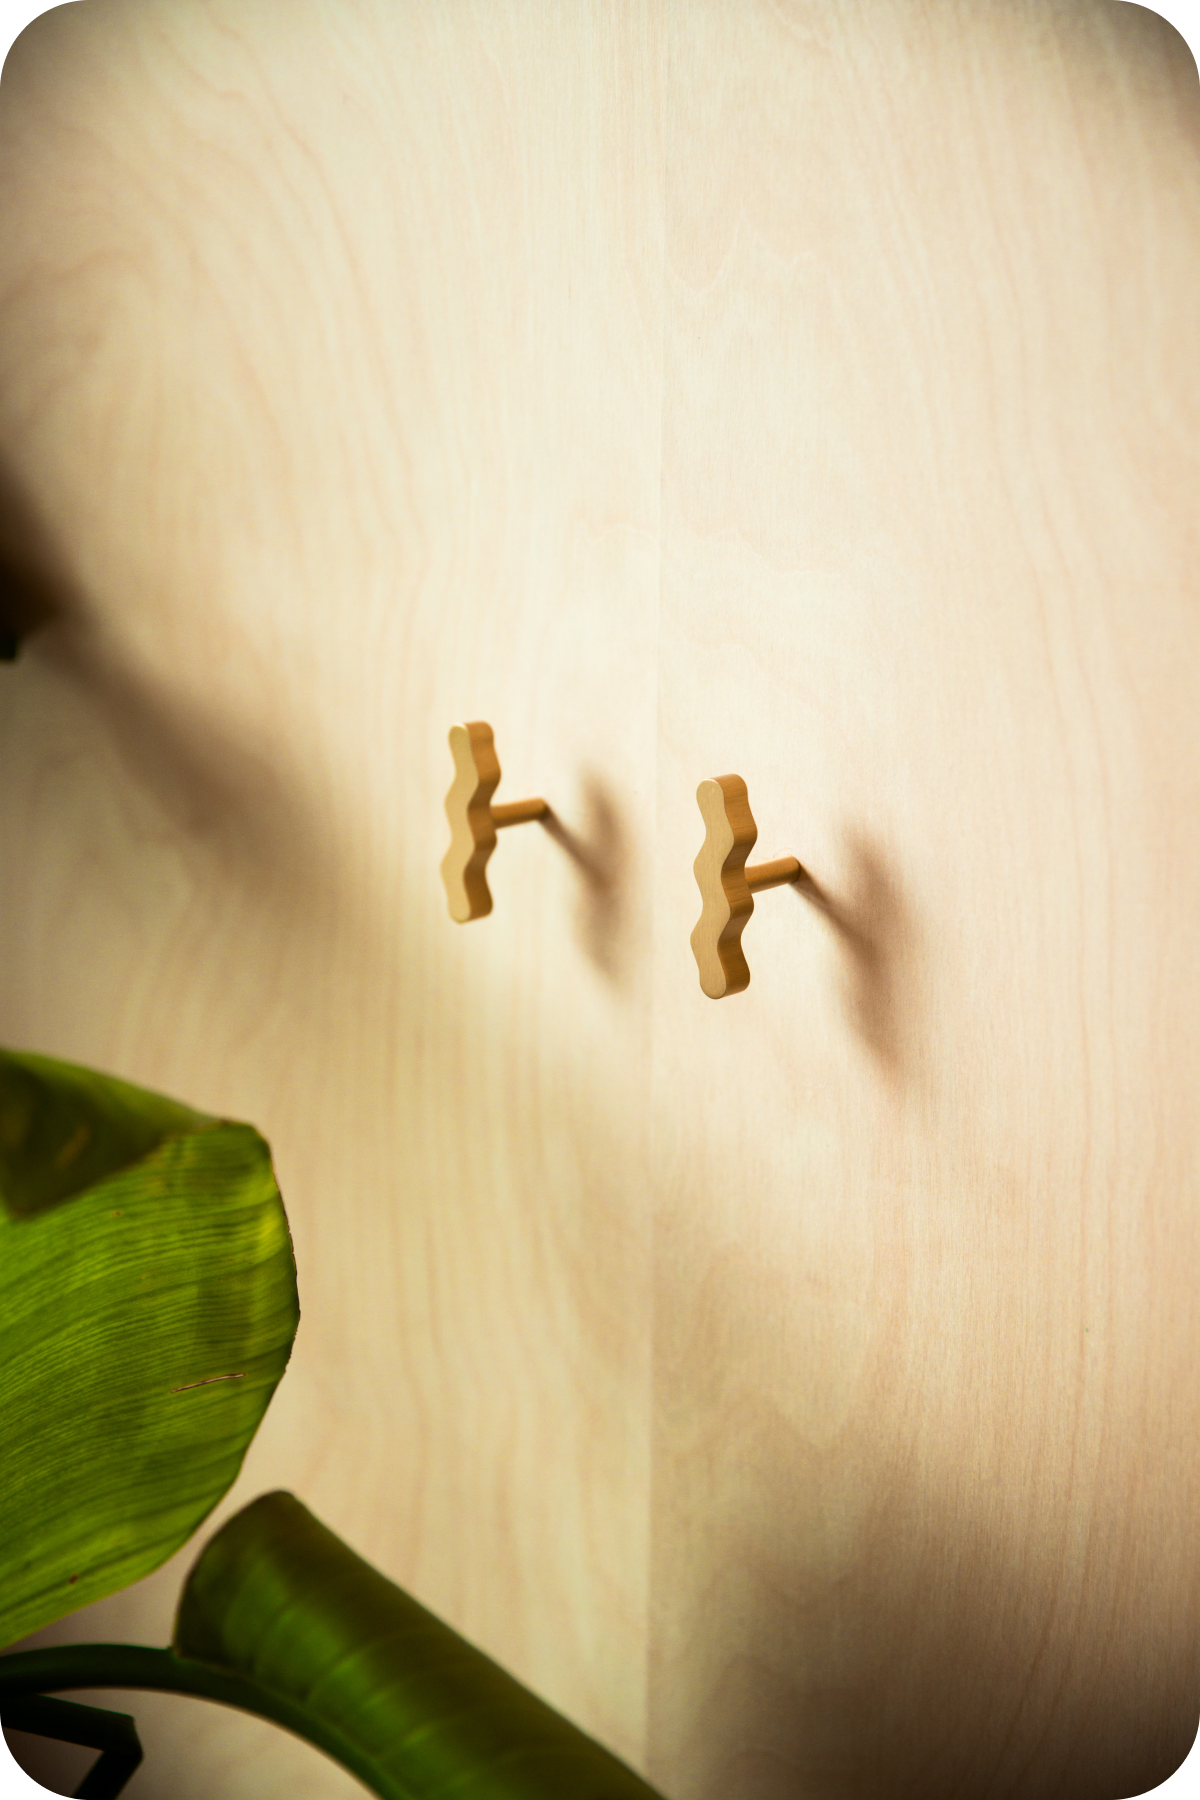
Ta-da! You’ve fitted your beautiful new cabinet hardware and we bet your kitchen already looks loads refreshed. We’d love to see the end result, so be sure to tag us @plankhardware in your transformation reels and before and after pictures using #PlankProjects.
Blog


Fit for pro skills…