How to Install Front Door Numbers
Is your front door looking a tad dated, or your letterbox too often confused with your neighbours'? Maybe it’s time to install front door numbers 🔢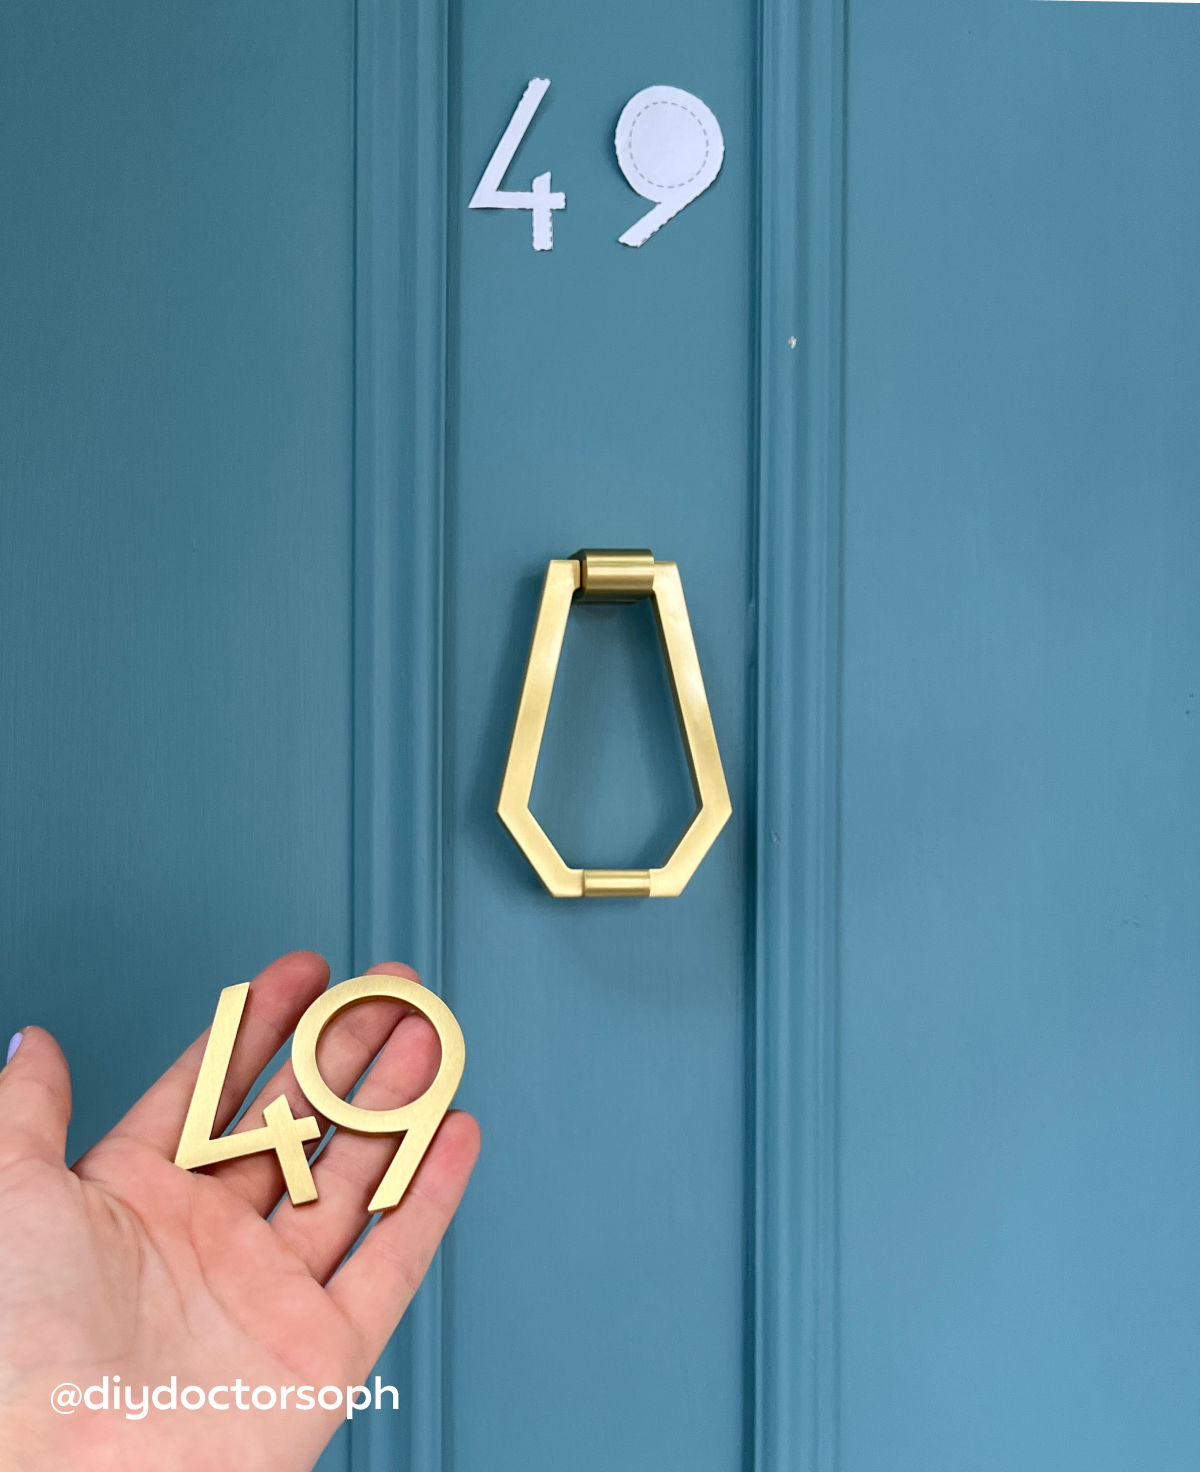
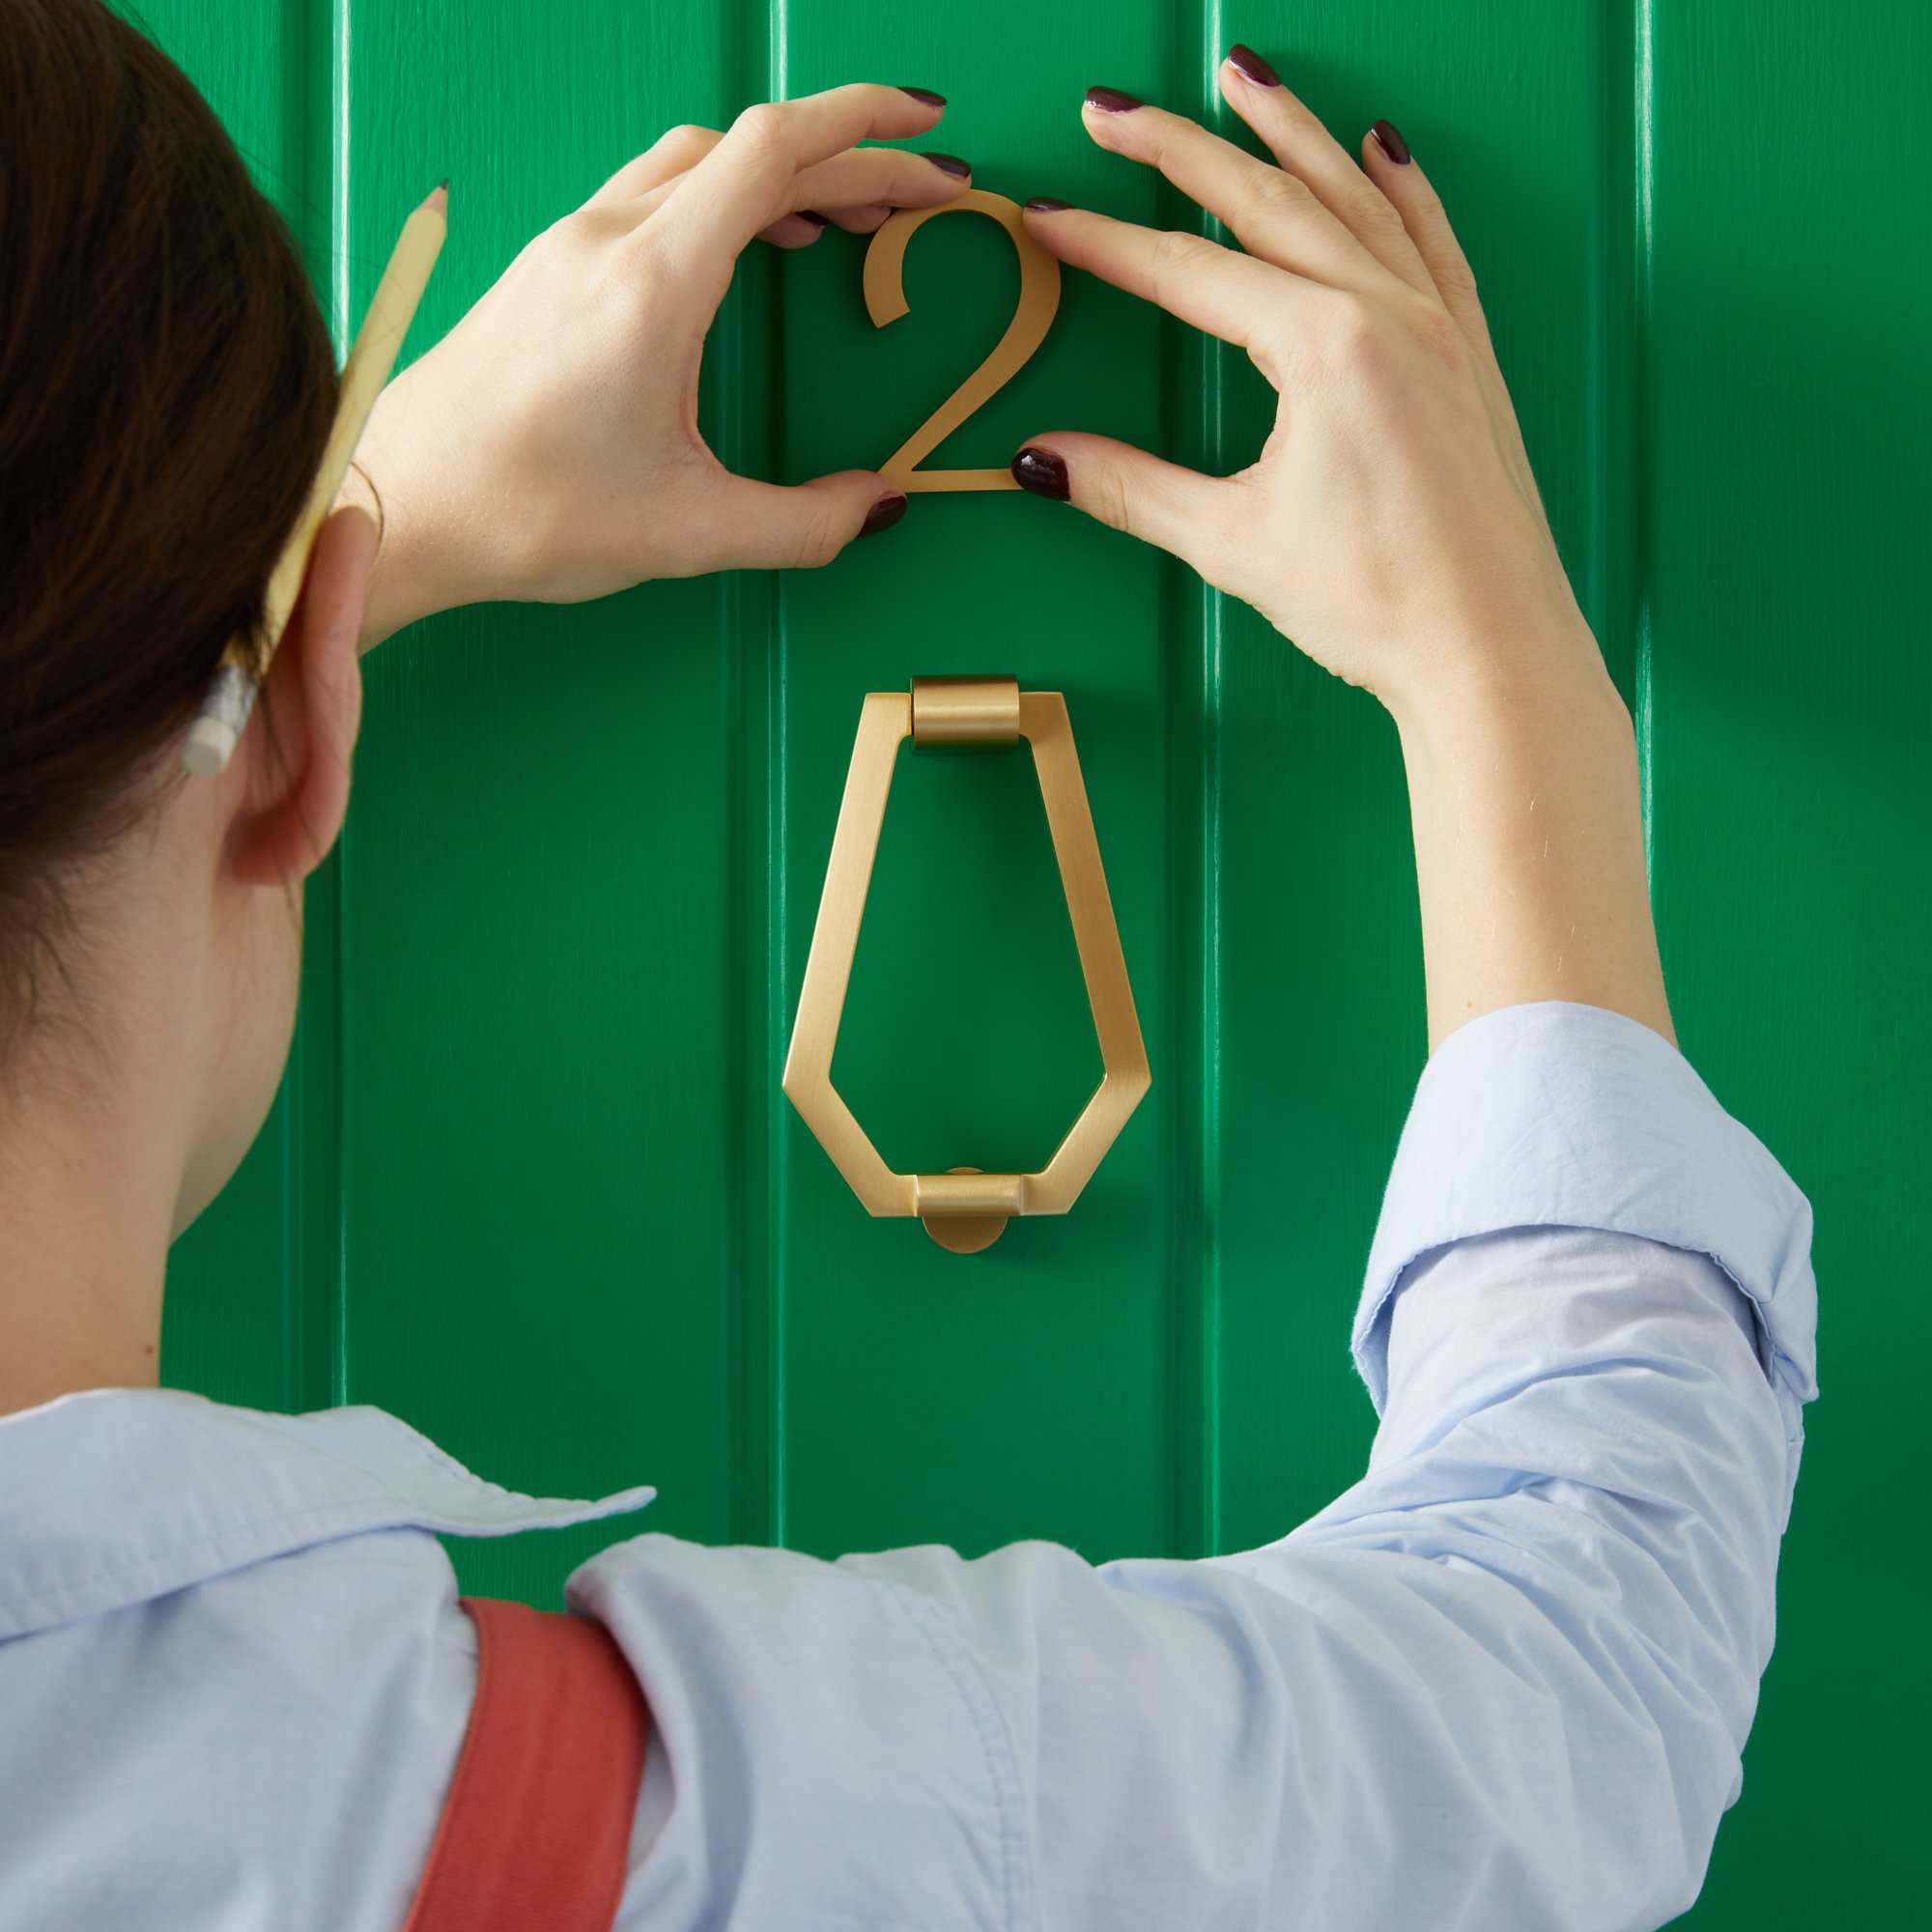
Once you have our brass door numbers ordered, the next step is installation. We're here to make the installation process easier with a step-by-step guide on how to correctly install door numbers. Whether you're still deciding between our glue-on door numbers or screw-in door numbers, or don't know how to best position and install them, read on to clear any confusion and make the installation process a breeze 🧘♂️🛠Glue-on or screw-in?
When choosing between glue-on or screw-in door numbers, the main factor to consider is the material of your door. Our screw-in CASLON Door Numbers come with 3 x 16 millimetre brass screws. They’re as small as they sound, meaning that sadly, CASLON isn’t suited for non-wooden doors, including masonry brick or stone. Whilst you can drill into uPVC doors, glue-on door numbers would be much easier.Glue-on door numbers are different to self-adhesive door numbers, as they have no adhesive attached to them. This means you can choose your own adhesive and remove them when you need to. Some favourites are our BANKs & WHITMAN door numbers. Whilst there are plenty of heavy-duty adhesive options, some door materials, like timber doors, are varnished and may not be suitable for our glue-on door numbers. In this case, our CASLON screw-in door number would suit you best.You’ll find our printable size templates available for each door number on our website. Be sure to print out the template to see how they’d look on your door and double check they’re the right size for the job 🖨Step 1: Measuring & Marking
Measuring and marking your door is a must to determine where you should place your door numbers. This technique will help you draw out the positioning of your door numbers, making sure that they'll be nice and centred. We recommend positioning your door numbers around eye-level, though you can choose to go higher or lower. If you’ve already measured out where you want your door numbers, then skip step one and go straight to step two: installing the door numbers 🔧What you’ll need:
A door 🚪Pencil – for marking your doorSpirit levelTape Measure
How to measure & mark:
To get your door numbers centred, measure the width of the top of your door and divide by two. Mark this point with your pencil. Then, repeat this further down the door, and mark once again.Use a level to draw a line that connects both markings. You should have a straight line going vertically down the centre of your door.Use a tape measure to measure down your vertical line and mark where you’d like your numbers.Place your spirit level along this horizontal mark. Draw a horizontal line about 250 - 350mm long across the vertical line.To ensure your door numbers are an equal distance from the vertical line, measure and mark the same length from either side of the vertical line. I.e. if you want your door numbers 20mm apart, measure 10mm from either side of the vertical line. This is where the corner of your door number will go.
Note:
If you are using one door number, measure the width of the door number at its widest point and divide by two. This is the centre of the number - mark this on the number itself, so you can line it up with your vertical and horizontal lines to have it perfectly central to your door.
If you are using three door numbers, follow the instructions above and then mark equal distances on each side of the vertical lines for the other two numbers.
Step 2: Installing door numbers
Screw-in door number s
When screwing holes for front door numbers, there’s a risk of splitting the timber when securing a screw. Our brass screws are quite small and can snap if the timber is very solid. An easy solution is drilling a pilot hole. A pilot hole prevents damage to the brass screw by creating a small passage for the screw to be drilled into. It also ensures your screws are screwed in straight and not at an angle ✅


What you’ll need:
Screw-on door numbers – We’re using CASLON 🔢Electrical drill1mm or 1.5mm drill bitBradawl or gimlet – If you have neither then use masking tape and a pencilSmall manual screwdriver
How to install:
Position the door numbers on the door and mark where your screw holes are with a bradawl or gimlet. Alternatively, stick on some masking tape and mark the screw holes with a pencil ✏Use a 1mm or 1.5mm drill bit and mark how far up the drill bit you should be drilling down with electrical insulation tape. For soft wood, drill down 8 millimetres or ½ of the full length of the screw. For hard wood, drill down 16 millimetres or the full length of the screw.Lastly, screw your numbers in place with a manual screwdriver. A standard drill or driver may be too powerful and cause the screw to snap!Just before you fully tighten the screw, use a spirit level to double check that your numbers are horizontally level.Voila! With your door numbers secured, step back & admire your work 👏
Glue-on door numbers
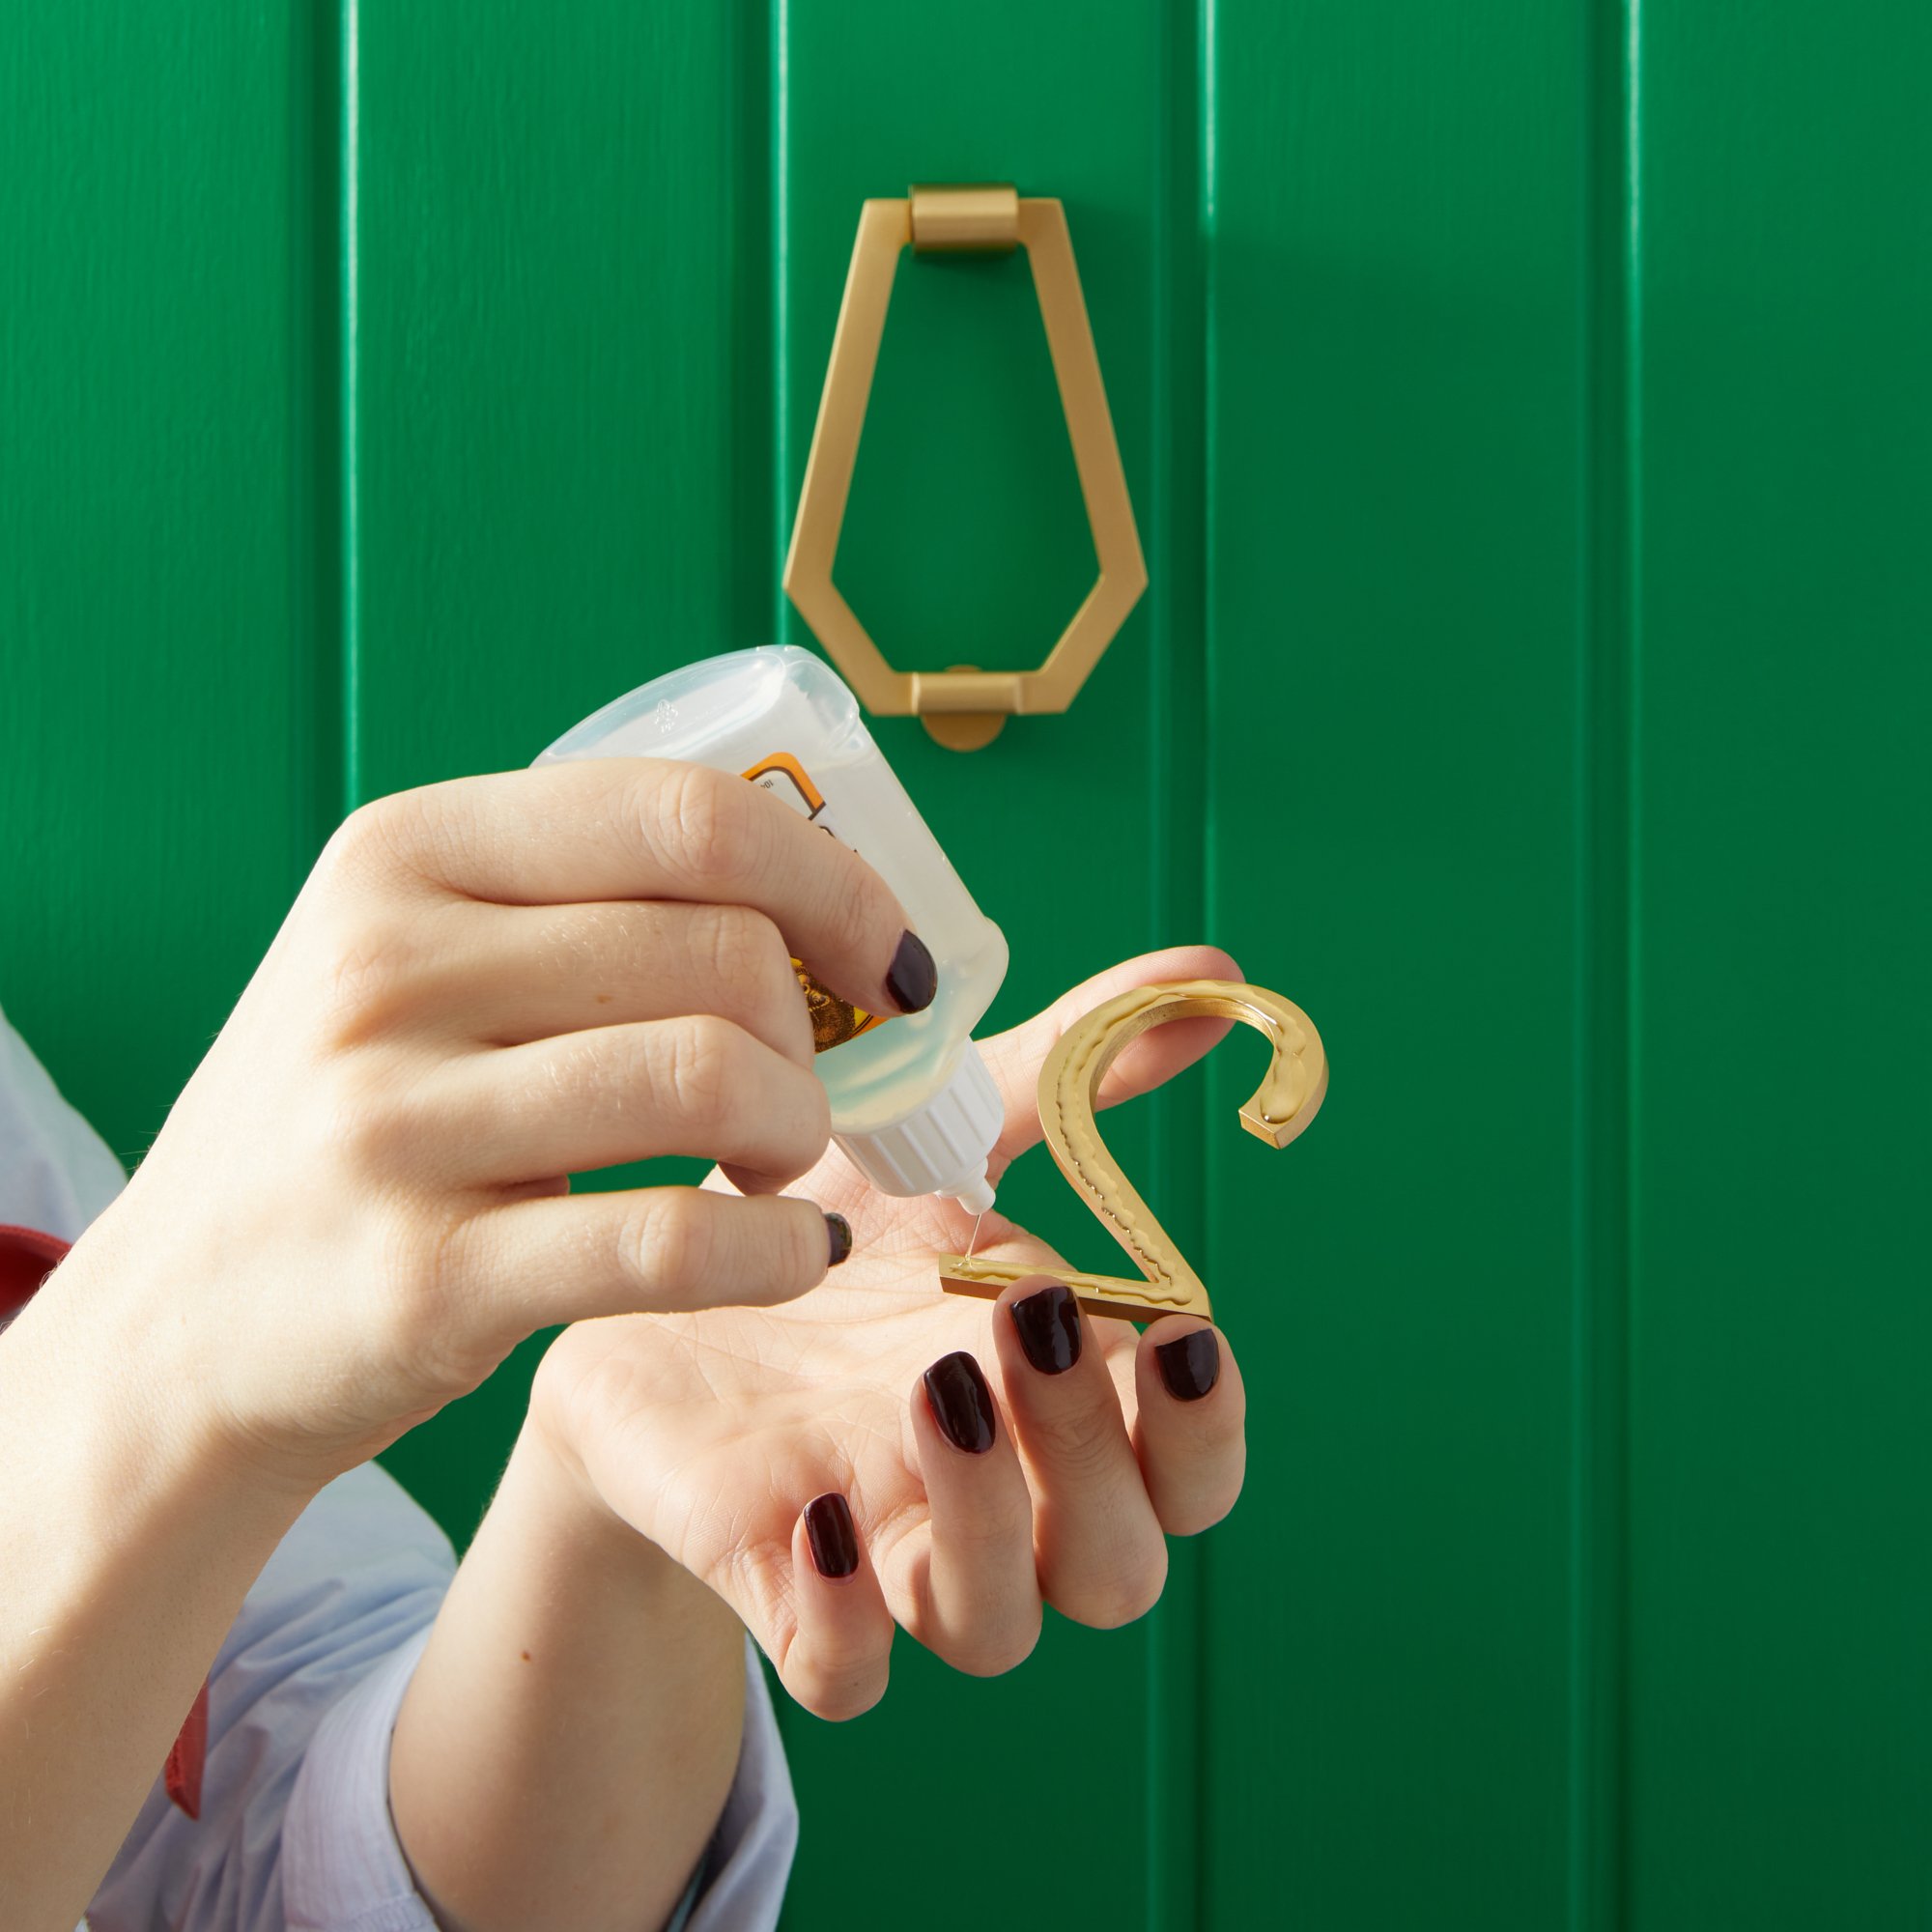
You can choose between two strong adhesive options to help stick your door numbers to your front door. Epoxy is a fail-safe option which will help the numbers stick to any surface, including stone or glass. When it comes to superglue, a waterproof version or gorilla glue is ideal if your door is positioned where it is easily exposed to rain. 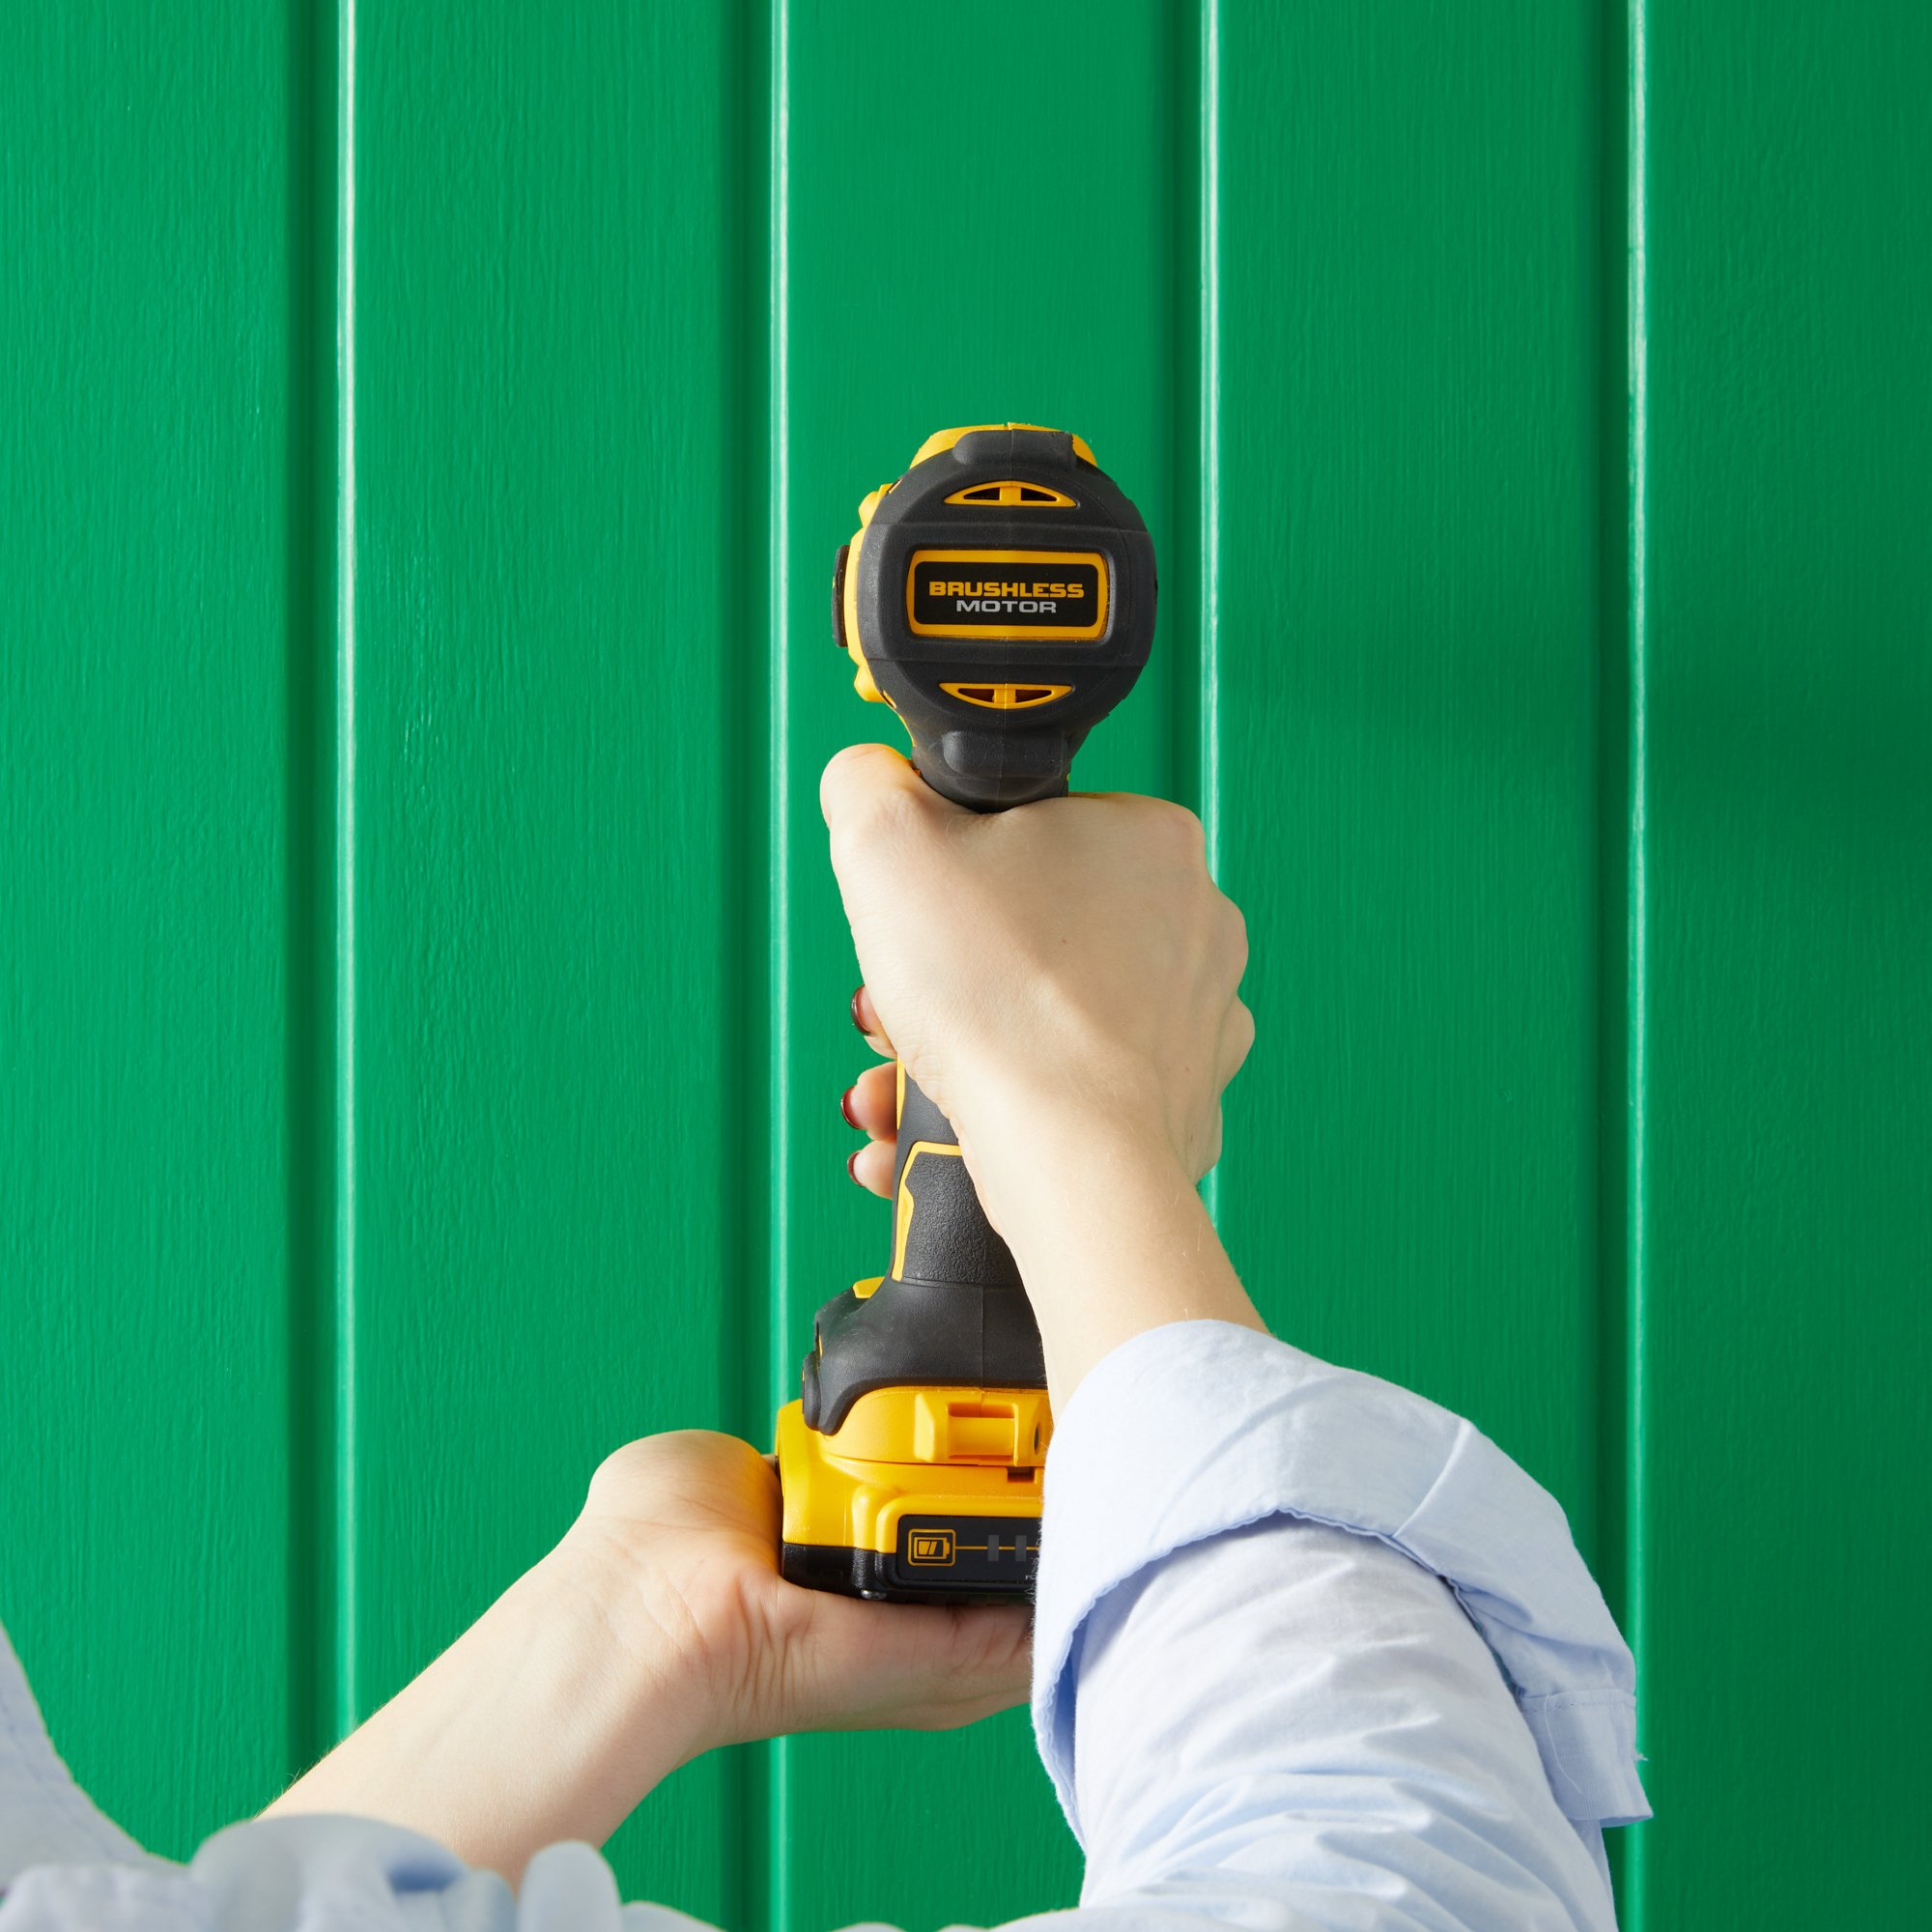
What you’ll need:
Glue-on door numbers – We're using BANKs 🔢Strong adhesive of choice, i.e. superglue or epoxy
How to install:
Layer a suitable amount of glue on the underside of your number according to the instructions specific to your chosen adhesive.Position the bottom corner of your number to your markings & carefully place the number from the base, with just the edge touching the door. Double check your number is perfectly level.Slowly press the number against the door's surface. You may have to hold it there for a few seconds depending on the glue you’re using.
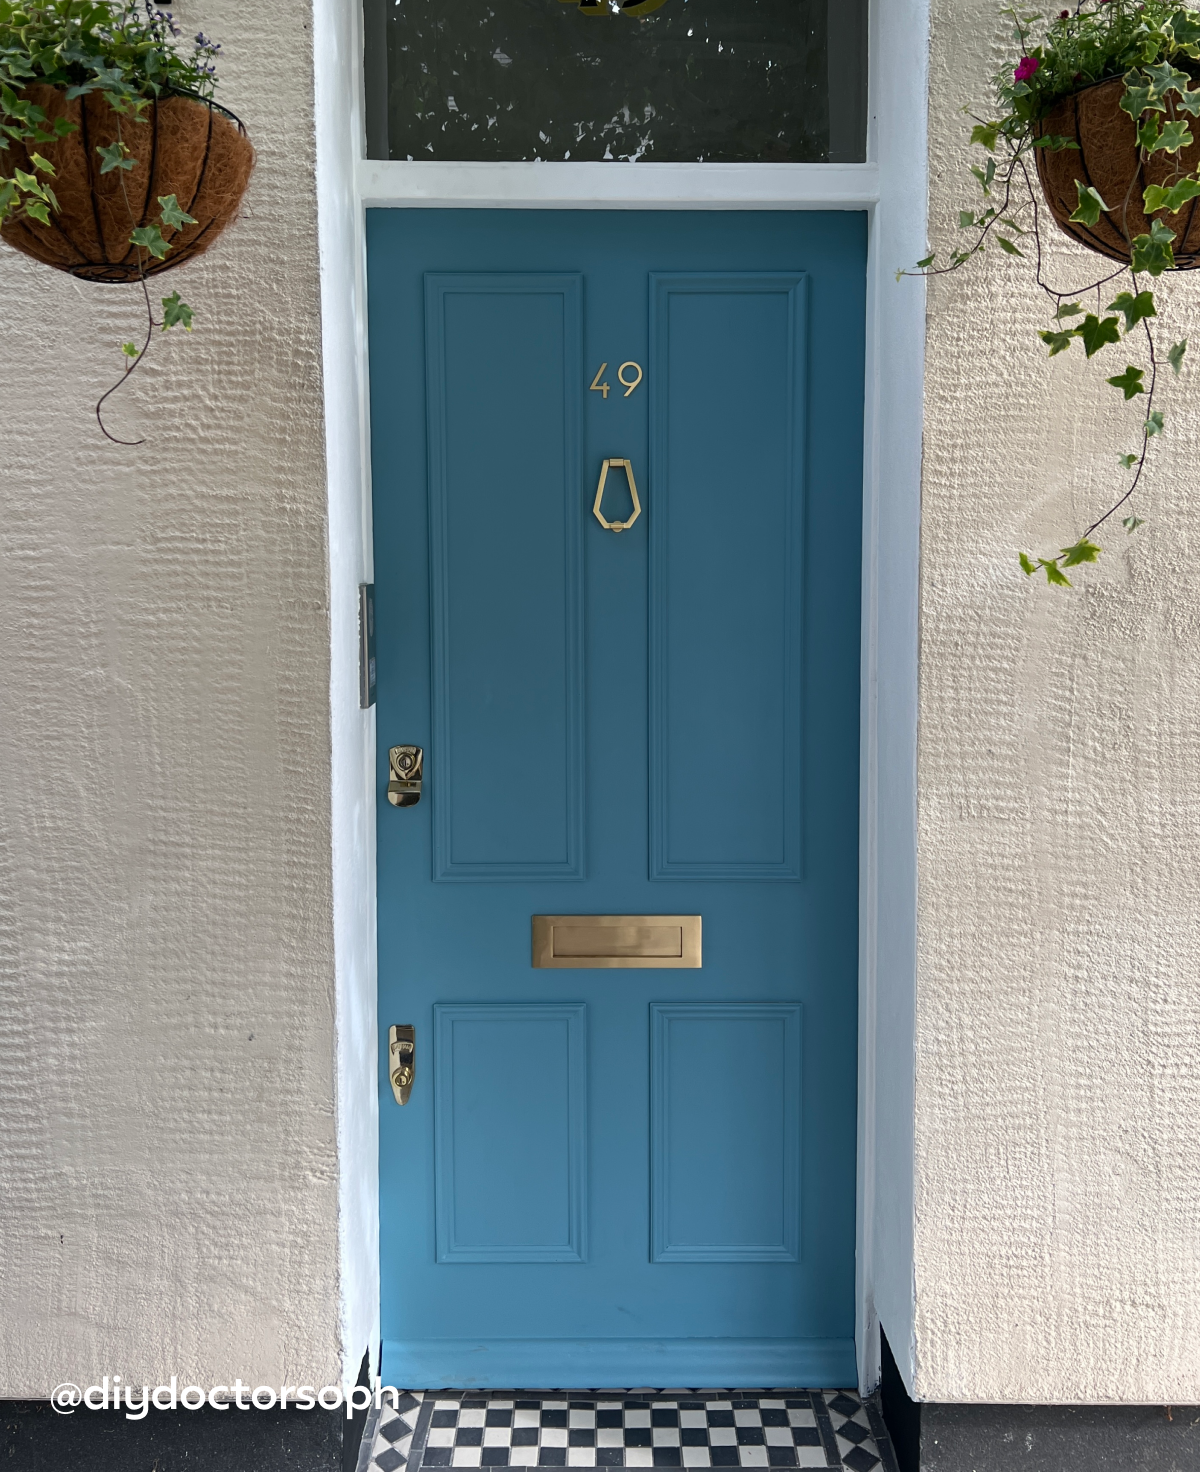
There you have it, a complete guide to installing front door numbers. You can use a similar method of measuring & marking up if you’re using the numbers for your letterbox 📫 Remember to share before and after shots of your transformed front entrance to our socials at @plankhardware 📸
Blog


Fit for pro skills…