Upcycled Sideboard Ideas – Before & After
The sideboard is well and truly having its moment, and we’re helping you get in on it.
Doubling up as a practical storage solution and elegant decorative space, a sideboard is a long, low piece of furniture with cupboards and drawers. It was traditionally used in dining rooms to store crockery and glasses, but you’ll now find them anywhere in the home, such as in a living room or bedroom. They’re perfect for showing off your favourite home accessories, from photo frames and flowers through to scented candles and a stack of books.
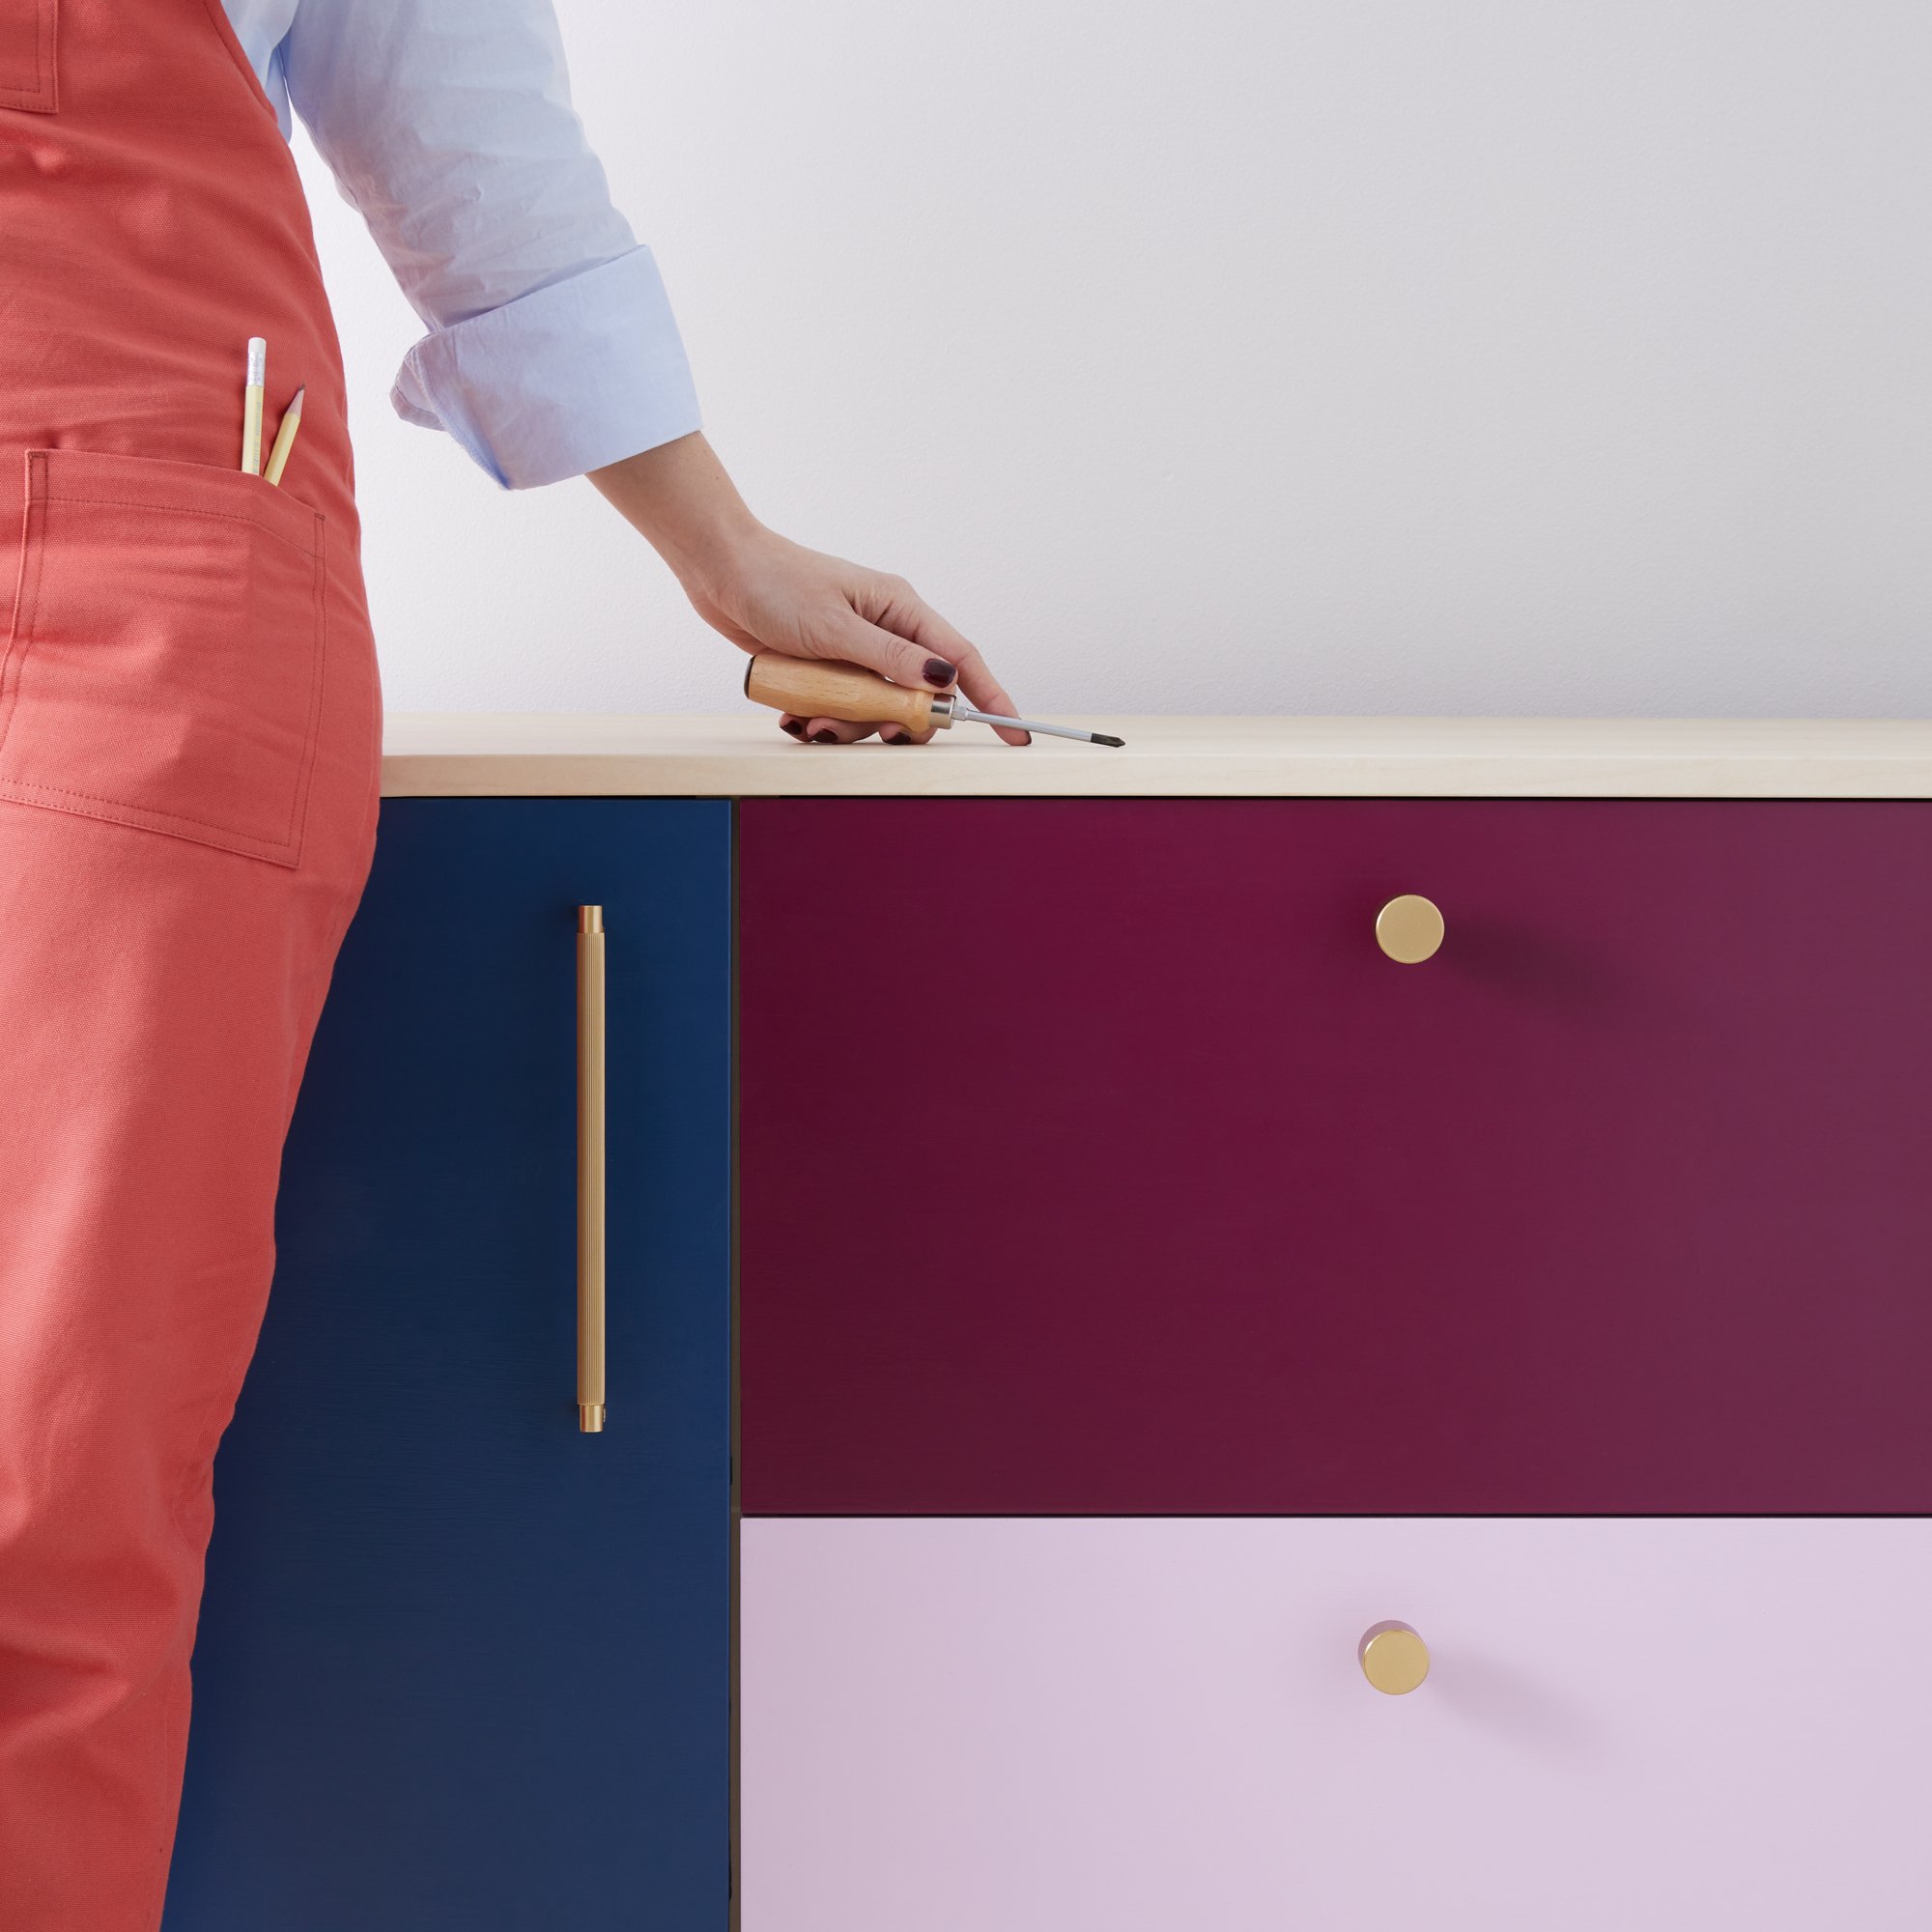
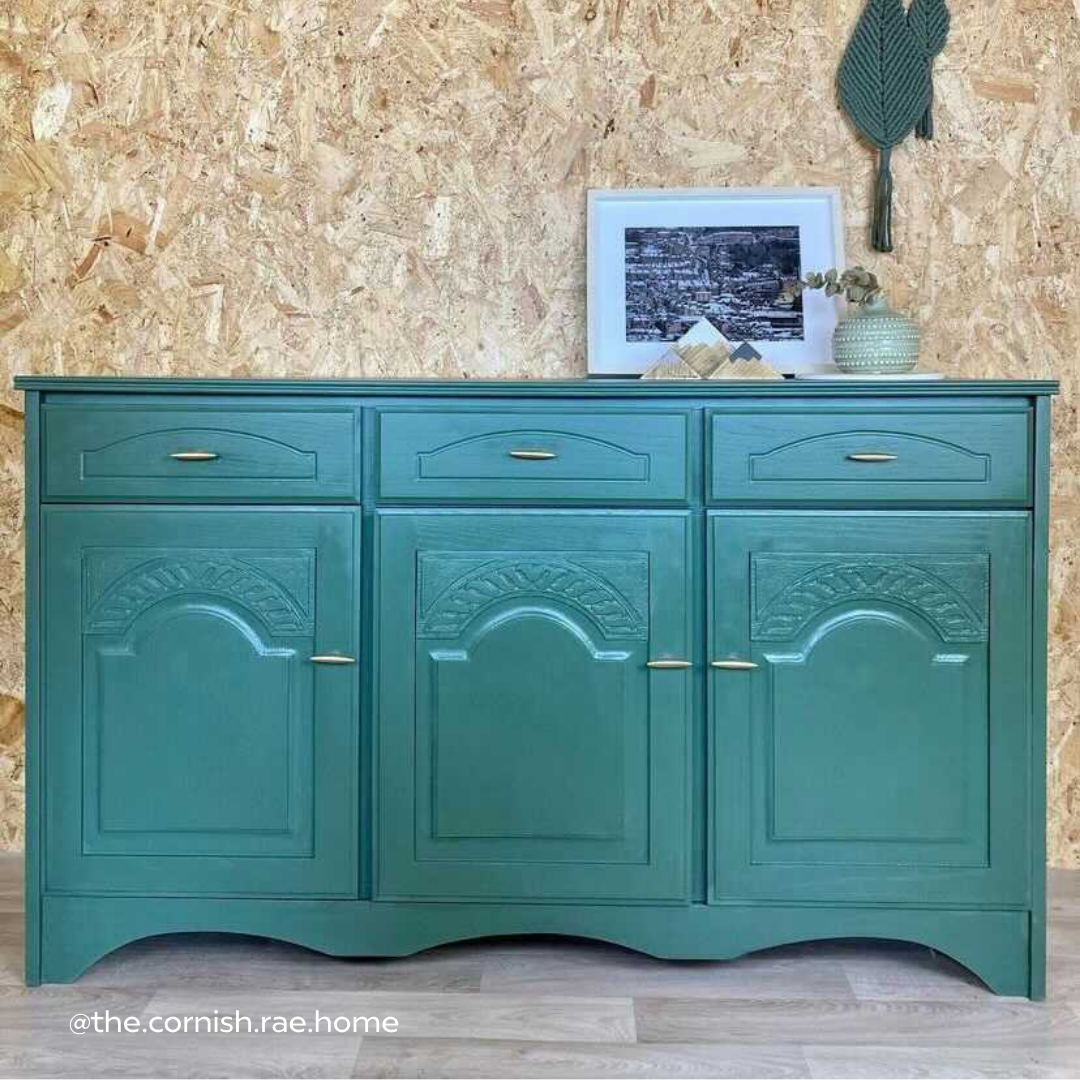
@bonmeidesign adds our modernist GAUDI T-Bar Handles to this exquisitely upcycled sideboard
Could a sideboard be what your home is missing? Or maybe you already have one that’s suffered some wear and tear over the years? Instead of buying one that’s brand new, we’re encouraging you to upcycle a sideboard as your latest DIY project. We’ll take you through step by step with our sideboard renovation ideas. Not only that, but we’ll also share our best upcycled sideboard examples like our video of one-we-made-earlier, transforming a Facebook Marketplace bargain into an on-trend statement piece 😍Sand Down Your Sideboard
It always pays to fully prep your furniture before you think about painting. If the finish of your sideboard is damaged, chipped or rough in any way, sanding will help create a smoother texture that paint can stick to better.You’ll need:
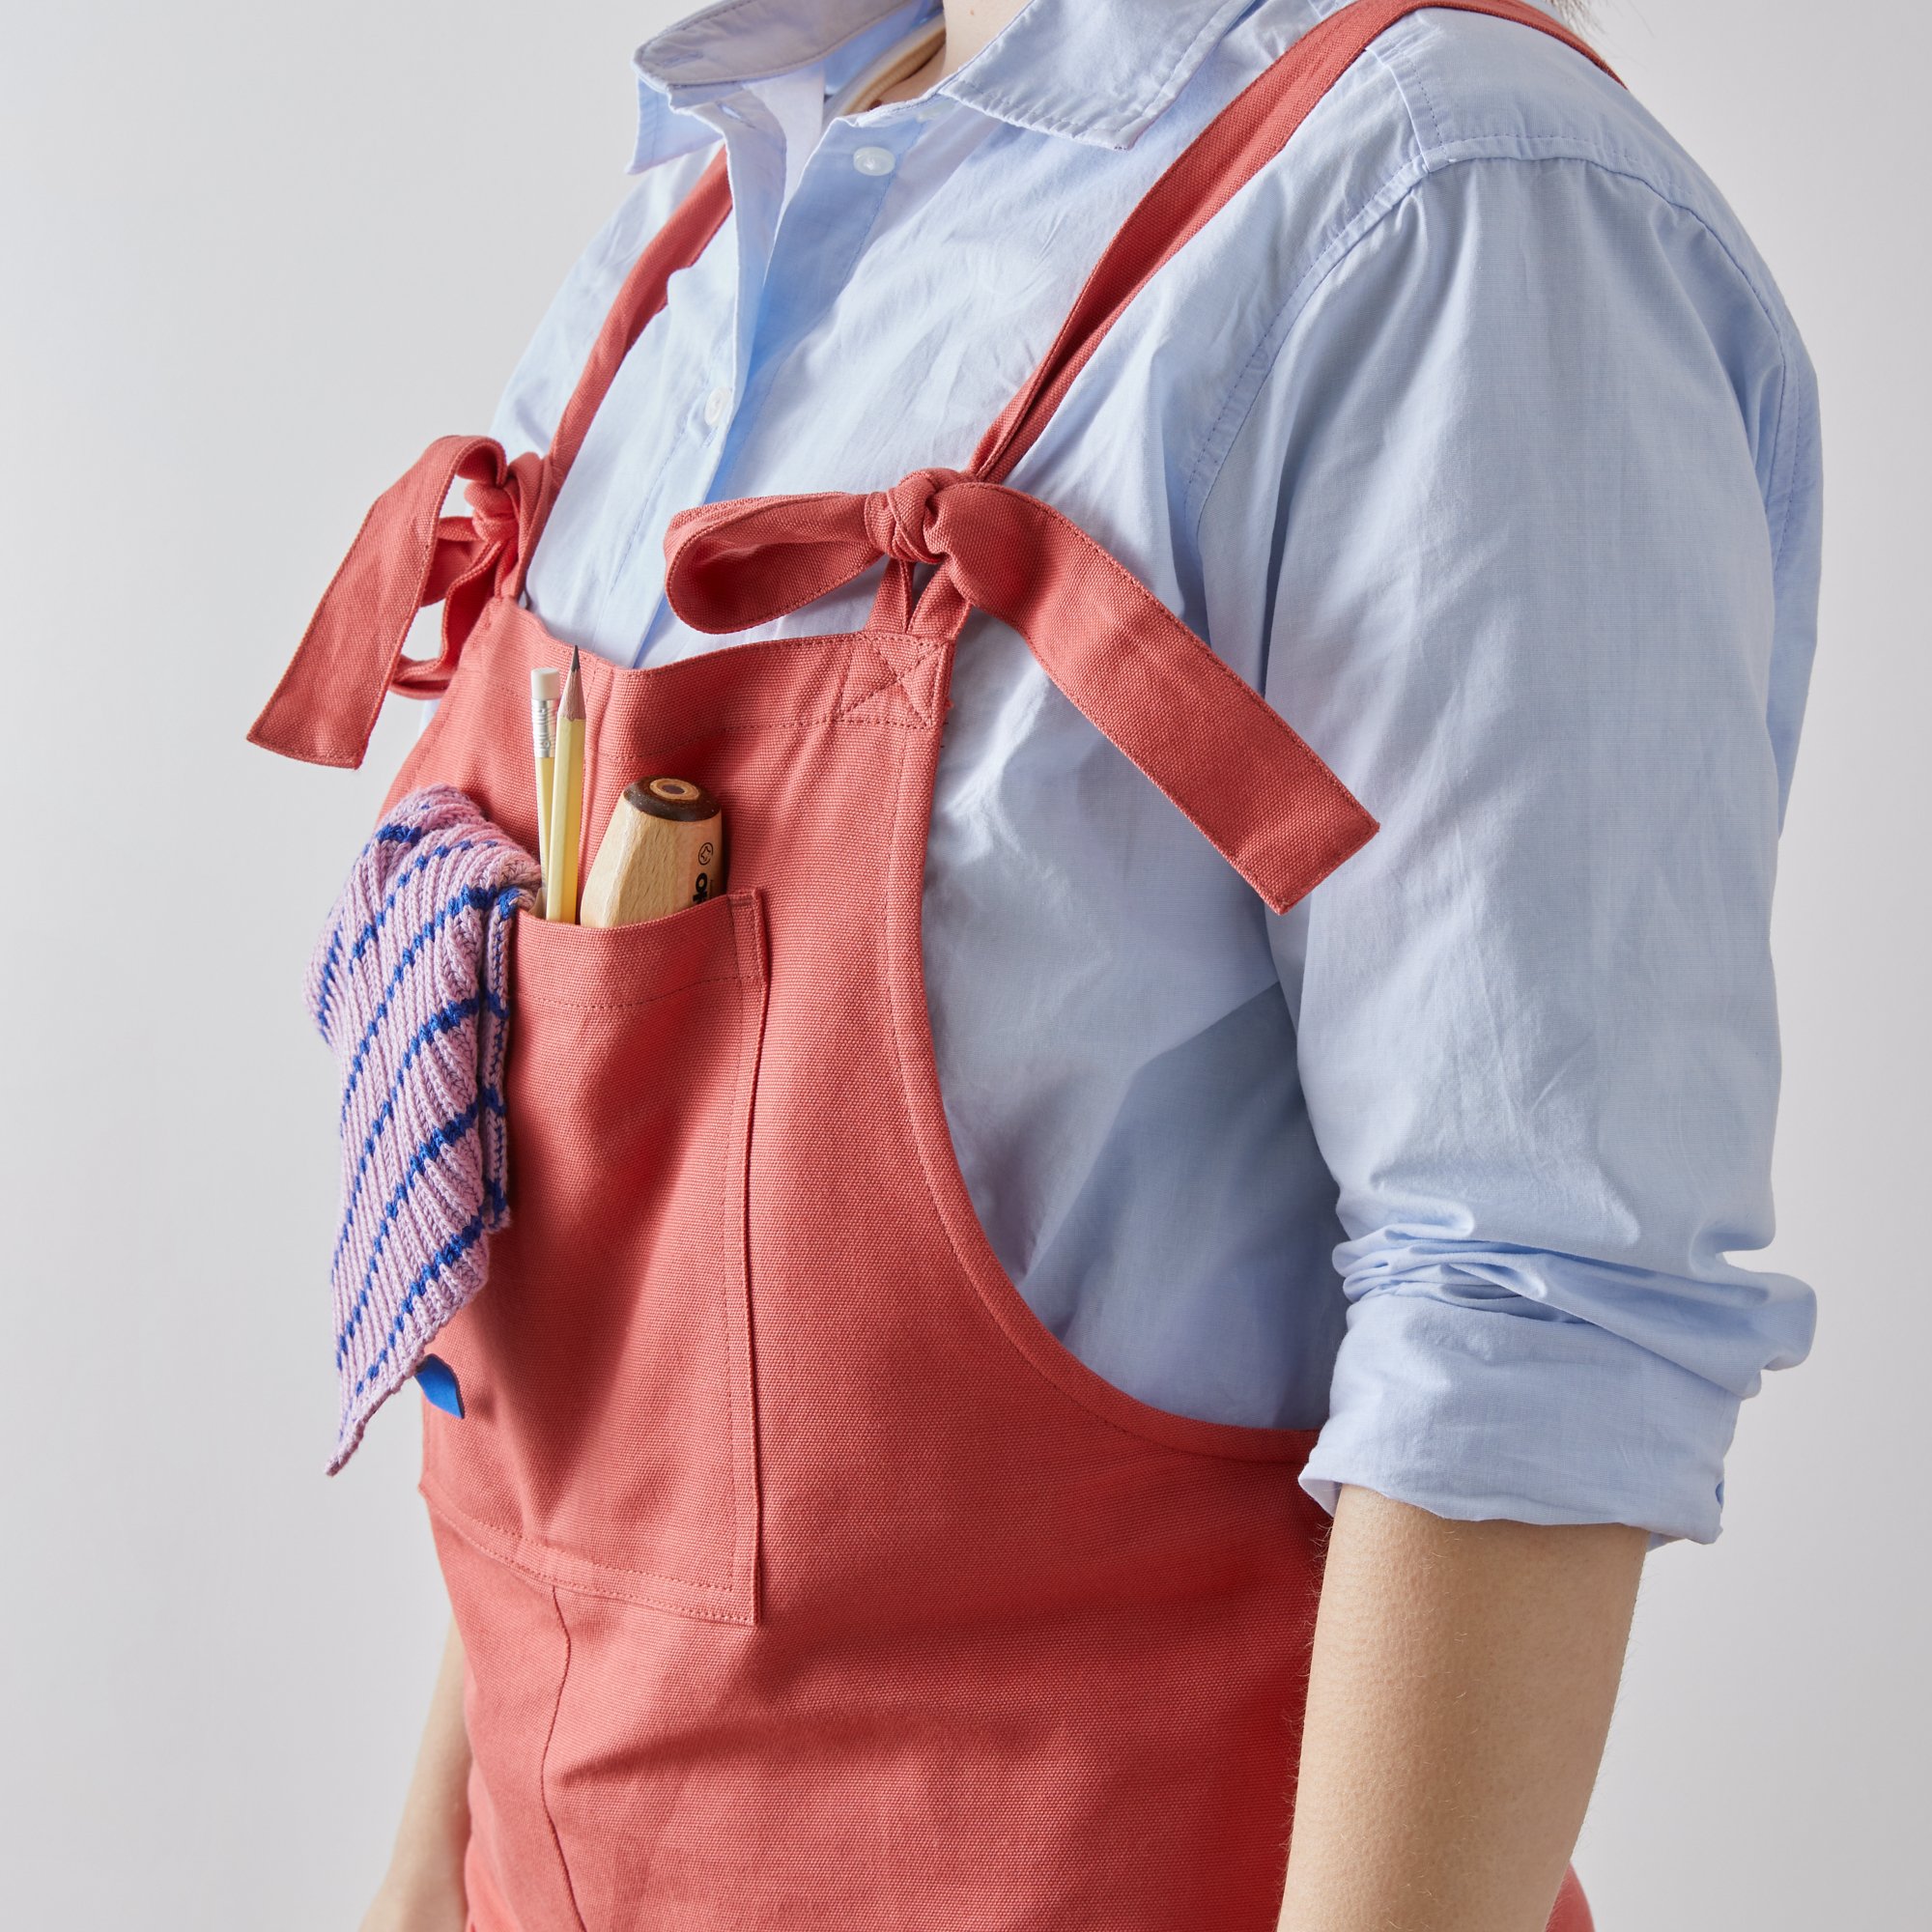
ScrewdriverSandwich bagsPencil and post-it notesMedium grit sandpaperSanding spongeHand-held belt sander
1. Remove everything from your sideboard
Whatever you’ve got hidden away at the very back of your sideboard, take it out and place it in another room. Sanding is an incredibly dusty process, so you’ll want to keep your items well away.2. Unscrew the hardware, doors and drawers
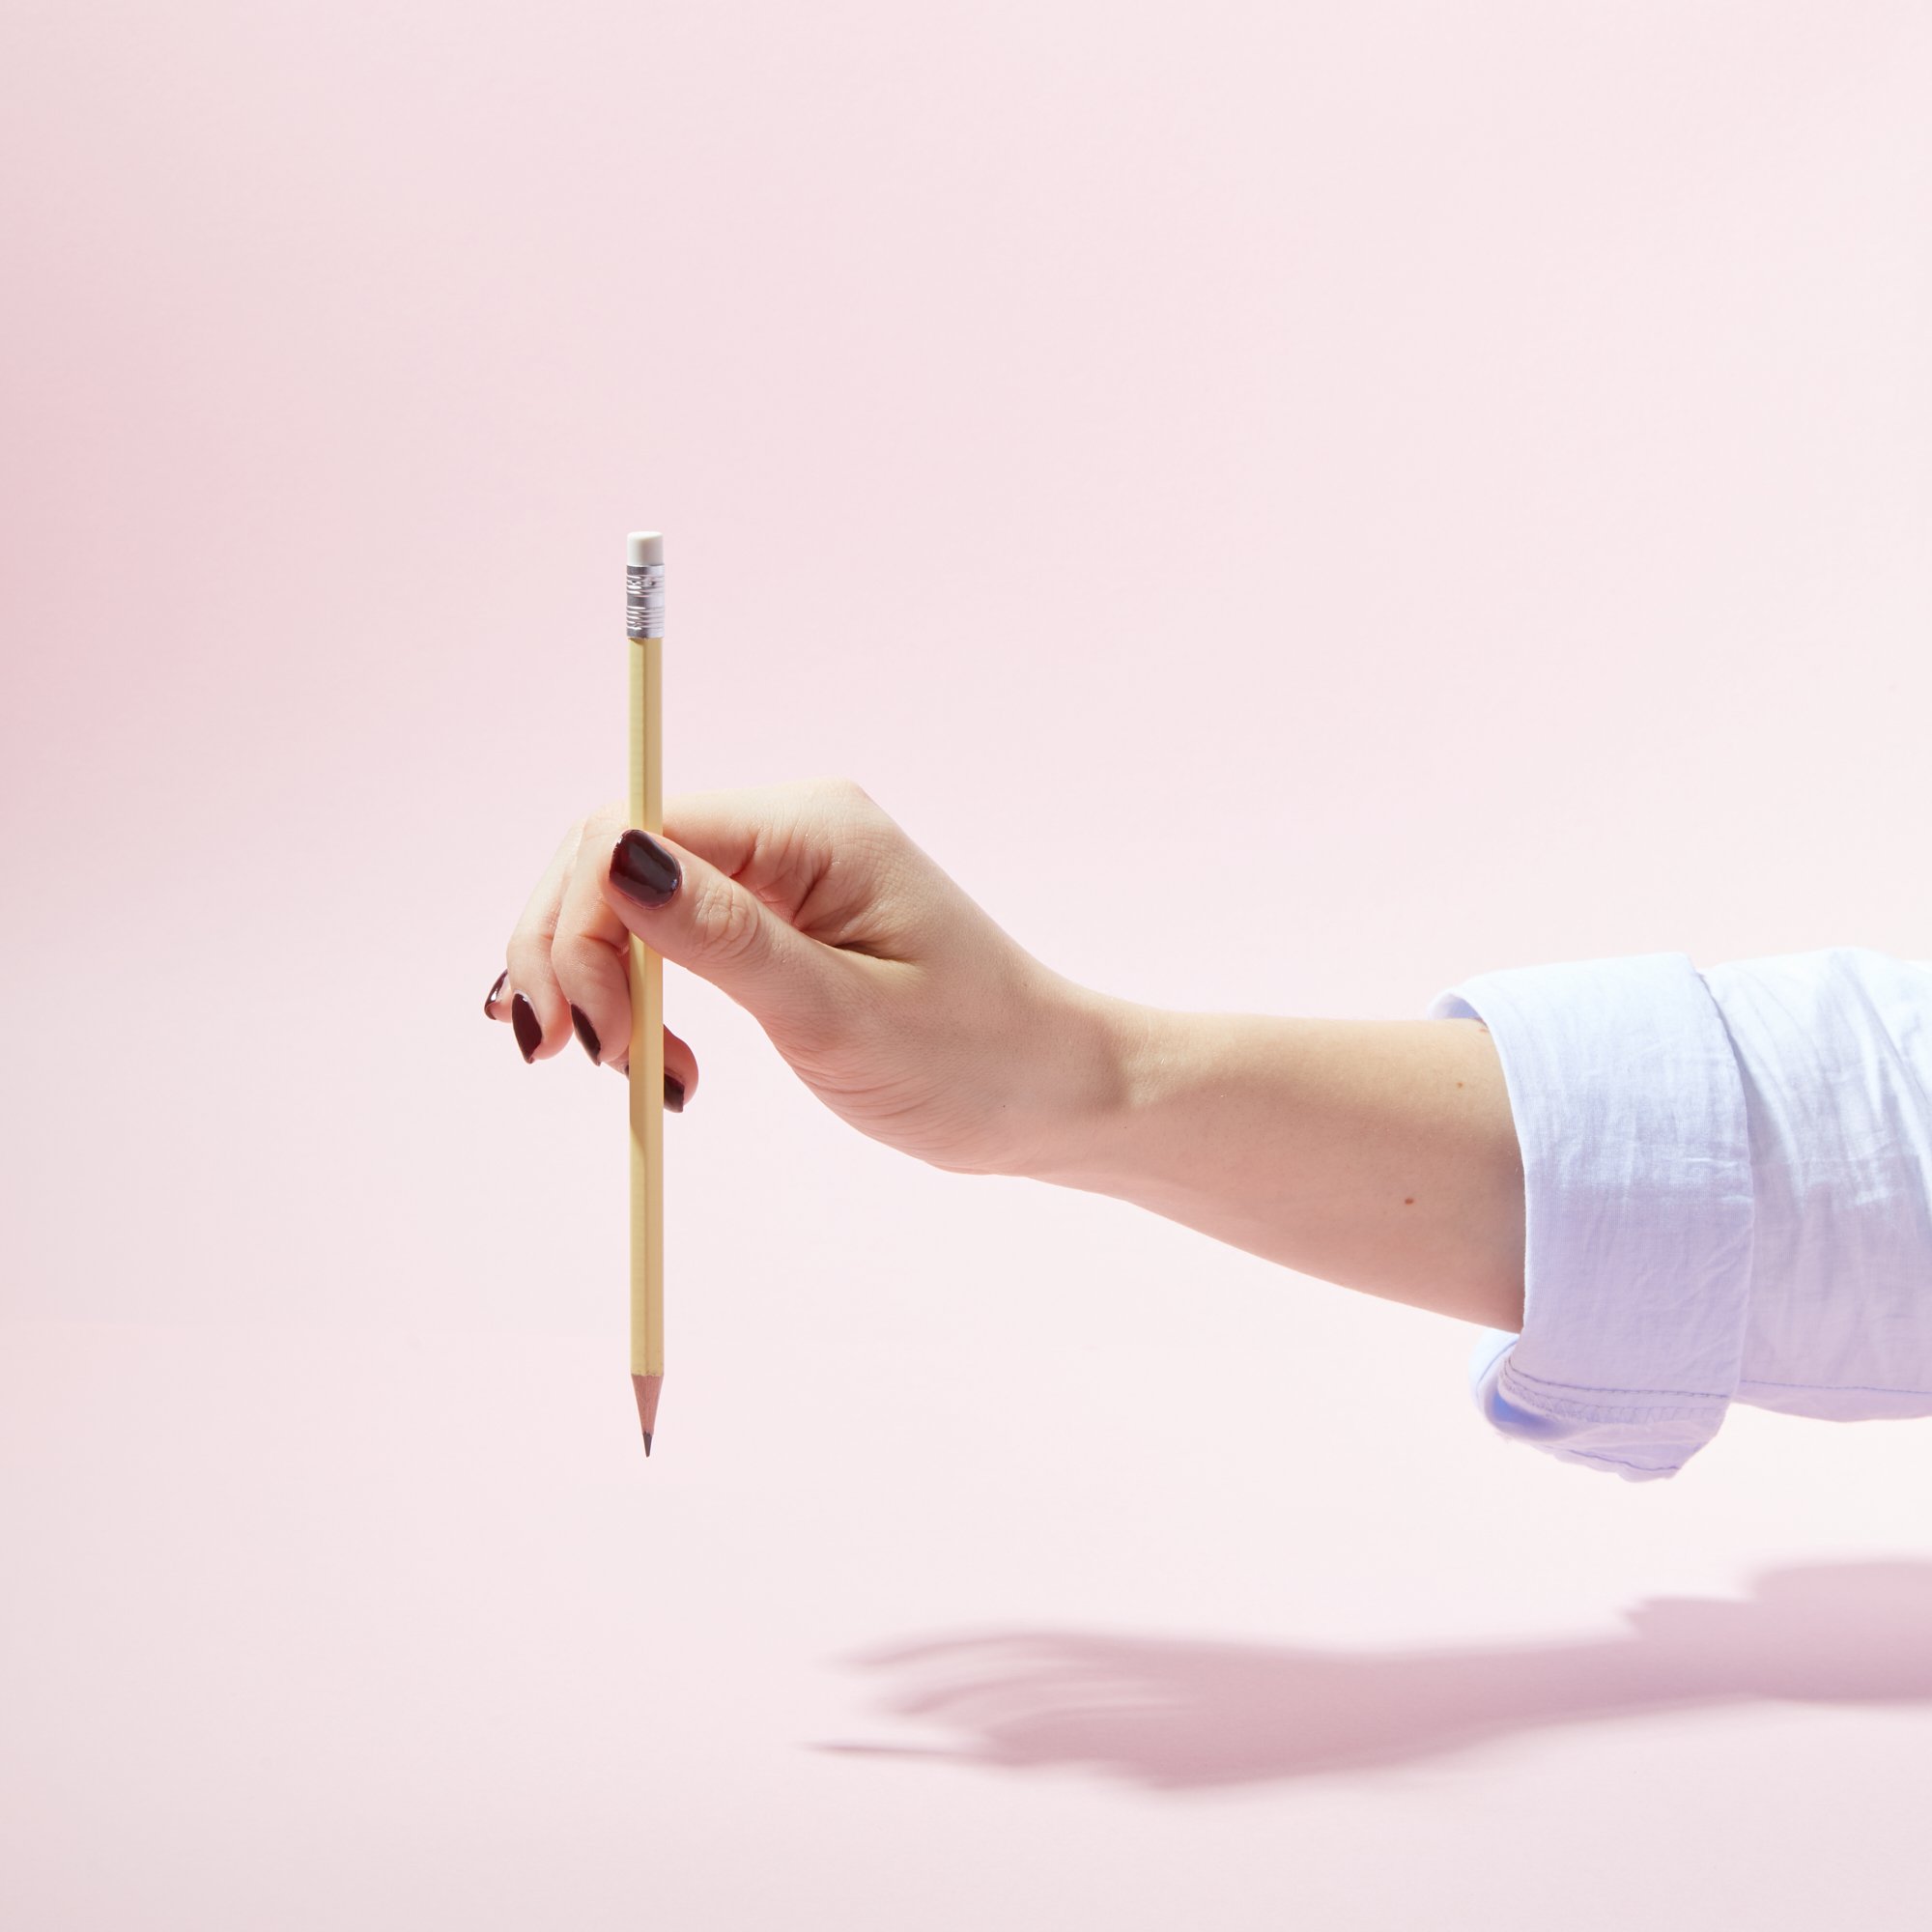
Your sideboard’s hardware refers to any handles or knobs. Instead of chucking them in a pile (don’t worry, we’ve done it before too), try putting them in plastic sandwich bags. To be super organised, add a note to each item explaining where it goes on the sideboard – you’ll thank yourself when it’s reassembly time. Keep hold of your pencil and lightly make a note inside each door and drawer of its location.3. Clean using sugar soap
Whether you’ve picked up your sideboard secondhand or it’s been gathering dirt and dust for as long as you remember, give it a good scrub down with sugar soap and a wet cloth.4. Sand smaller areas first
Once you’ve put on your goggles, a dust mask and opened the windows, you can start sanding. First off, use medium grit sandpaper to sand the corners, crevices and hard-to-reach areas of your sideboard. Around 120 – 220 grit will do, and be sure to wrap your sandpaper around a sponge to ensure a tight grip.5. Sand down the inside and outside of the cupboard
Wanna give the hand-held belt sander a go? Ideal for larger surfaces, remember to sand in the direction of the wood grain. This will remove the pencil markings you made to your sideboard earlier, so transfer onto a post-it note.TIP: To accommodate the inevitable added thickness of the primer and paint layers you’ll be adding to your unit, we suggest sanding down the inside lengths of all drawer and doors, to ensure they can be opened and closed seamlessly.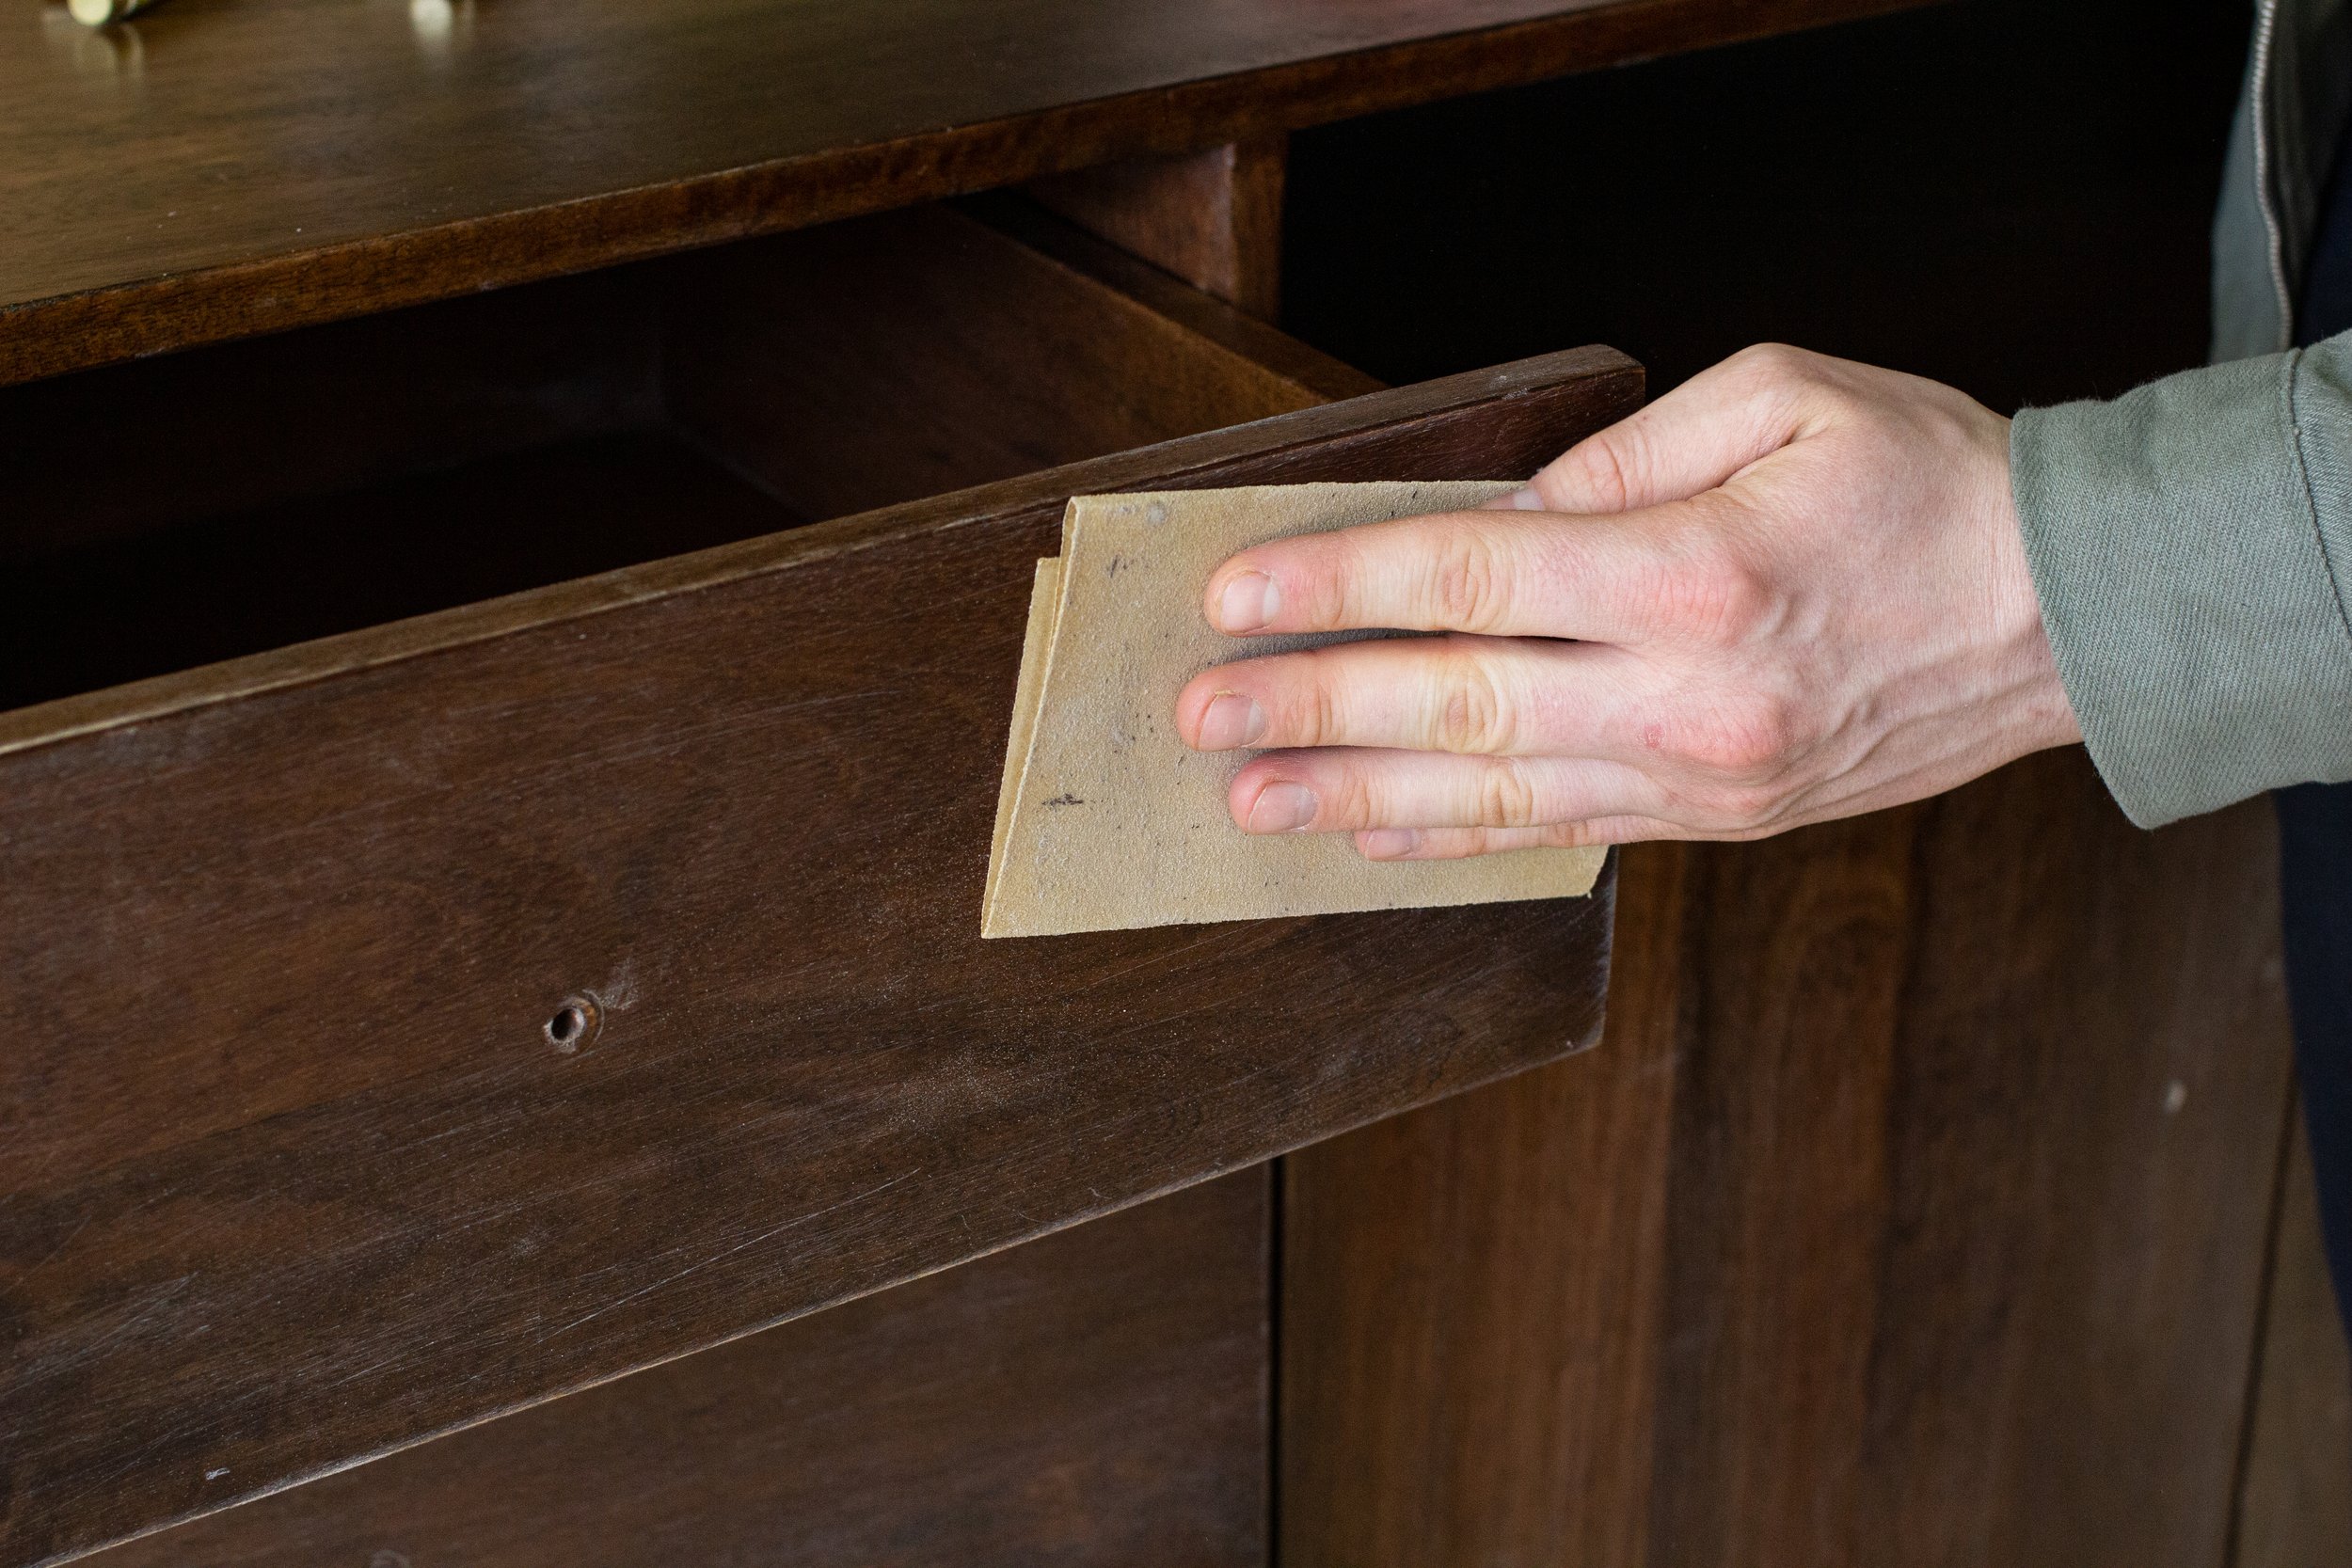
Apply Primer To Surfaces
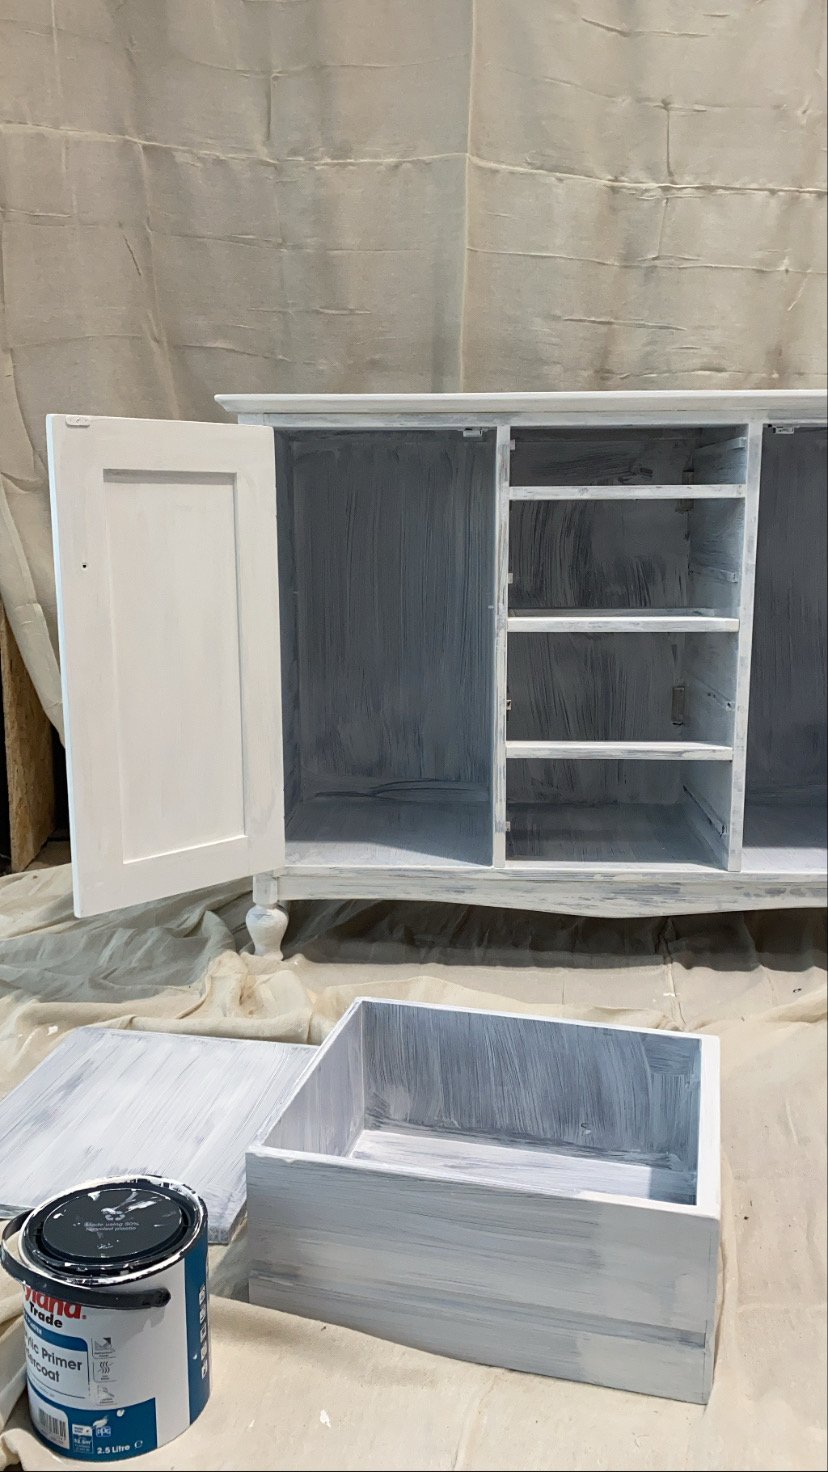
Applying primer before you paint your sideboard will help the paint stick evenly and make your new colour appear bolder. We recommend starting early in the day, as there’s a bit of waiting around for the primer to dry before you can move onto the next step.1. Choose the right primer for the job
Oil-based primer is thicker, more durable and ideal for covering up old paint or stain. However, it dries slowly and contains strong fumes (an open window is a must, or even just prime your sideboard outside). Another option is latex primer. It doesn’t cover flaws quite as well, but it dries quickly with less fumes. You also need to choose the colour of primer you use. As a general rule, white primer helps lighter shades pop, while grey is best for dark or rich colours.2. Prime using a foam roller and paintbrush for those more awkward areas to reach
Use long, even strokes and aim to achieve a flat, even finish.3. Apply a second coat and leave it to dry for two to four hours
Once dry, your sideboard should feel and look a little chalky. Lightly sand the surface and wipe away any excess dust.Paint
Wondering how to style your sideboard? A lick of paint goes a long way and we want to let you in on a little secret. The best paint for sideboards differs from person to person – it’s about what best suits your personal style and taste. For example, if you want a colourful, standout sideboard that’s going to grab the attention of guests, shiny gloss paint is the way to go. Or if you’re a lover of all things vintage and want to achieve a distressed, rustic look, use chalk paint. Its matte, textured finish works a dream for creating that shabby chic feel. When choosing your sideboard colour scheme, try to think how the furniture will coordinate with the rest of the room it’s going in. Bear in mind the size of the space and how much natural light it gets too. Soft white or cream are always safe options that you can rely on to reflect light beautifully throughout the room. If you’re bored of white but still want something subtle, pale blush pink is a great alternative that flaunts a chic and romantic look. For more of a bold contrast with your sideboard colour palette, a dark grey or timeless royal blue will look amazing paired with our solid brass hardware 🤩We’re full of sideboard decoration ideas and have even more inspiration for your project. Why not bring a modern, artistic edge to your sideboard by incorporating geometric patterns like triangles or fans? Use frog tape to mask the areas you don’t want to paint, which will help you create your desired shape. Or if you love florals or quirky, personality-packed prints, try making sideboard designs with wallpaper offcuts or decoupage paper. Whatever your chosen style, as long as you have enough patience and follow our instructions step by step, you can’t go wrong.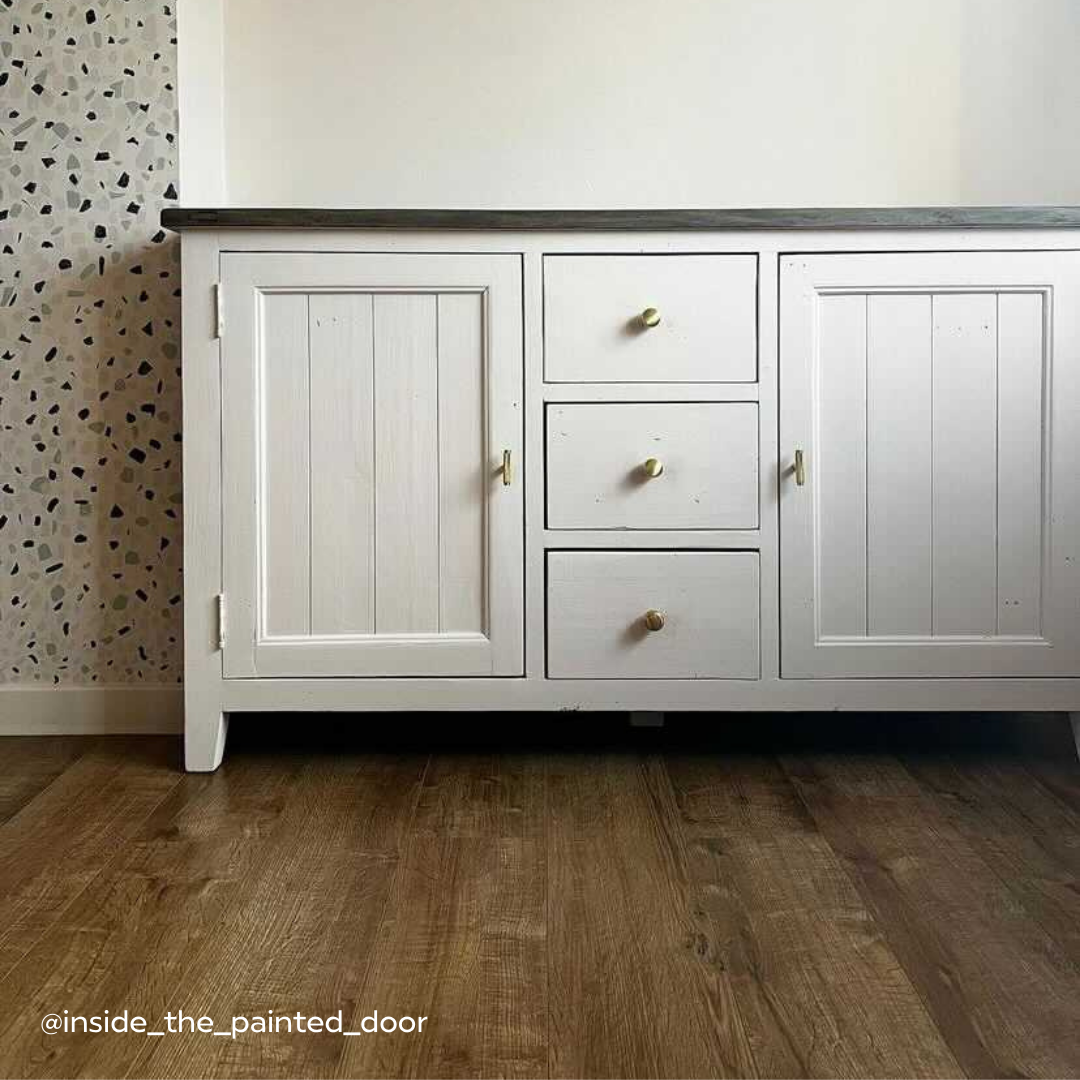
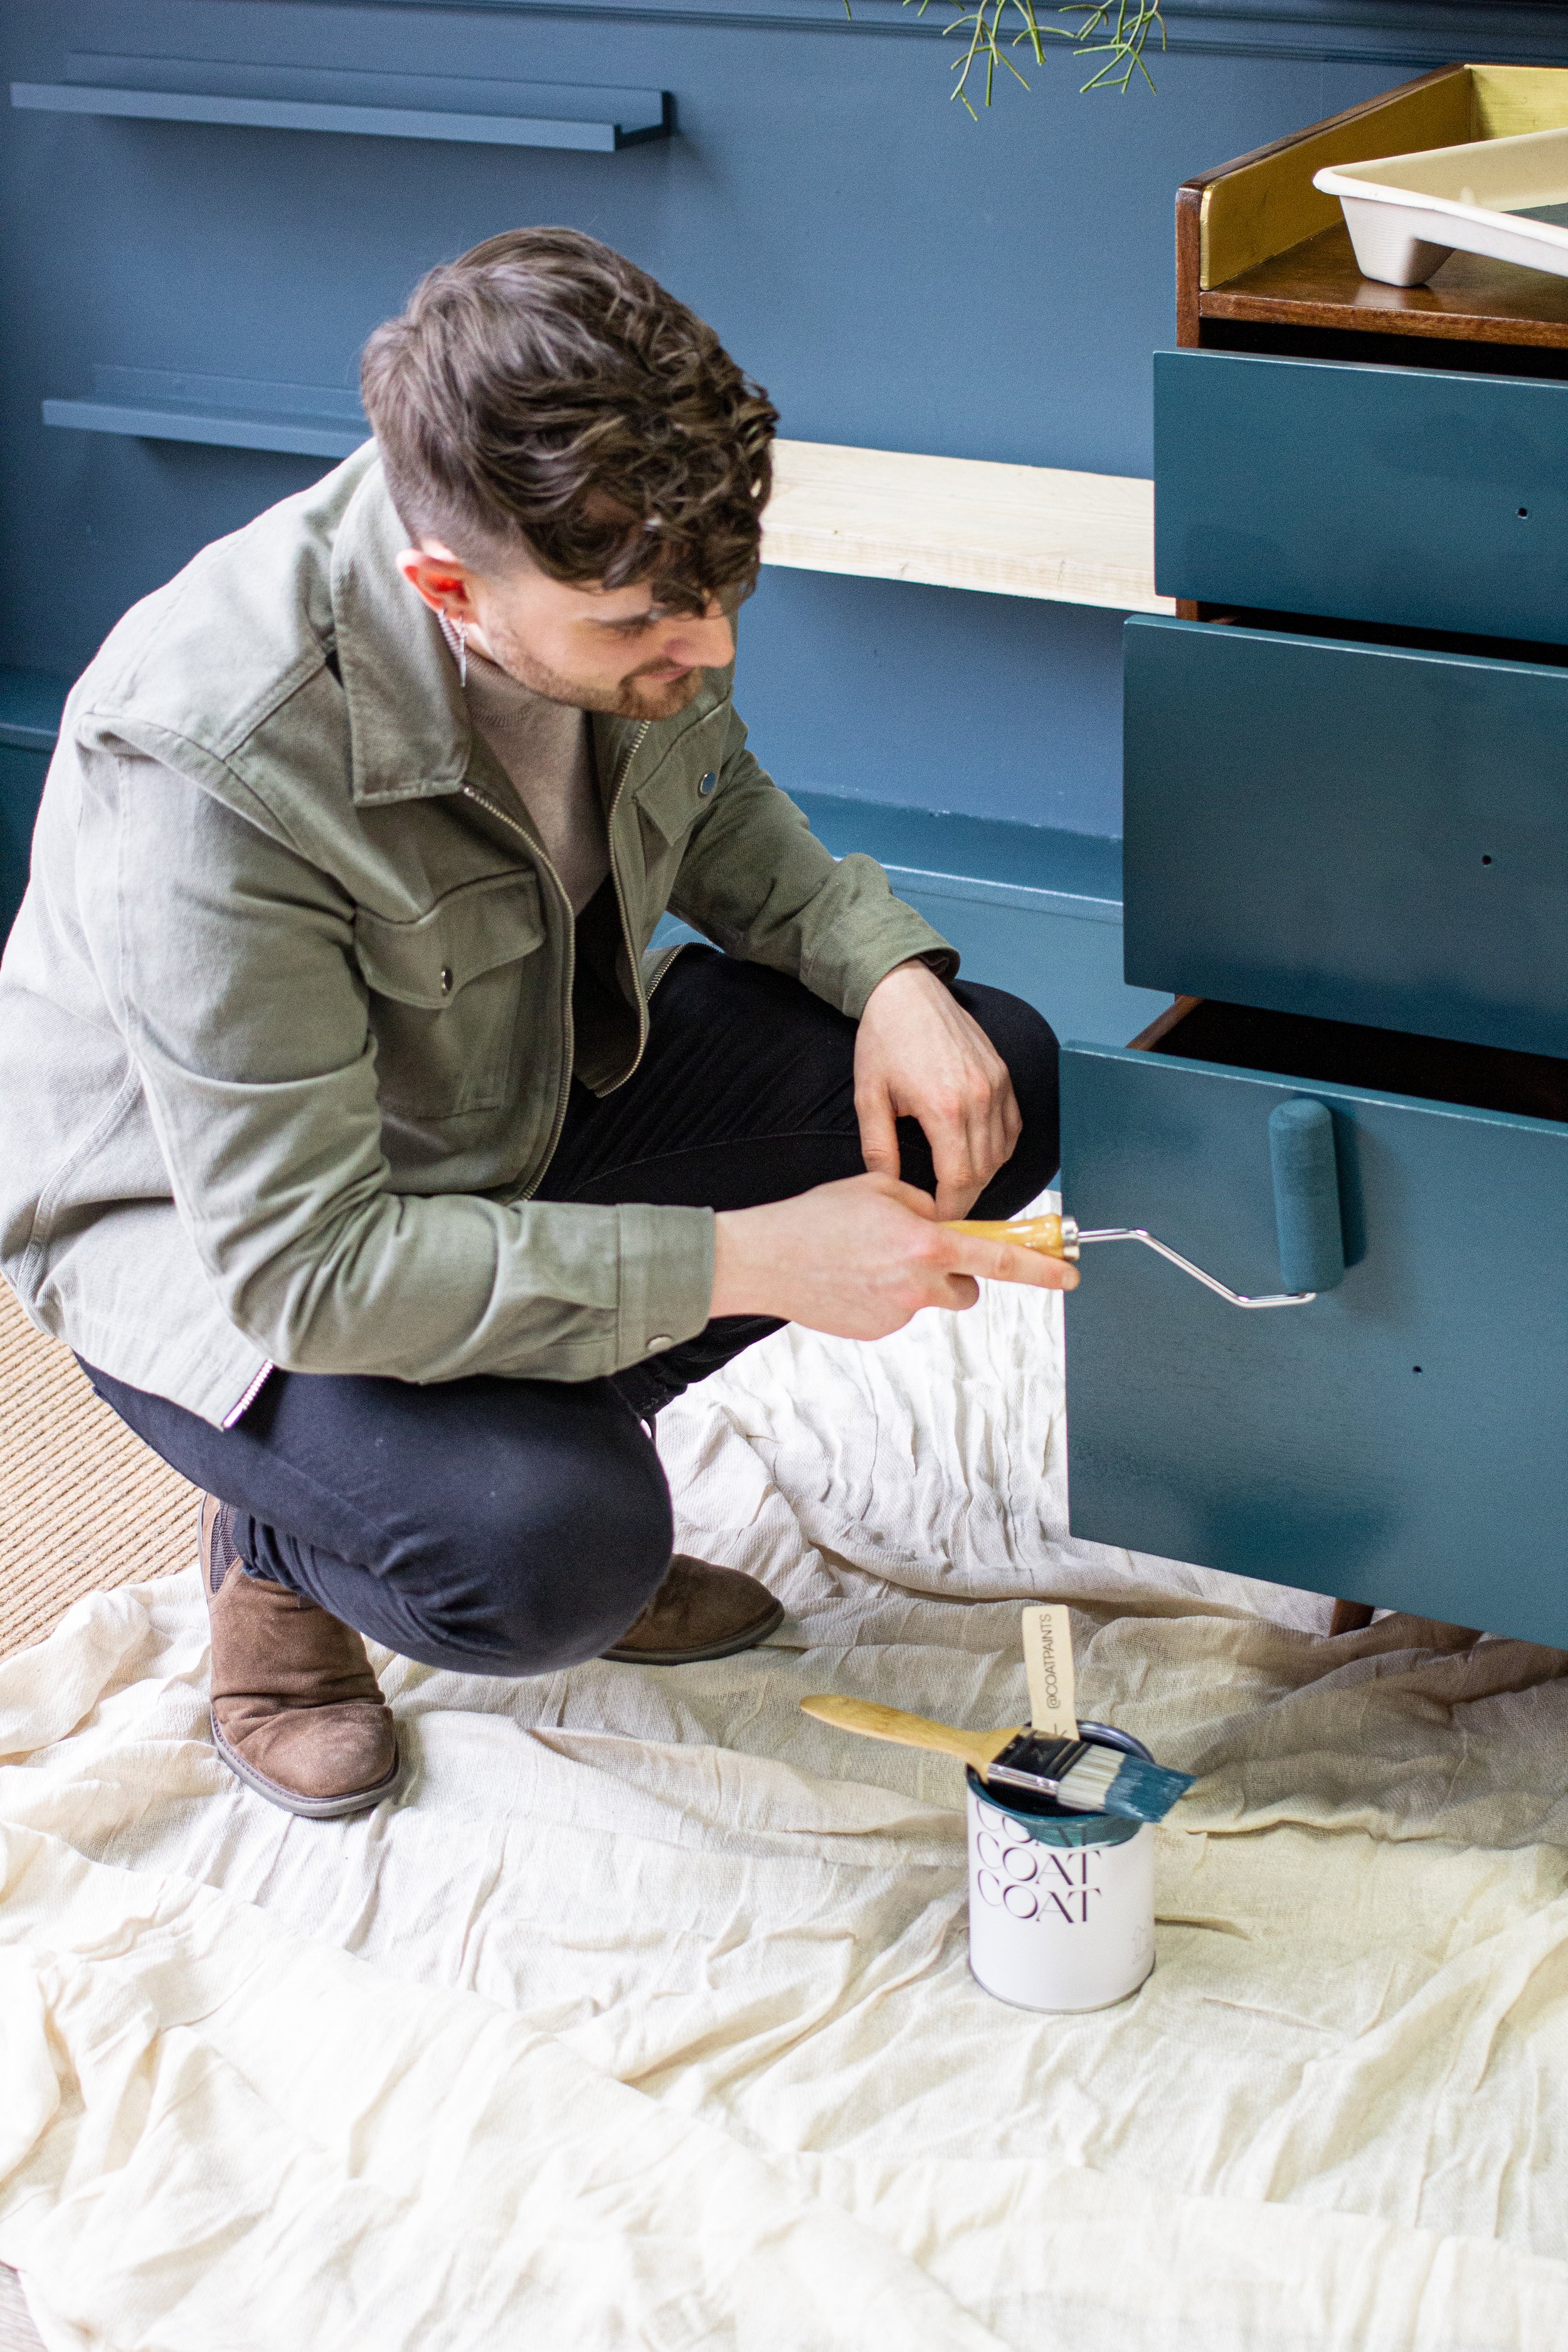
How to paint your sideboard
Stir your paint thoroughly and mask off any areas you don’t want to paint.Using a paintbrush on smaller areas and roller on the larger surfaces, start by painting your sideboard’s drawers and doors.While you wait for the drawers to dry, grab a roller and move onto the main unit. You’ll need up to three coats of paint on your sideboard for an even covering of colour.
Install Plank Hardware
We couldn’t give you plenty of sideboard decor ideas without mentioning our extensive range of high quality hardware. Our stylish handles will transform your sideboard drawers and doors, offering refined shapes and ease of access. Keep things subtle with our MERCURY Curved Lip Pull Handle. It’ll tuck into your drawers and add a soft and premium accent to your sideboard. Or, get to grips with one of our most popular designs – the WATT T-Bar. It’s simple, elegant and available in a variety of sizes, so you don’t have to compromise when it comes to creating your perfect sideboard.If you fancy upgrading your sideboards with door knobs instead, browse our contemporary collection of knobs. Smart and sophisticated, our LOVELL Circular Knob and HUMBOLDT Knurled Button Knob both round off minimalist pieces of furniture beautifully. They’re tooled from solid brass, so you know they’ll stand the test of time. Alternatively, our TURING Hexagon Knob boasts a unique structured look, while our KLEE Button Knob brings a colourful splash with shades of Pink, Aqua and Cobalt.Now you have the DIY sideboard ideas, let’s put them into action. Before installing your new hardware, you’ll want to cover up any old screw holes and any damage left behind. One way of doing this is by fitting one of our Handle Backplates, a conscientious detail that’s the perfect companion to our various Pull Handles. Your other option is filling in old screw holes with fine surface filler. Once you’ve done this, you can get drilling.How to drill holes into your sideboard
To accurately mark up where you want to drill your new holes, use a plastic or cardboard template.Use a smaller drill bit and drill a ‘starter hole’. This reduces the likelihood that the wood will split and save you time in the long run, if done correctly.Now you can use the drill bit the size of the screw you’re using (for standard cabinet hardware screws, this is usually 5mm, but check your supplied screws first to make sure it’s the correct size).With a steady hand and keeping the drill level, drill into your sideboard slowly from front to back.
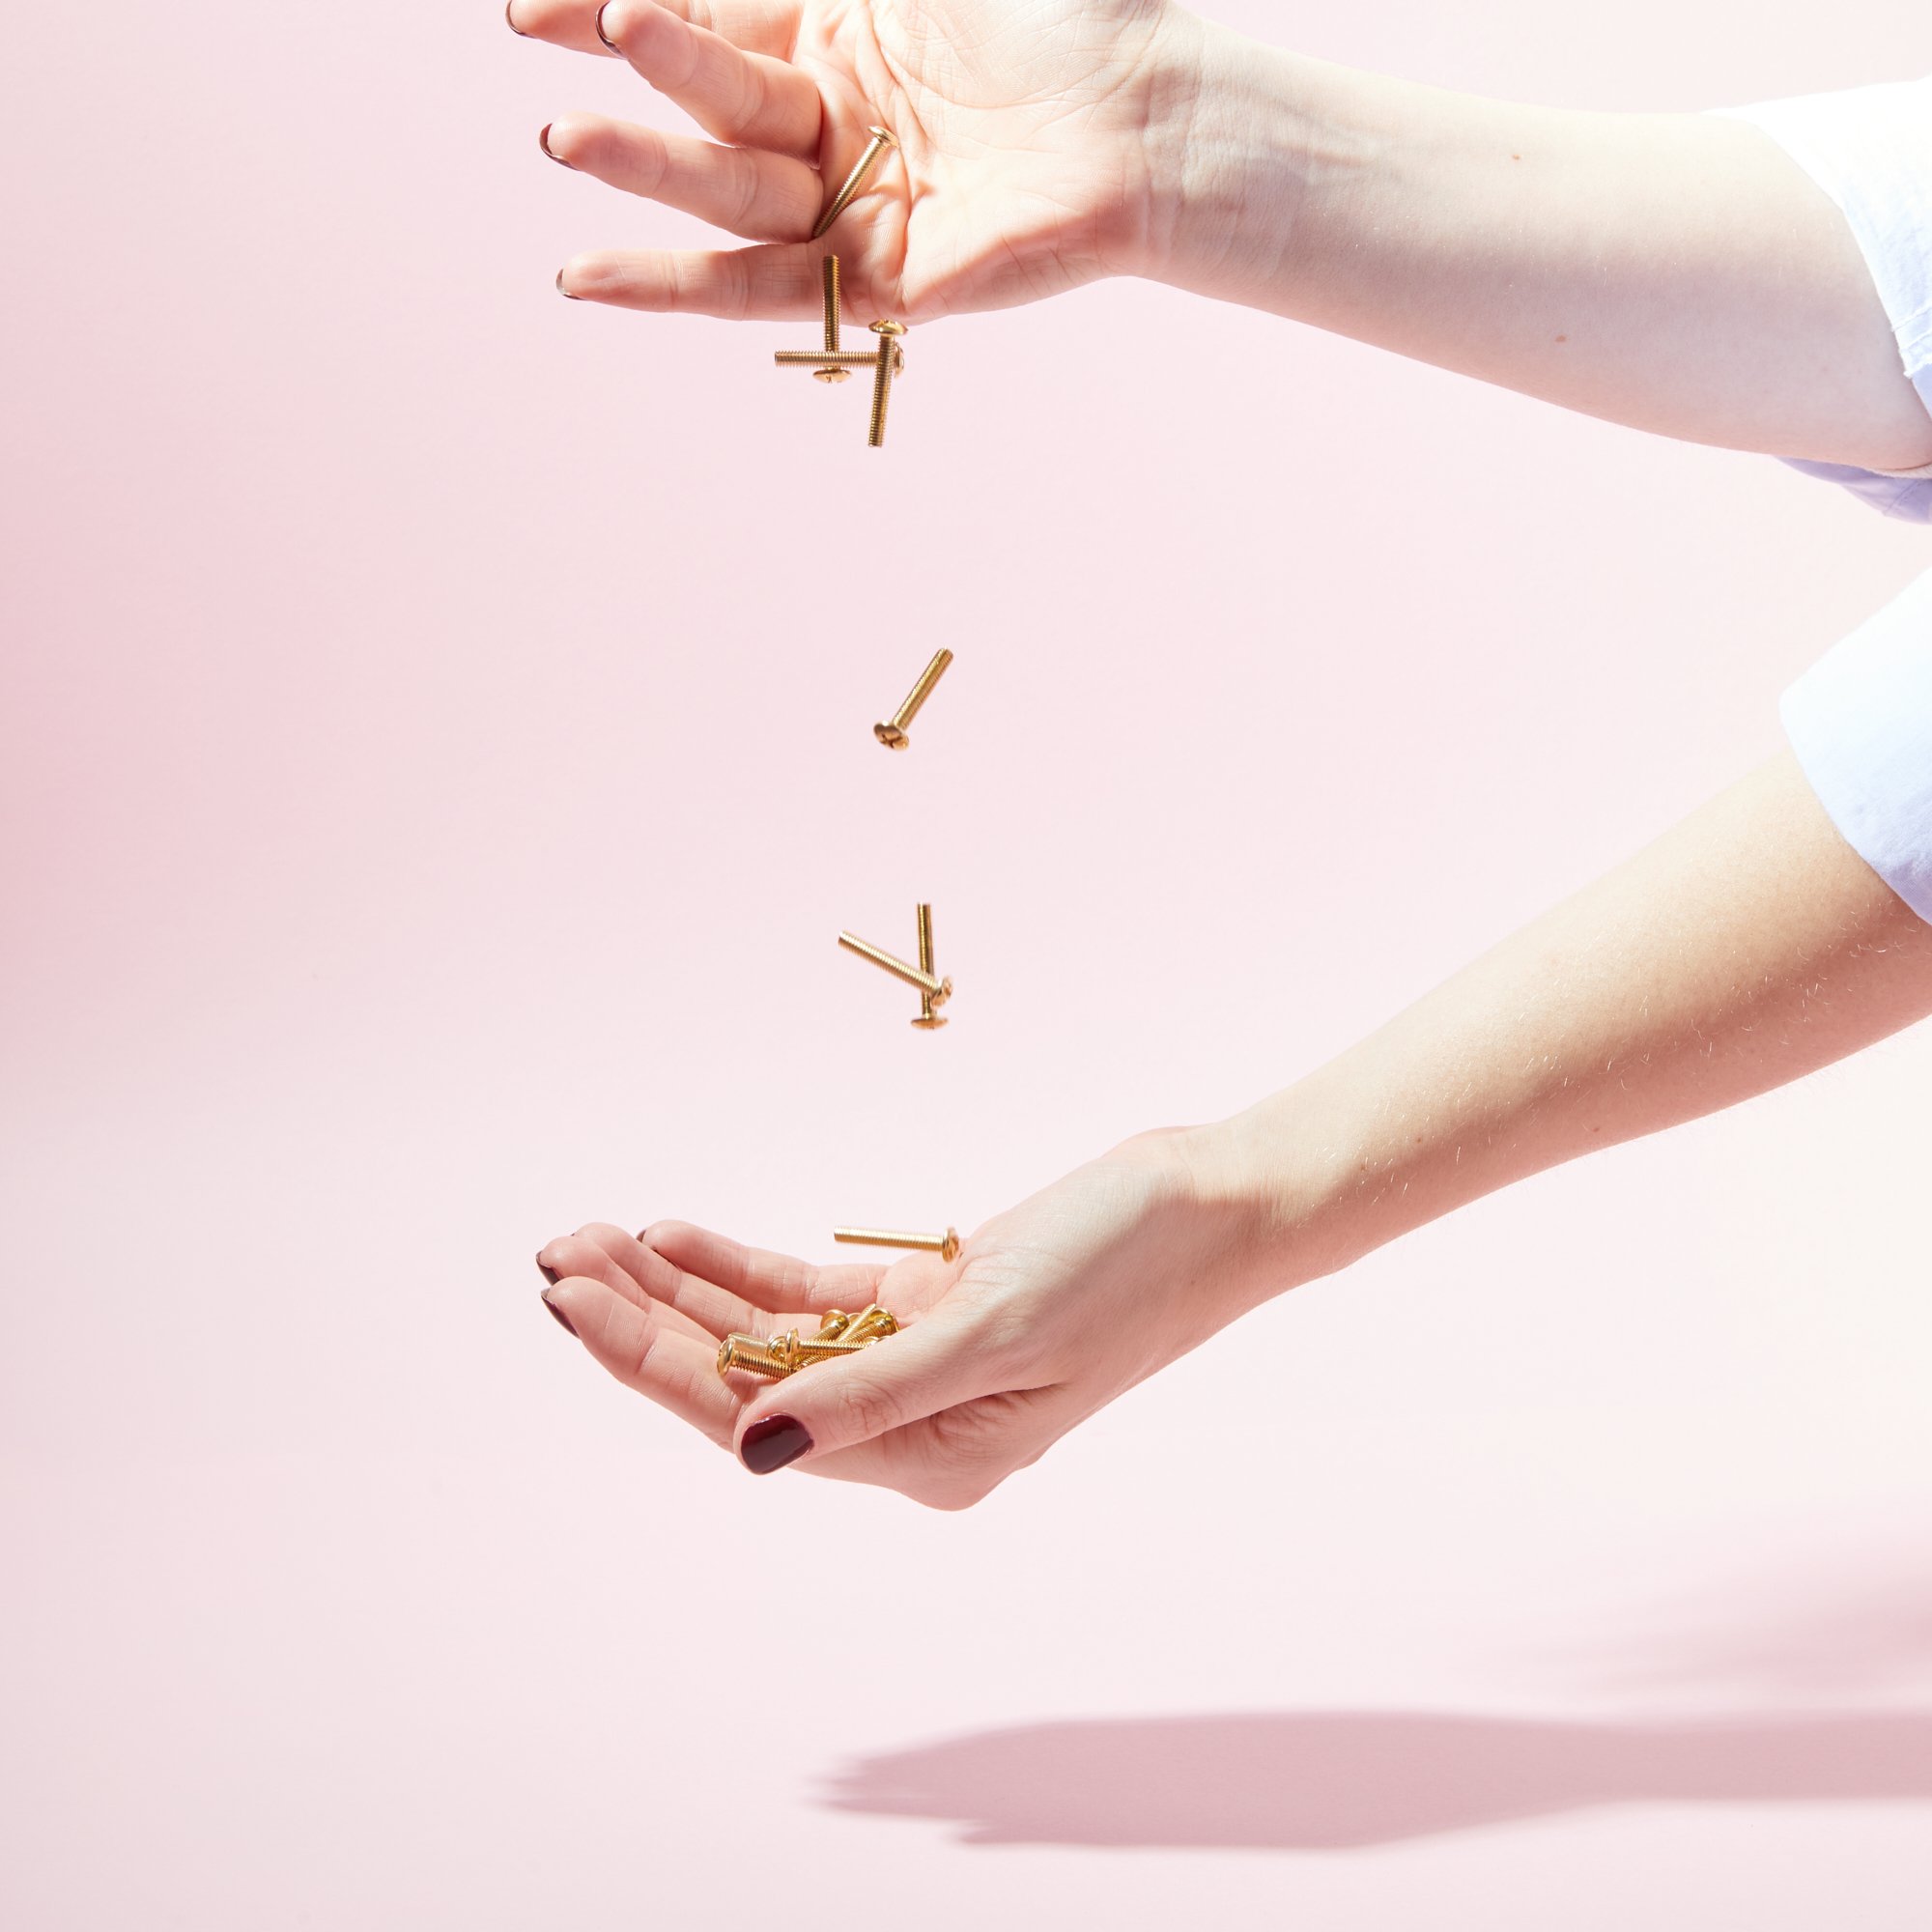
Ready to put your feet up? You’ll be pleased to know we’ve made installing your new hardware as simple as possible. All of our knobs and handles come with enough screws for your DIY needs. Simply hold the hardware to the front of the drawer or door, and then tighten on the screw at the back. Tighten up with a screwdriver for good measure and boom, you’re done 👊Voila! You’ve upcycled an old piece of furniture into a stunning sideboard. From the creative process through to the end result, we’d love to see how you get on. Tag us in your transformation reels and before and after pics using @plankhardware and #PlankProjects 👍
Blog


Fit for pro skills…