How To Drill New Holes For Cabinet & Drawer Pull
We’re all in favour of making your DIY dreams a reality, but we get how expensive it can be 💸 Let us assure you that there’s a much better solution than splashing the cash and hoping for the best.In this helpful guide, we’re showing you how to install your chosen cabinet and drawer hardware yourself. 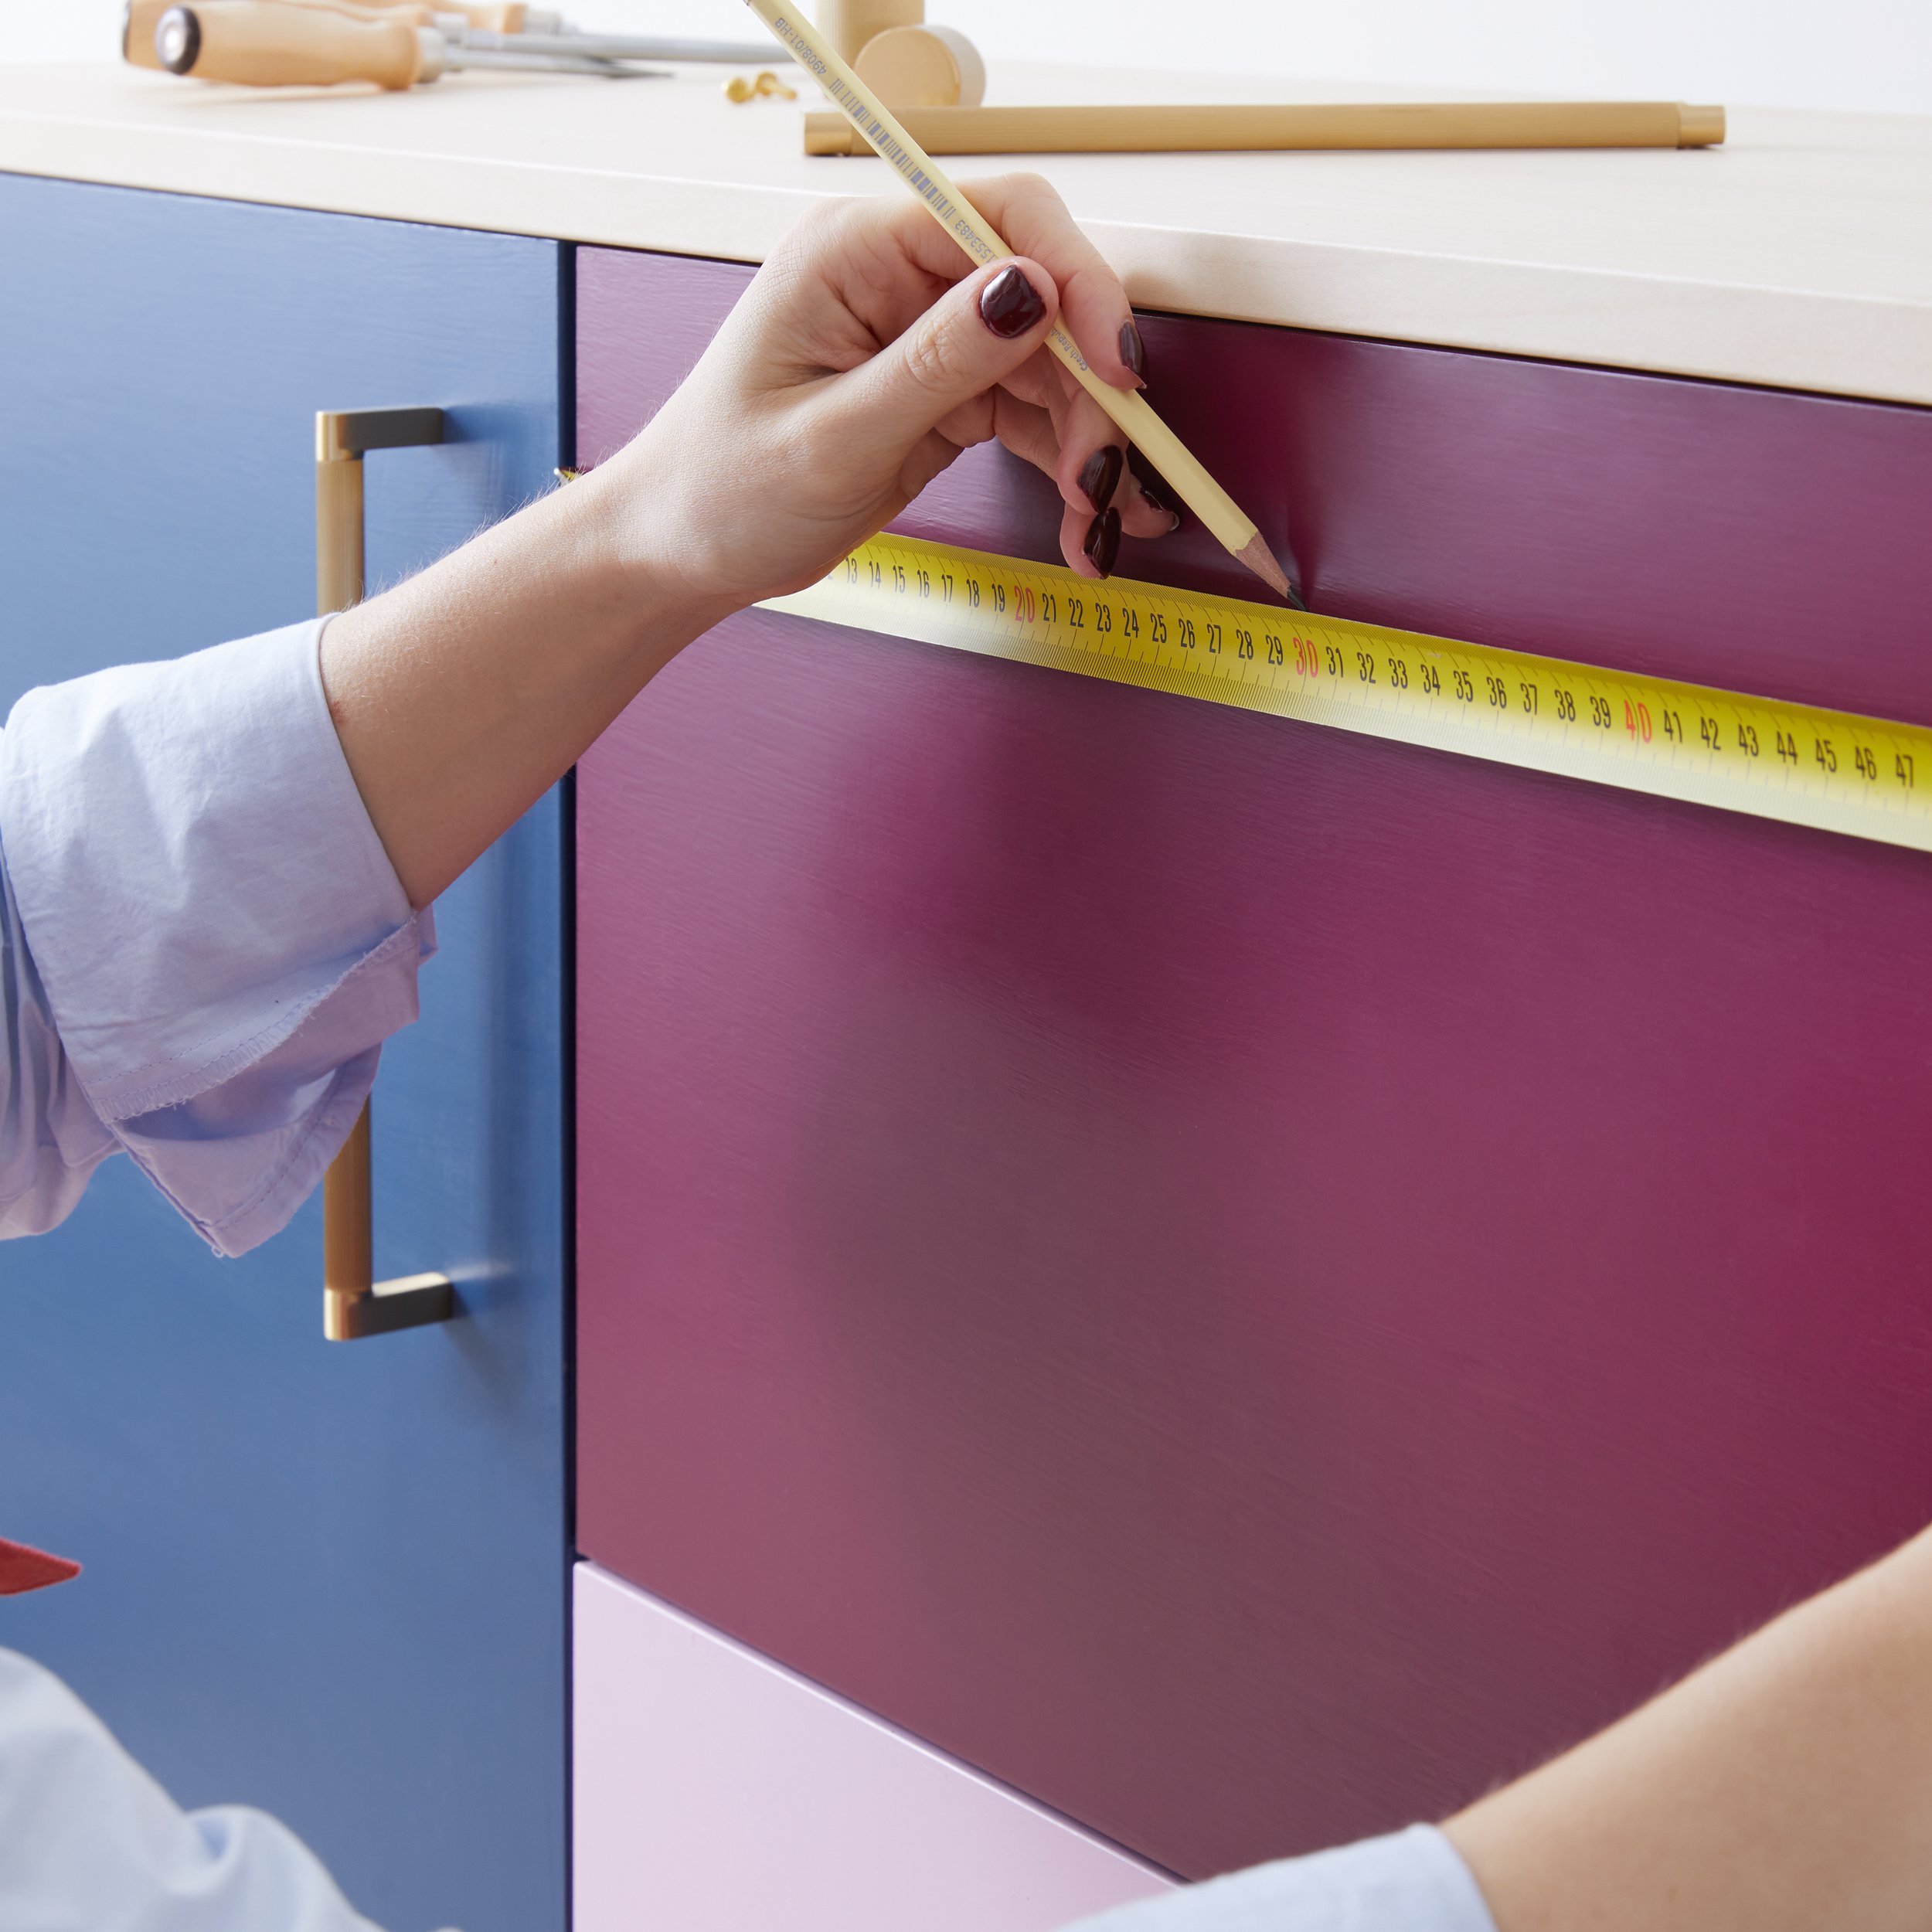
Follow our step-by-step guide, for masterfully installed cabinet pull handles.
The truth is that installing handles for furniture like kitchen cabinets isn’t that hard and doesn’t take very long either. You just need the right tools to hand and an understanding of how to measure everything up precisely, both of which we’ll cover later on 👇
Tackling your cabinet pulls installation and drawer pulls installation yourself will certainly help you learn lots of handy DIY skills that you can apply to future projects. It also gives you full creative control of how your furniture looks, since you’re the one choosing exactly where each handle or knob will go. So, roll up your sleeves and let’s get going 💪
Assess The Situation
Whether you’ve got your cabinet hardware ideas all planned out or could do with some expert guidance, there’s one vital step to take before clicking Add To Cart.

You’ll want to assess whether your chosen hardware can actually fit onto your cabinet. For example, if your kitchen has smaller doors or drawer fronts, the chances are that wide handles might not fit. While it’s not the end of the world, we don’t want you to rush into buying and installing cabinet hardware, only for it not to be suitable 💔

So, take a good look at your cabinet doors and drawer fronts, then measure the width of their flat areas. The hardware you choose, whether it’s knobs, door pulls or cabinet pull handles, should be based on the width of the smallest door or drawer you have. We also recommend checking how flat the area is where the base of the knob or pull will sit. Some hardware can have really wide bases and depending on the detailing on your cabinet, they may not fit.

Now for the fun bit – choosing your hardware ✨ From bedroom drawers and living room sideboards to kitchen cupboards and bathroom vanities, we’ve got quality hardware solutions for cabinets and storage units of every kind. Keep your kitchen feeling eternally fresh with contemporary hardware, such as our BECKER Grooved D-Bar Handle and LENNON Grooved Button Knob. Their rippled silhouettes play with the light, while the grooved grip offers practical access to everything you need 🙌

Keen to elevate your “getting-ready” rituals? Then discover sophisticated wardrobe handles like our WATT T-Bar Pull Handle. With a simple and elegant solid brass design, it’s ideal for minimalist or Shaker style wardrobes. You don’t have to worry about the handle being too big either, as we have several different sizes for you to choose from.


Choose The Right Screws
Start your project as you mean to go on by ensuring you’ve got all the tools and equipment you need. That includes screws – and we’re letting you in on a little secret about these tiny but mighty fixings.
We’re all about giving you practical support for your creative home projects, which is why our hardware comes with 25mm screws as standard 🙌 These tend to work for most cabinet doors and drawers, but if you need extra screws or different lengths to affix, you can buy more M4 Screws in assorted lengths via our website. To work out the exact size screws you need, simply measure the thickness of the cabinet doors and drawer fronts, including the drawer box.Figure Out Where To Drill
Scratching your head about where to put knobs and handles on kitchen cabinets? 🤨 Check out our two options below and whichever you choose, remember to take your time. You’ll be using your hardware on a daily basis and even if it’s not obvious to anyone else, we can guarantee you’ll notice if the knobs and handles are even the slightest bit out of place.Option 1: Measure every door and drawer
A more time-consuming option yes, but it’s a sure fire way to get the exact measurements you need for your hardware. Provided of course that you measure everything correctly, which leads us to… 👇Option 2: Use a template from your local DIY store
If you’re worried about making a mistake while measuring and would prefer to take out the guesswork, use a template instead. As the name suggests, a template helps you easily and correctly mark where you want your screw holes to go. Once you’ve set where you want the holes on the template, you keep that measurement and apply it to all your cabinets. You can either buy a plastic template or make your own from a piece of cardboard (if you’re new to using templates, we’d recommend option 1).TIP: Be sure to check that your template accommodates the CC (centre-to-centre) hole distance that your Plank Hardware handles have.How to use a plastic template
Align your template with the corner of the door and mark the desired hole location with a pencil.To make sure everything you do is consistent, make sure the hole being used for mounting is noted on the template.Then, flip the template to mark the same hole location on the adjacent door.
Measure Up
Measuring every single door is quite the task, but one we’re going to help you master 💪 Pull handles on cabinets and knobs on pull-out drawers should be in the exact centre. To find the centre, you need to measure the width of the surface you’ll be drilling, including the detail. Then divide this figure in half. Double check your figures by measuring the opposite way. These measurements can also be done vertically. So that the hardware is easy to reach, you’re best off placing the knobs just above or below the corners of the cabinet door frame. The standard is 5cm up the upper doors (wall cabinets placed above the counter) and 5m down on the base doors (wall cabinets below counter space). For taller cabinets, you can place the knobs vertically centred on the door panels. Just make sure you’re tall enough to reach them first!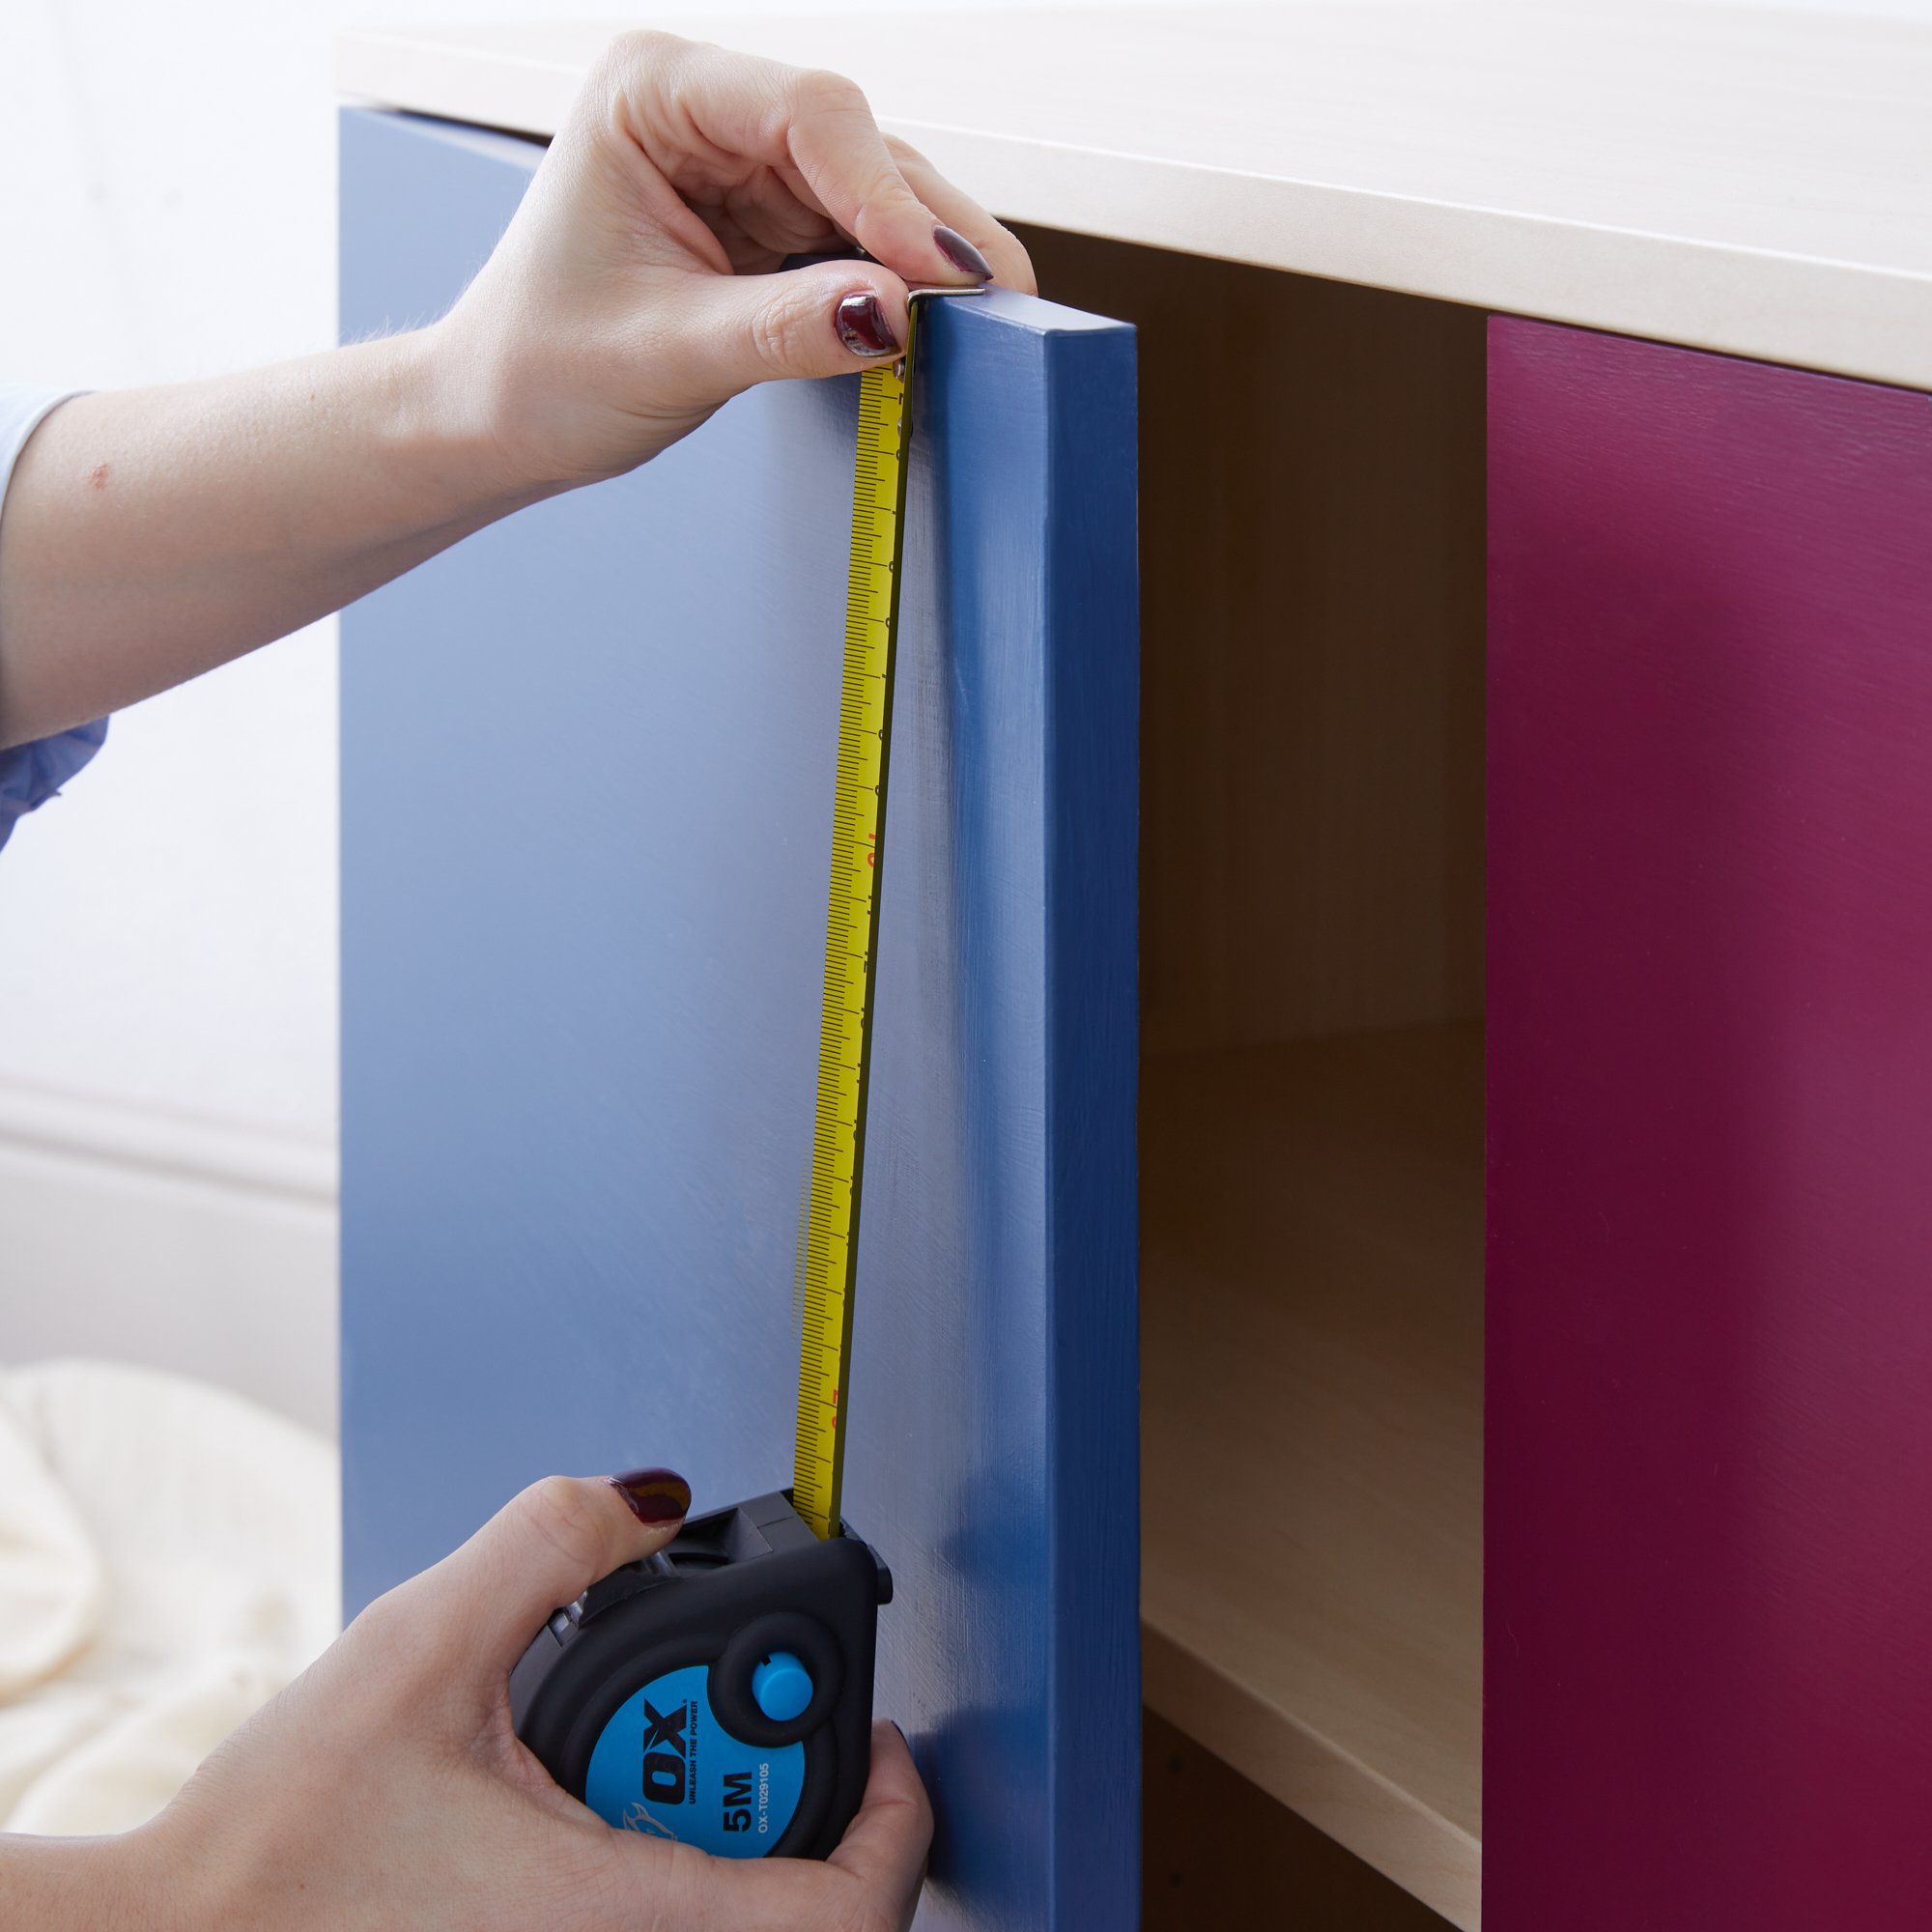

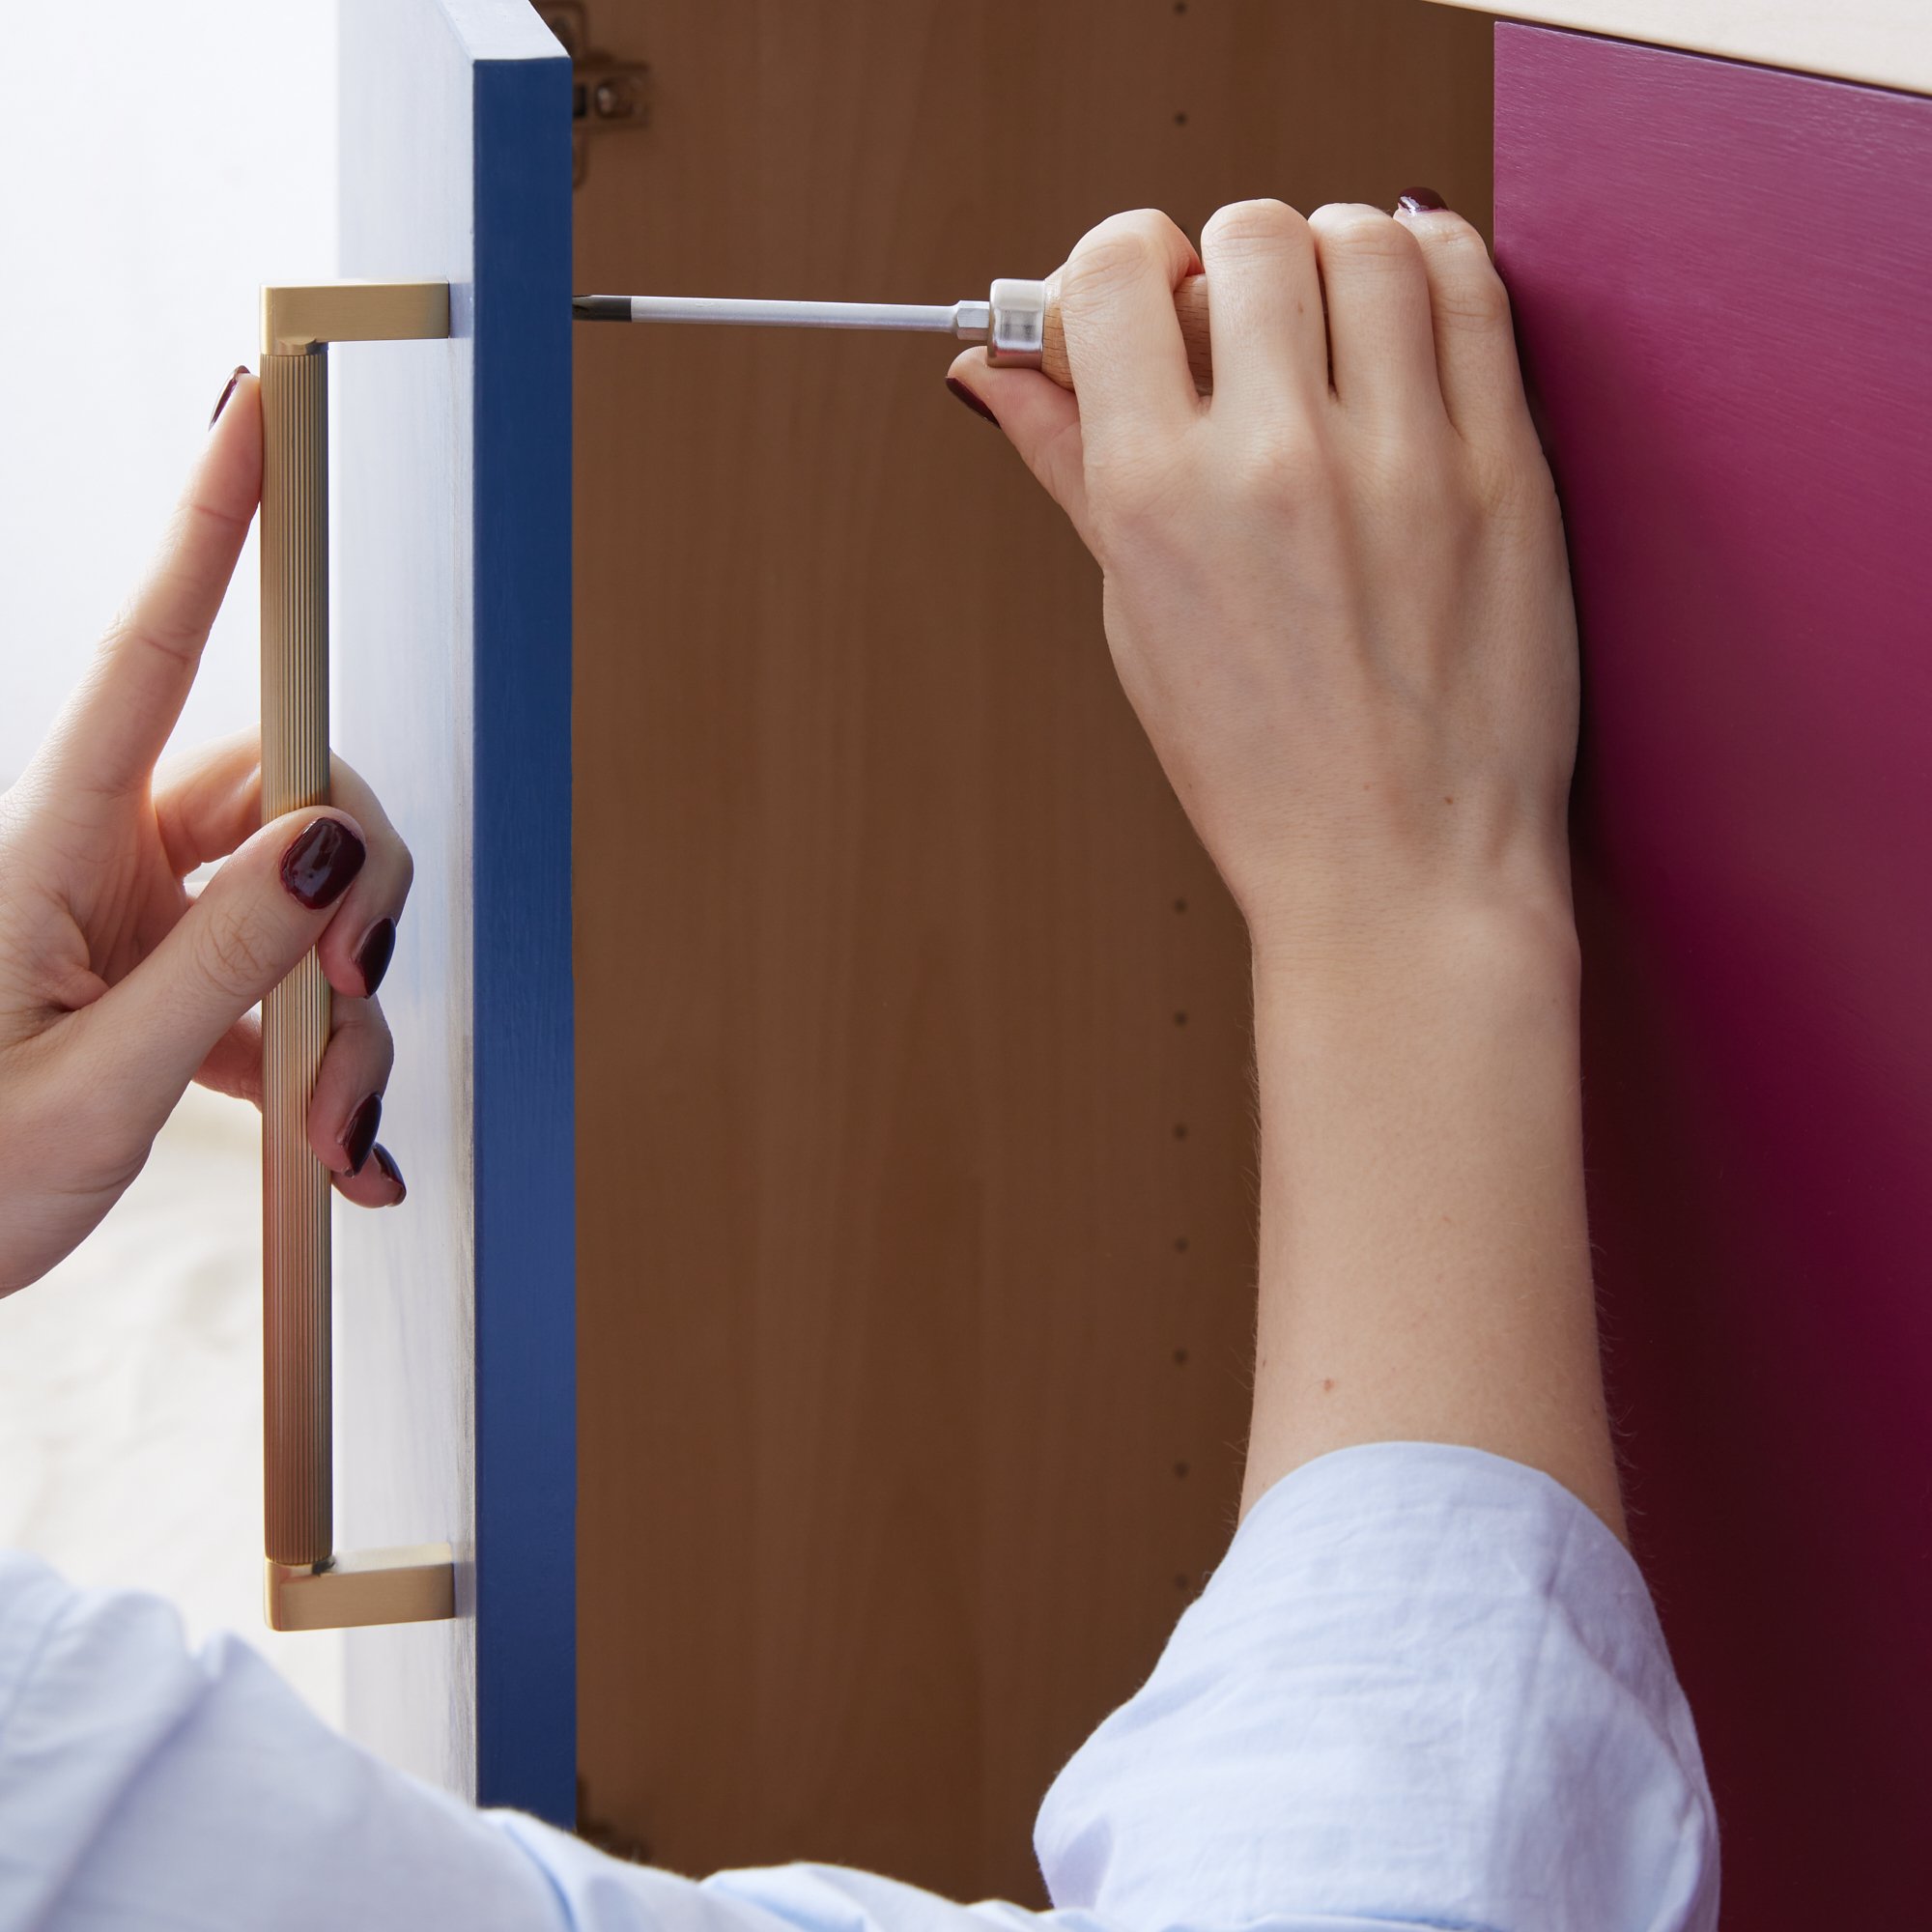
Drill Your Cabinet Fronts
With the holes measured, you’re ready to drill your cabinet fronts. Put on some protective goggles and keep the door open. This will stop you from drilling into the frame of the cabinet behind the door. Use a smaller drill bit to drill a ‘starter hole’ – Larger drill bits have an annoying habit of jumping over from the marked position, which can cause splintering in the wood and leave the cabinet hole on the wonky side. To avoid this, fit a smaller drill bit to your drill and create a starter hole. Line up your drill to the pencil mark you made using your template and slowly drill into the wood, keeping your hand as level and steady as possible. Drill a larger hole – Now you can drill the hole precisely. Use a drill bit the size of the screw you’re using to drill the hole (for standard cabinet hardware screws, this is usually 5mm, but check the supplied screws to make sure it’s the right size first). Top tip: Another way you can prevent your drill bit jumping off position is by using an awl, which is a metal shaft with a large point. Instead of marking your cabinet with a pencil, use an awl to create a slight indentation over the spot you plan to drill. You’ll find that your drill bit will be able to grip the wood a lot easier.Drill Your Cabinet Drawers
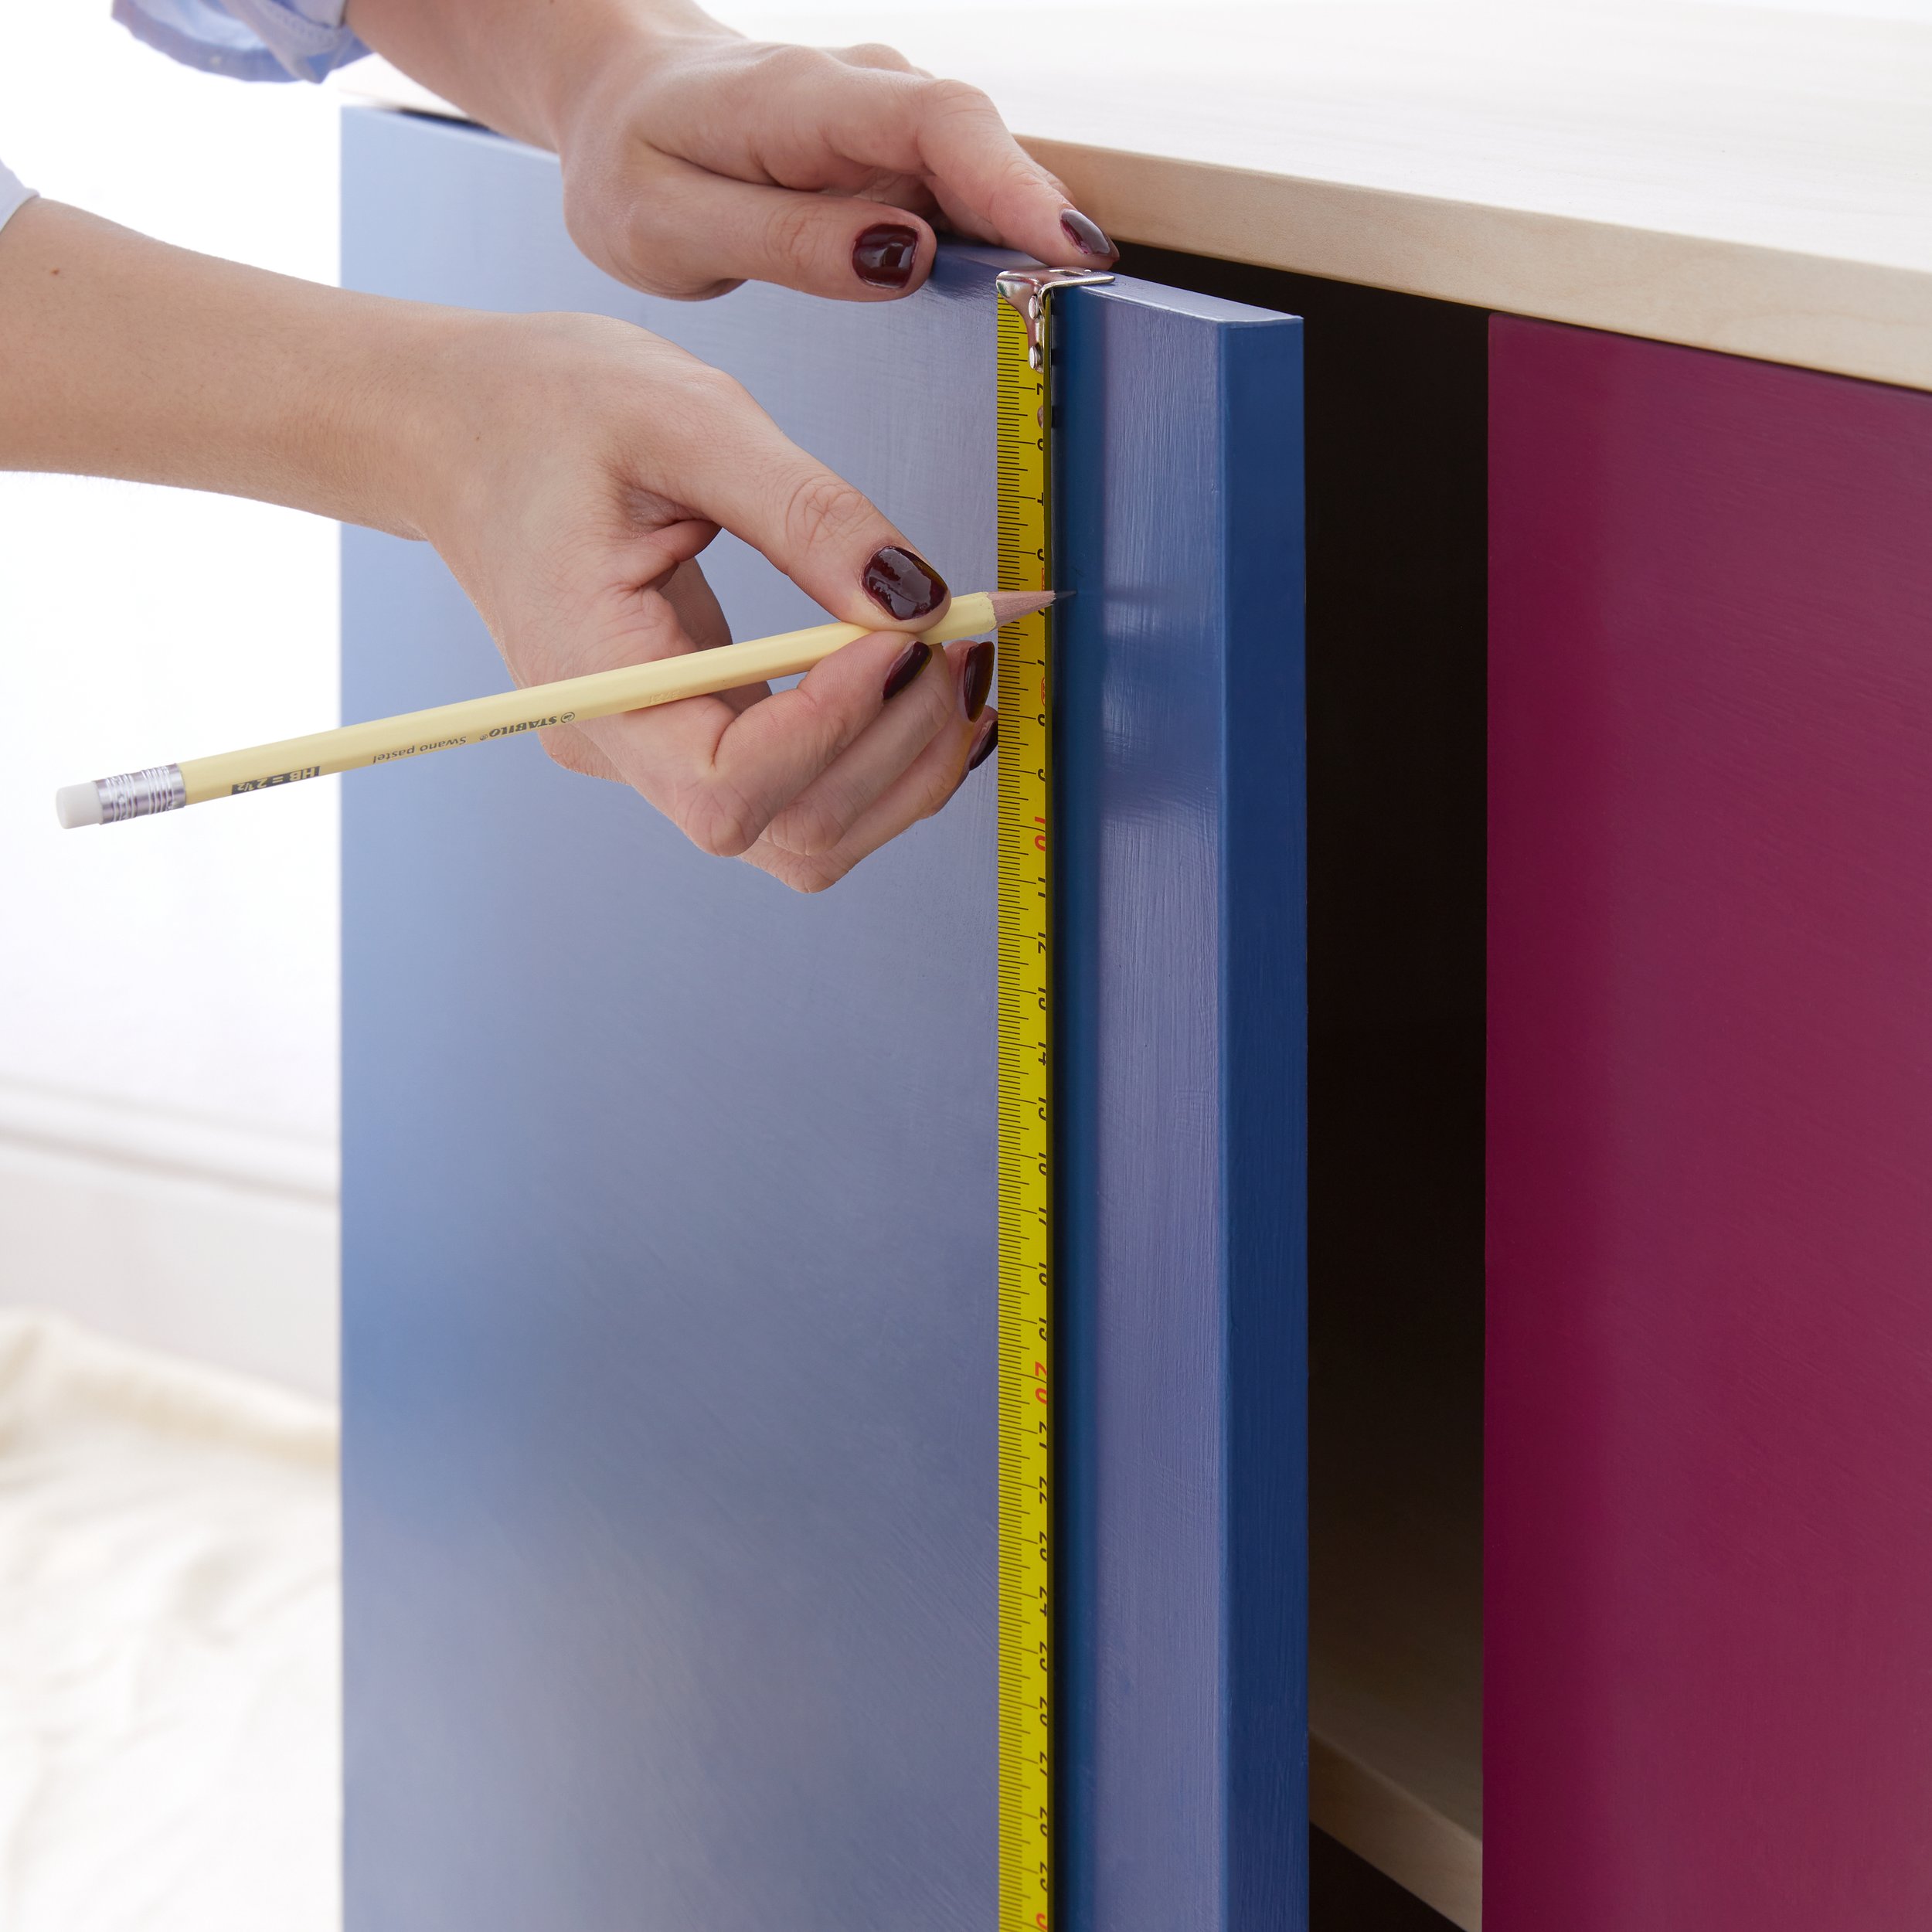
If we’re being honest, it’s a bit trickier to drill cabinet drawers compared to the doors – but it’s nothing you can’t handle 👊 Just keep on taking things slow and follow our step-by-step rundown: Measure the height of the drawer front and divide it in half.Put a pencil mark where the middle will be, but don’t press too hard – this could cause an indentation in the wood.Once you’ve found the vertical centre, measure the width of the drawer front.Divide this number in half to mark the horizontal centre of the cabinet front. If you’re drilling a single hole for knobs, this is where you’ll drill.Or if you’re drilling two holes for a pull handle for drawers, you need to measure equal distances left and right to make sure the two screw holes line up with the handle legs, so sitting centre on the drawer front.For wider drawers, you may want to install two pulls. In this case, you’ll want to measure equal distances from both sides.
Cover Unused Holes With Tape
With so many holes in the template to choose from, it’s easy to forget which one you’re using and end up drilling a hole in the wrong place. The simplest way to avoid this is sticking masking tape over your template and poking through only the holes you plan on using.Hide Old Holes With Backplates
The hard work’s done and we’re onto the finishing touches 🙌 Since you’ve drilled new holes, you’ll want to cover up the old holes or any damage leftover from your previous hardware. Forget the faff of sanding the wood and using wood filler, and try using one of our backplates instead. Sturdy and secure, they’ll sit behind your chosen pull handles and add an industrial finish to your cupboards and utility units. Choose from our smart and subtle DERRY Handle Backplate in Brass, or our DERRY Handle Backplate in Antique Brass, the perfect complement to your vintage home aesthetic. Whatever your creative vision, rest assured knowing that our backplates are made to last and finished in a clear protective lacquer.See our post on how to accurately measure and fit kitchen hardware.That’s all there is to it! Smooth holes drilled for your stylish new cabinet hardware 😍 If reading this has made you want to continue upgrading your cabinets, take a look at our advice on how to upcycle kitchen cupboards on a budget or how to upcycle a cocktail cabinet. Both guides cover how to breathe new life into your cabinets and have all the painting inspiration you’ll ever need.
Blog


Fit for pro skills…