How to flip furniture, like Luke
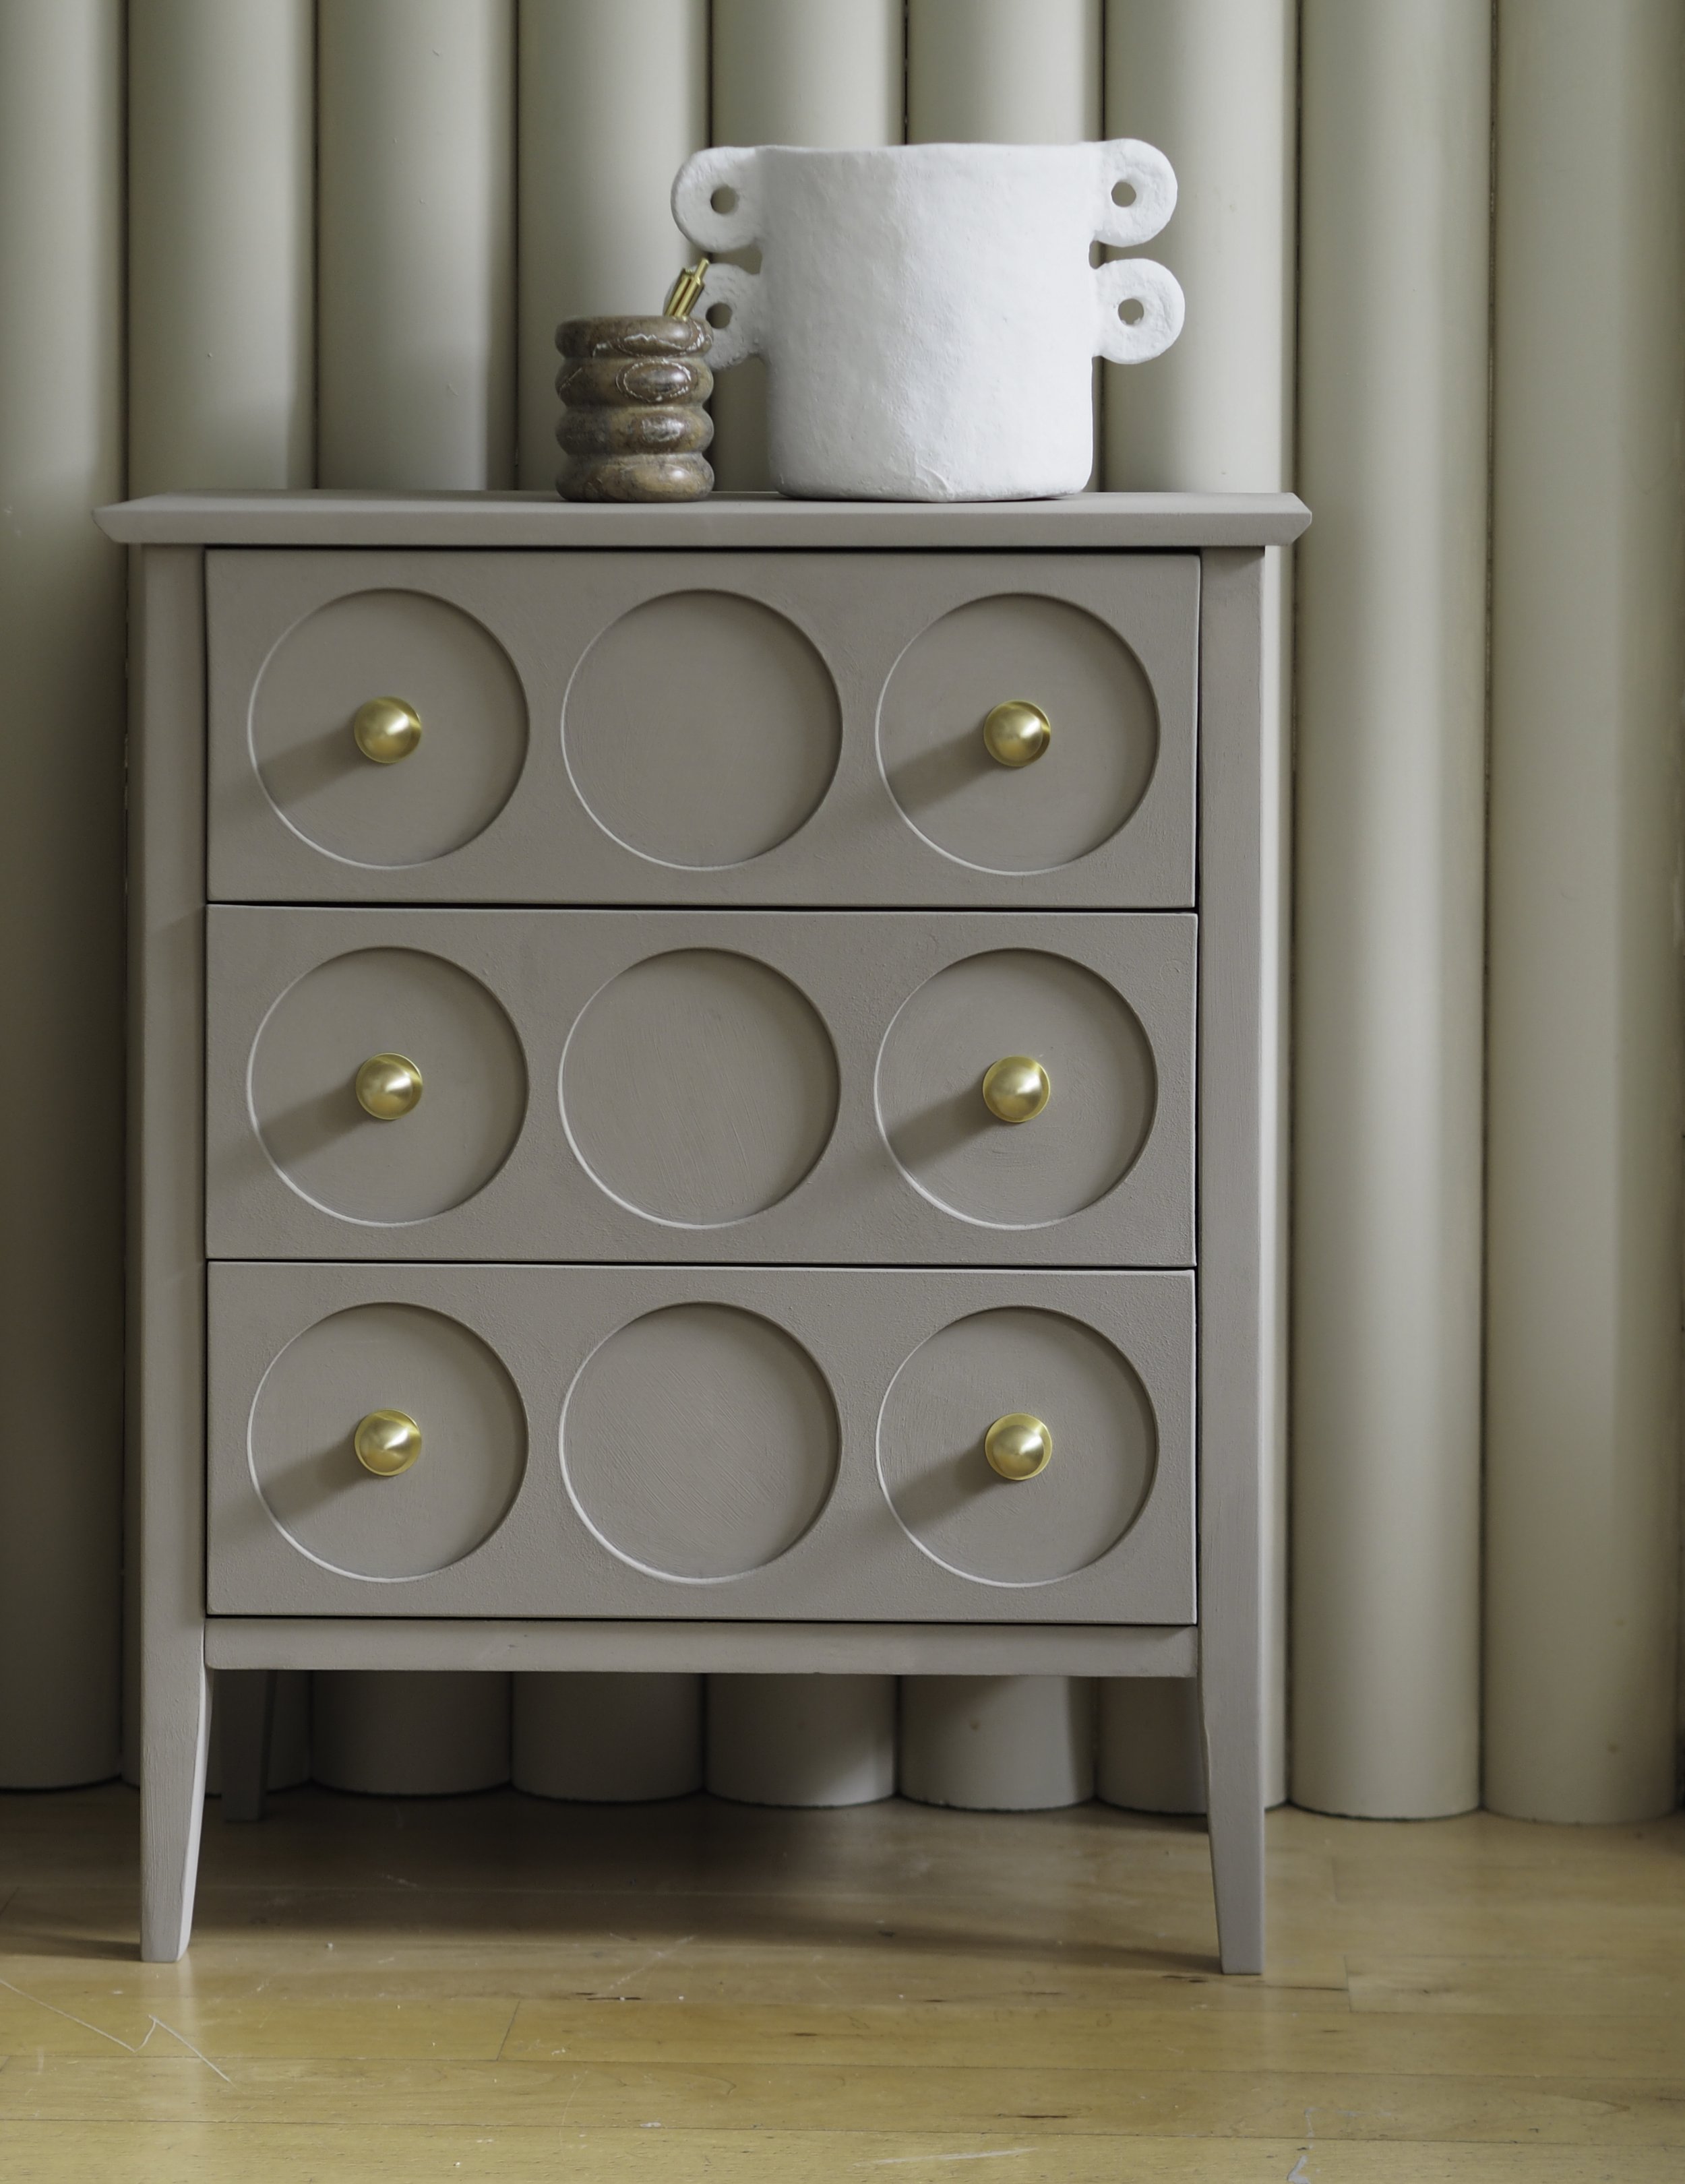
You must know Luke Arthur Wells (@lukearthurwells) from his high-end interiors and exceptional DIY skills. His most recent project has been the ultimate upcycle – turning a wooden chest of drawers into a showroom-worthy piece with just some trending hardware, Annie Sloan's Chalk Paint and a clever tool kit.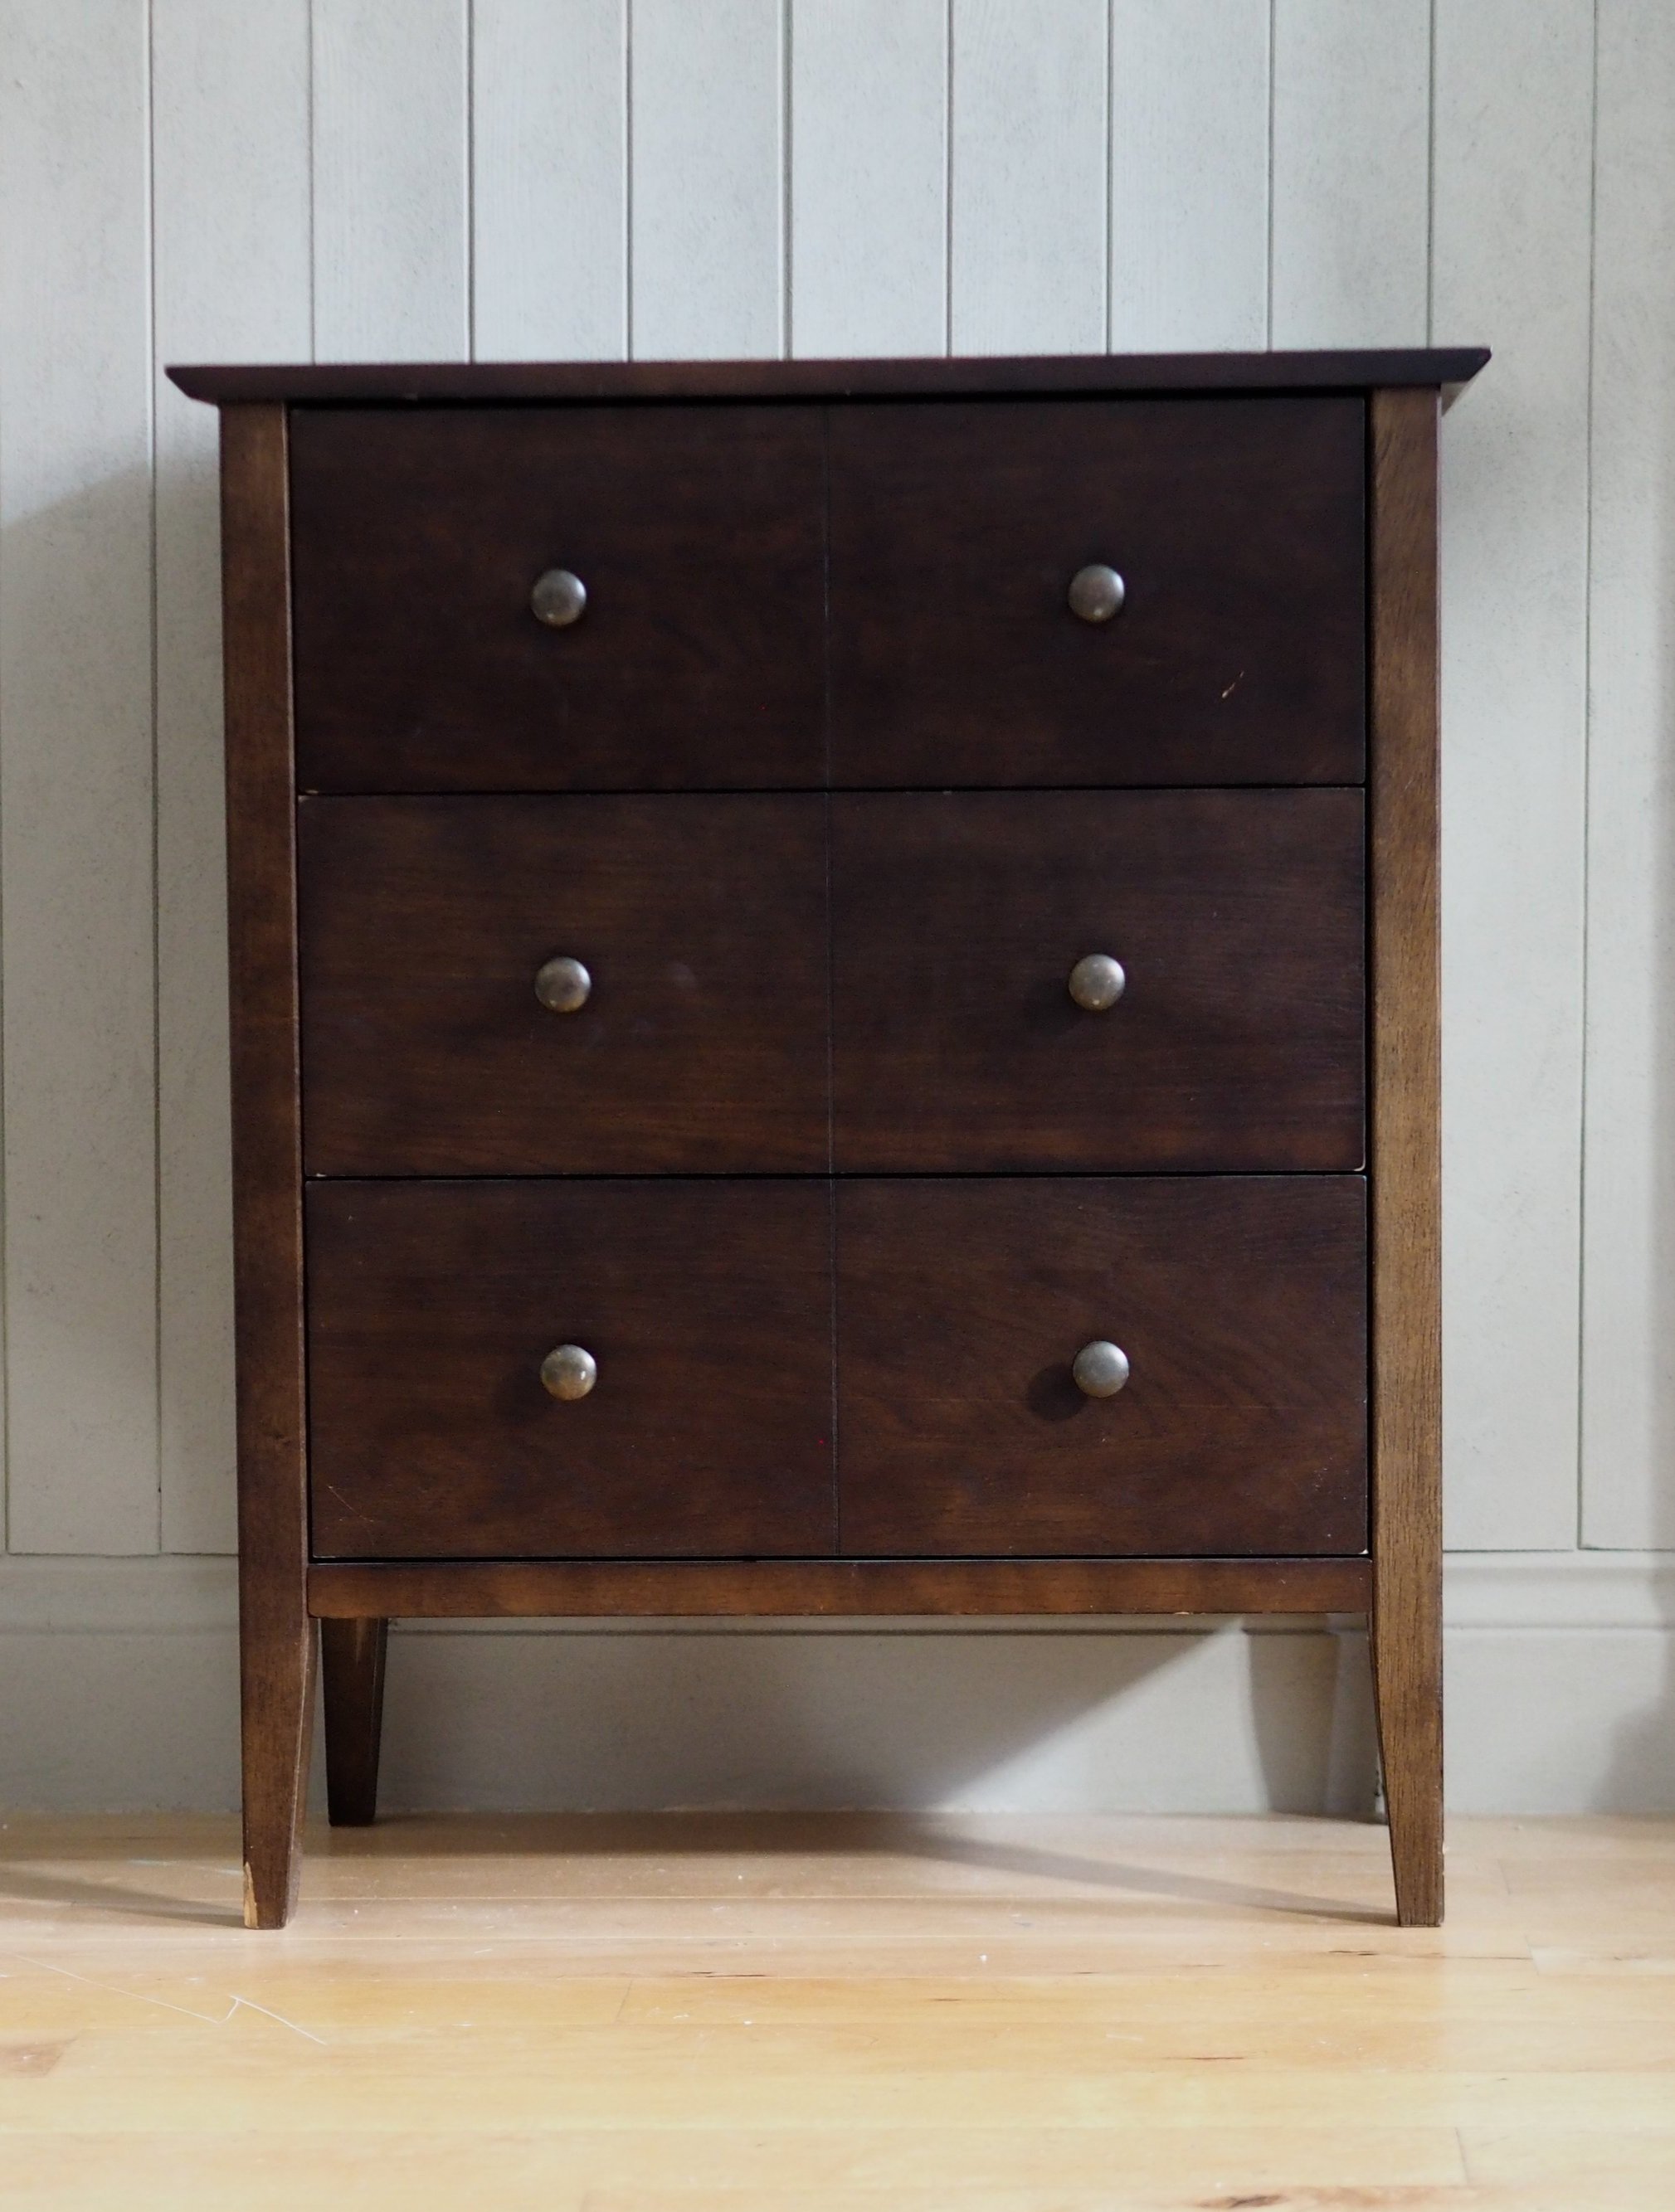
We’re here to walk you through the full upcycle, including all the materials, tools and step-by-step instructions you’ll need to mimic Luke’s handiwork. What you’ll need…
Materials
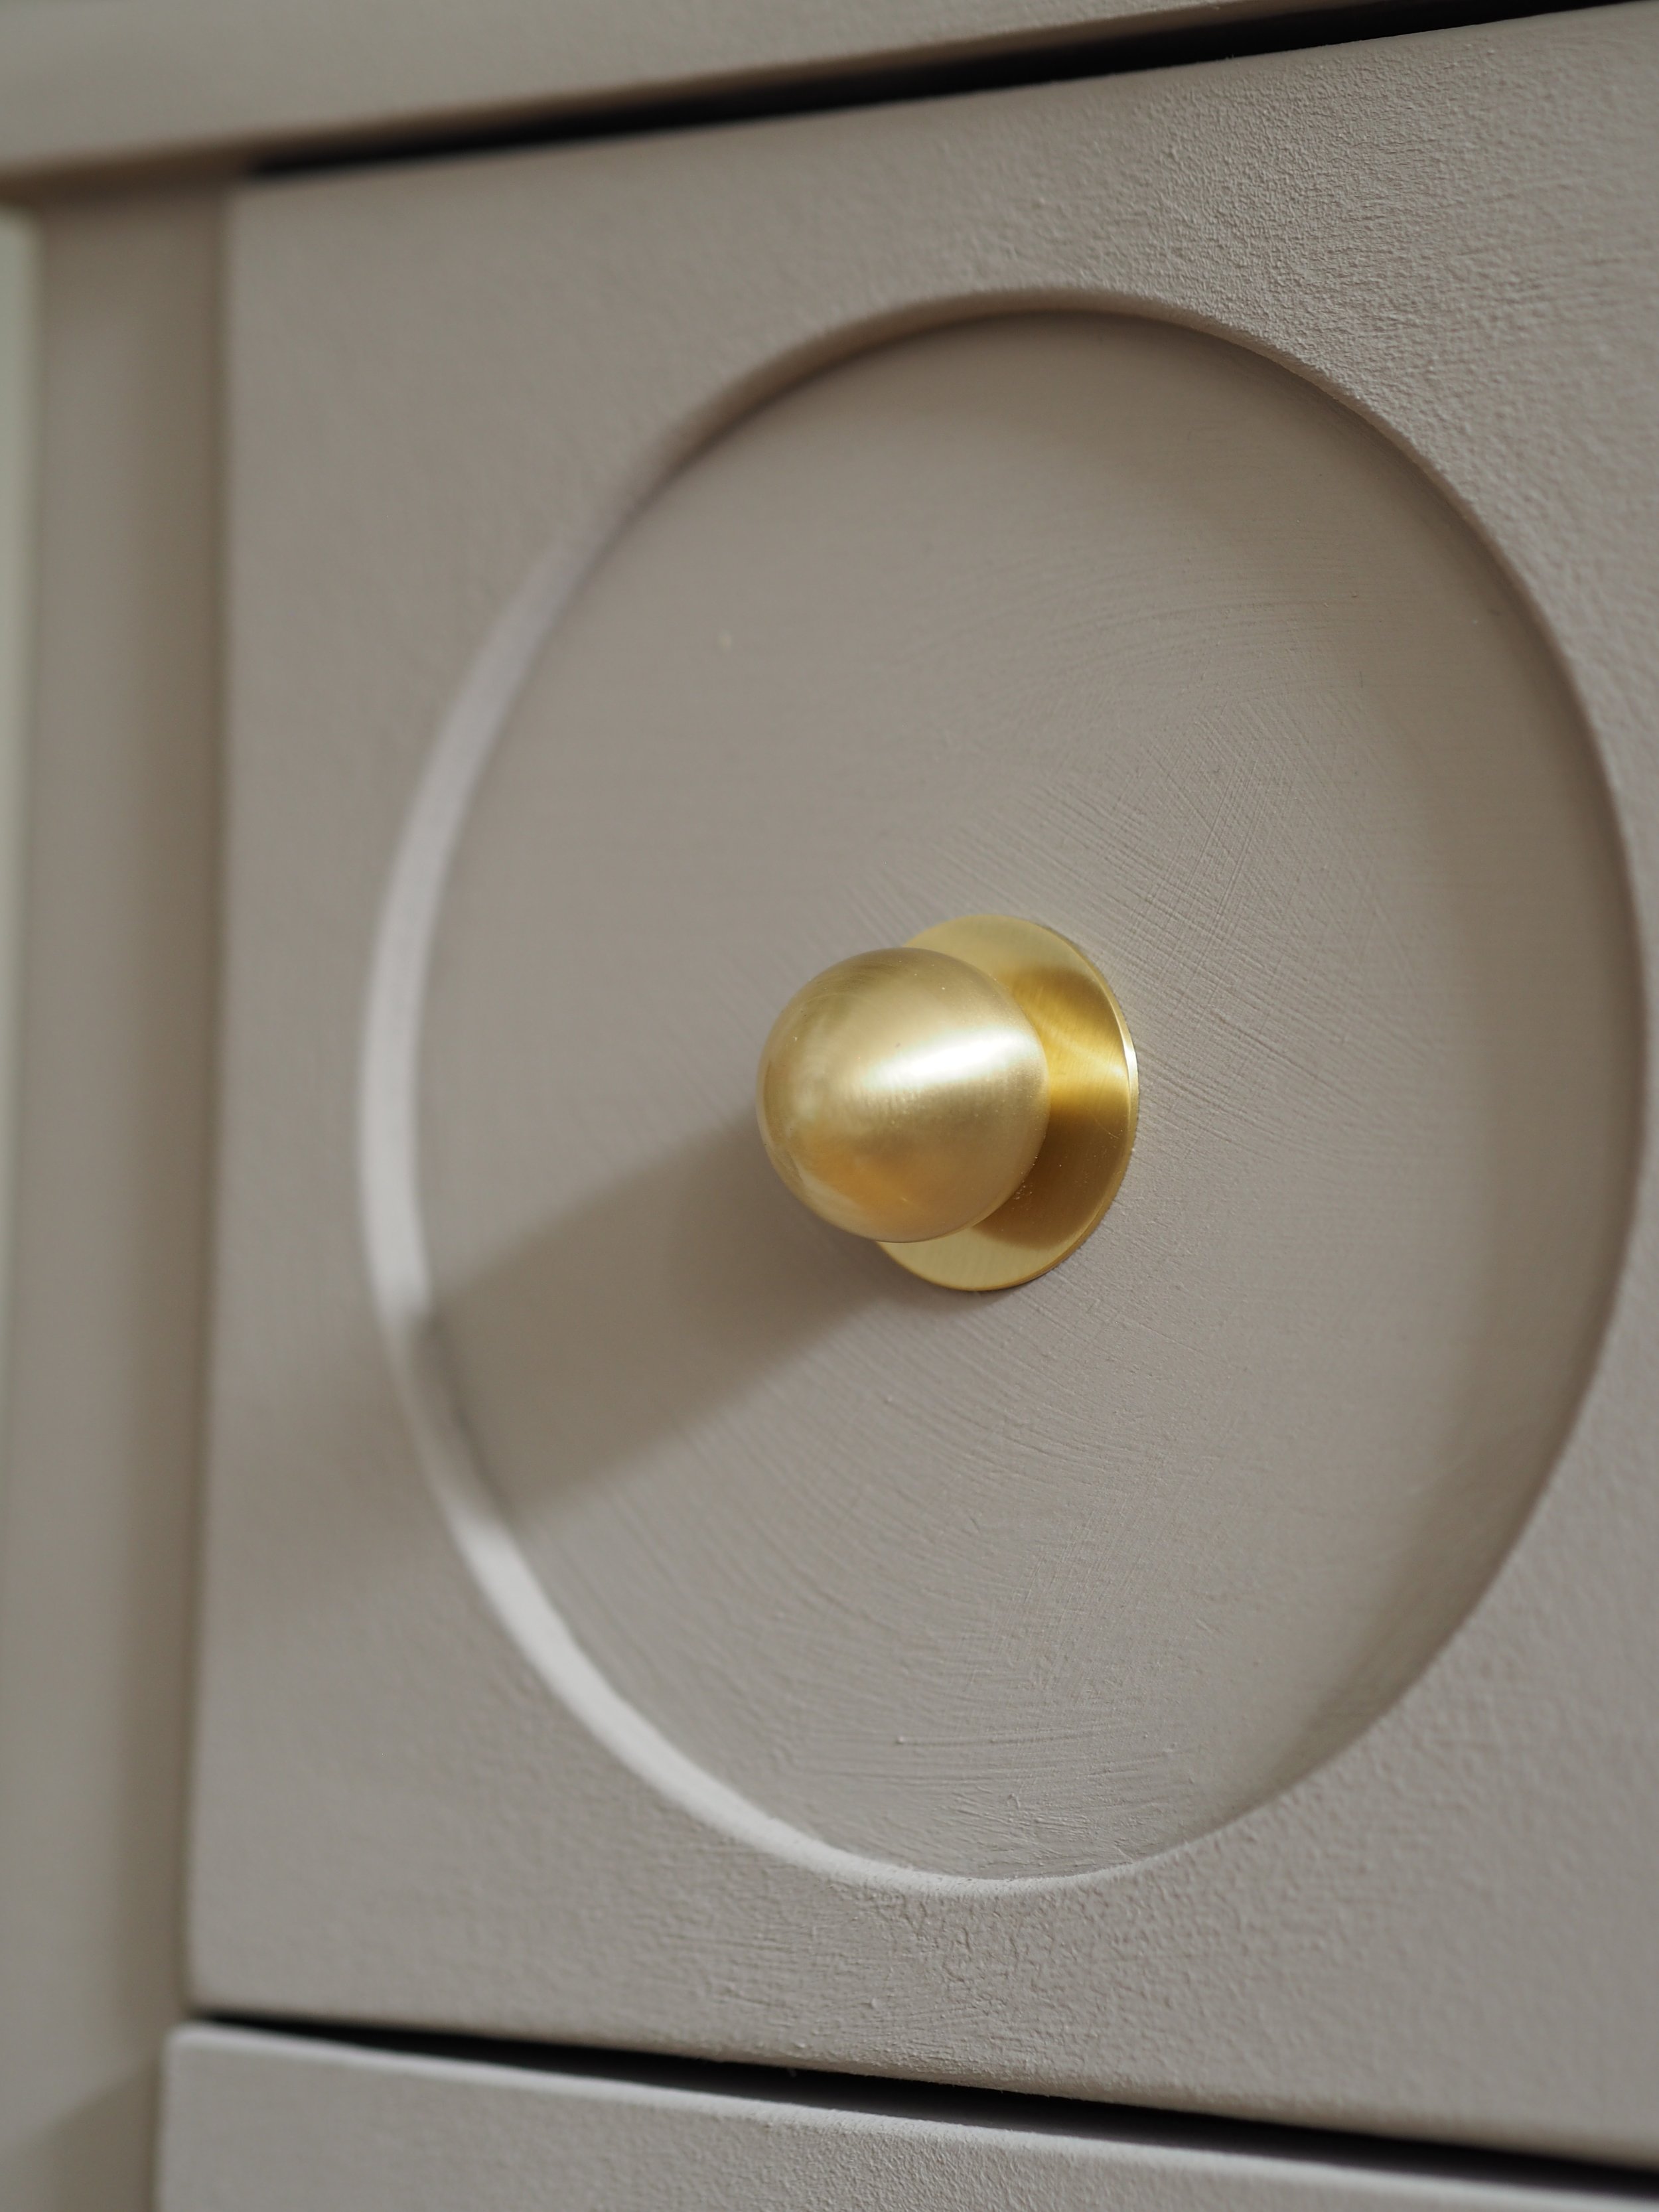
A dated chest of drawers 👌MDF board, roughly larger than the drawersLUNA Round Halo Knobs, to replace your hardwareAnnie Sloan’s Chalk Paint in CocoAnnie Sloan’s Chalk Paint WaxWood filler
Tools
ScrewdriverPutty knifeLint-free cloth150 & 220 grit sandpaper or orbital sanderPencilRulerDrillHole saw bit & arbourAdhesive glueFlat paint brush and roller
The instructions
Preparing the wooden chest of drawers:
Step 1
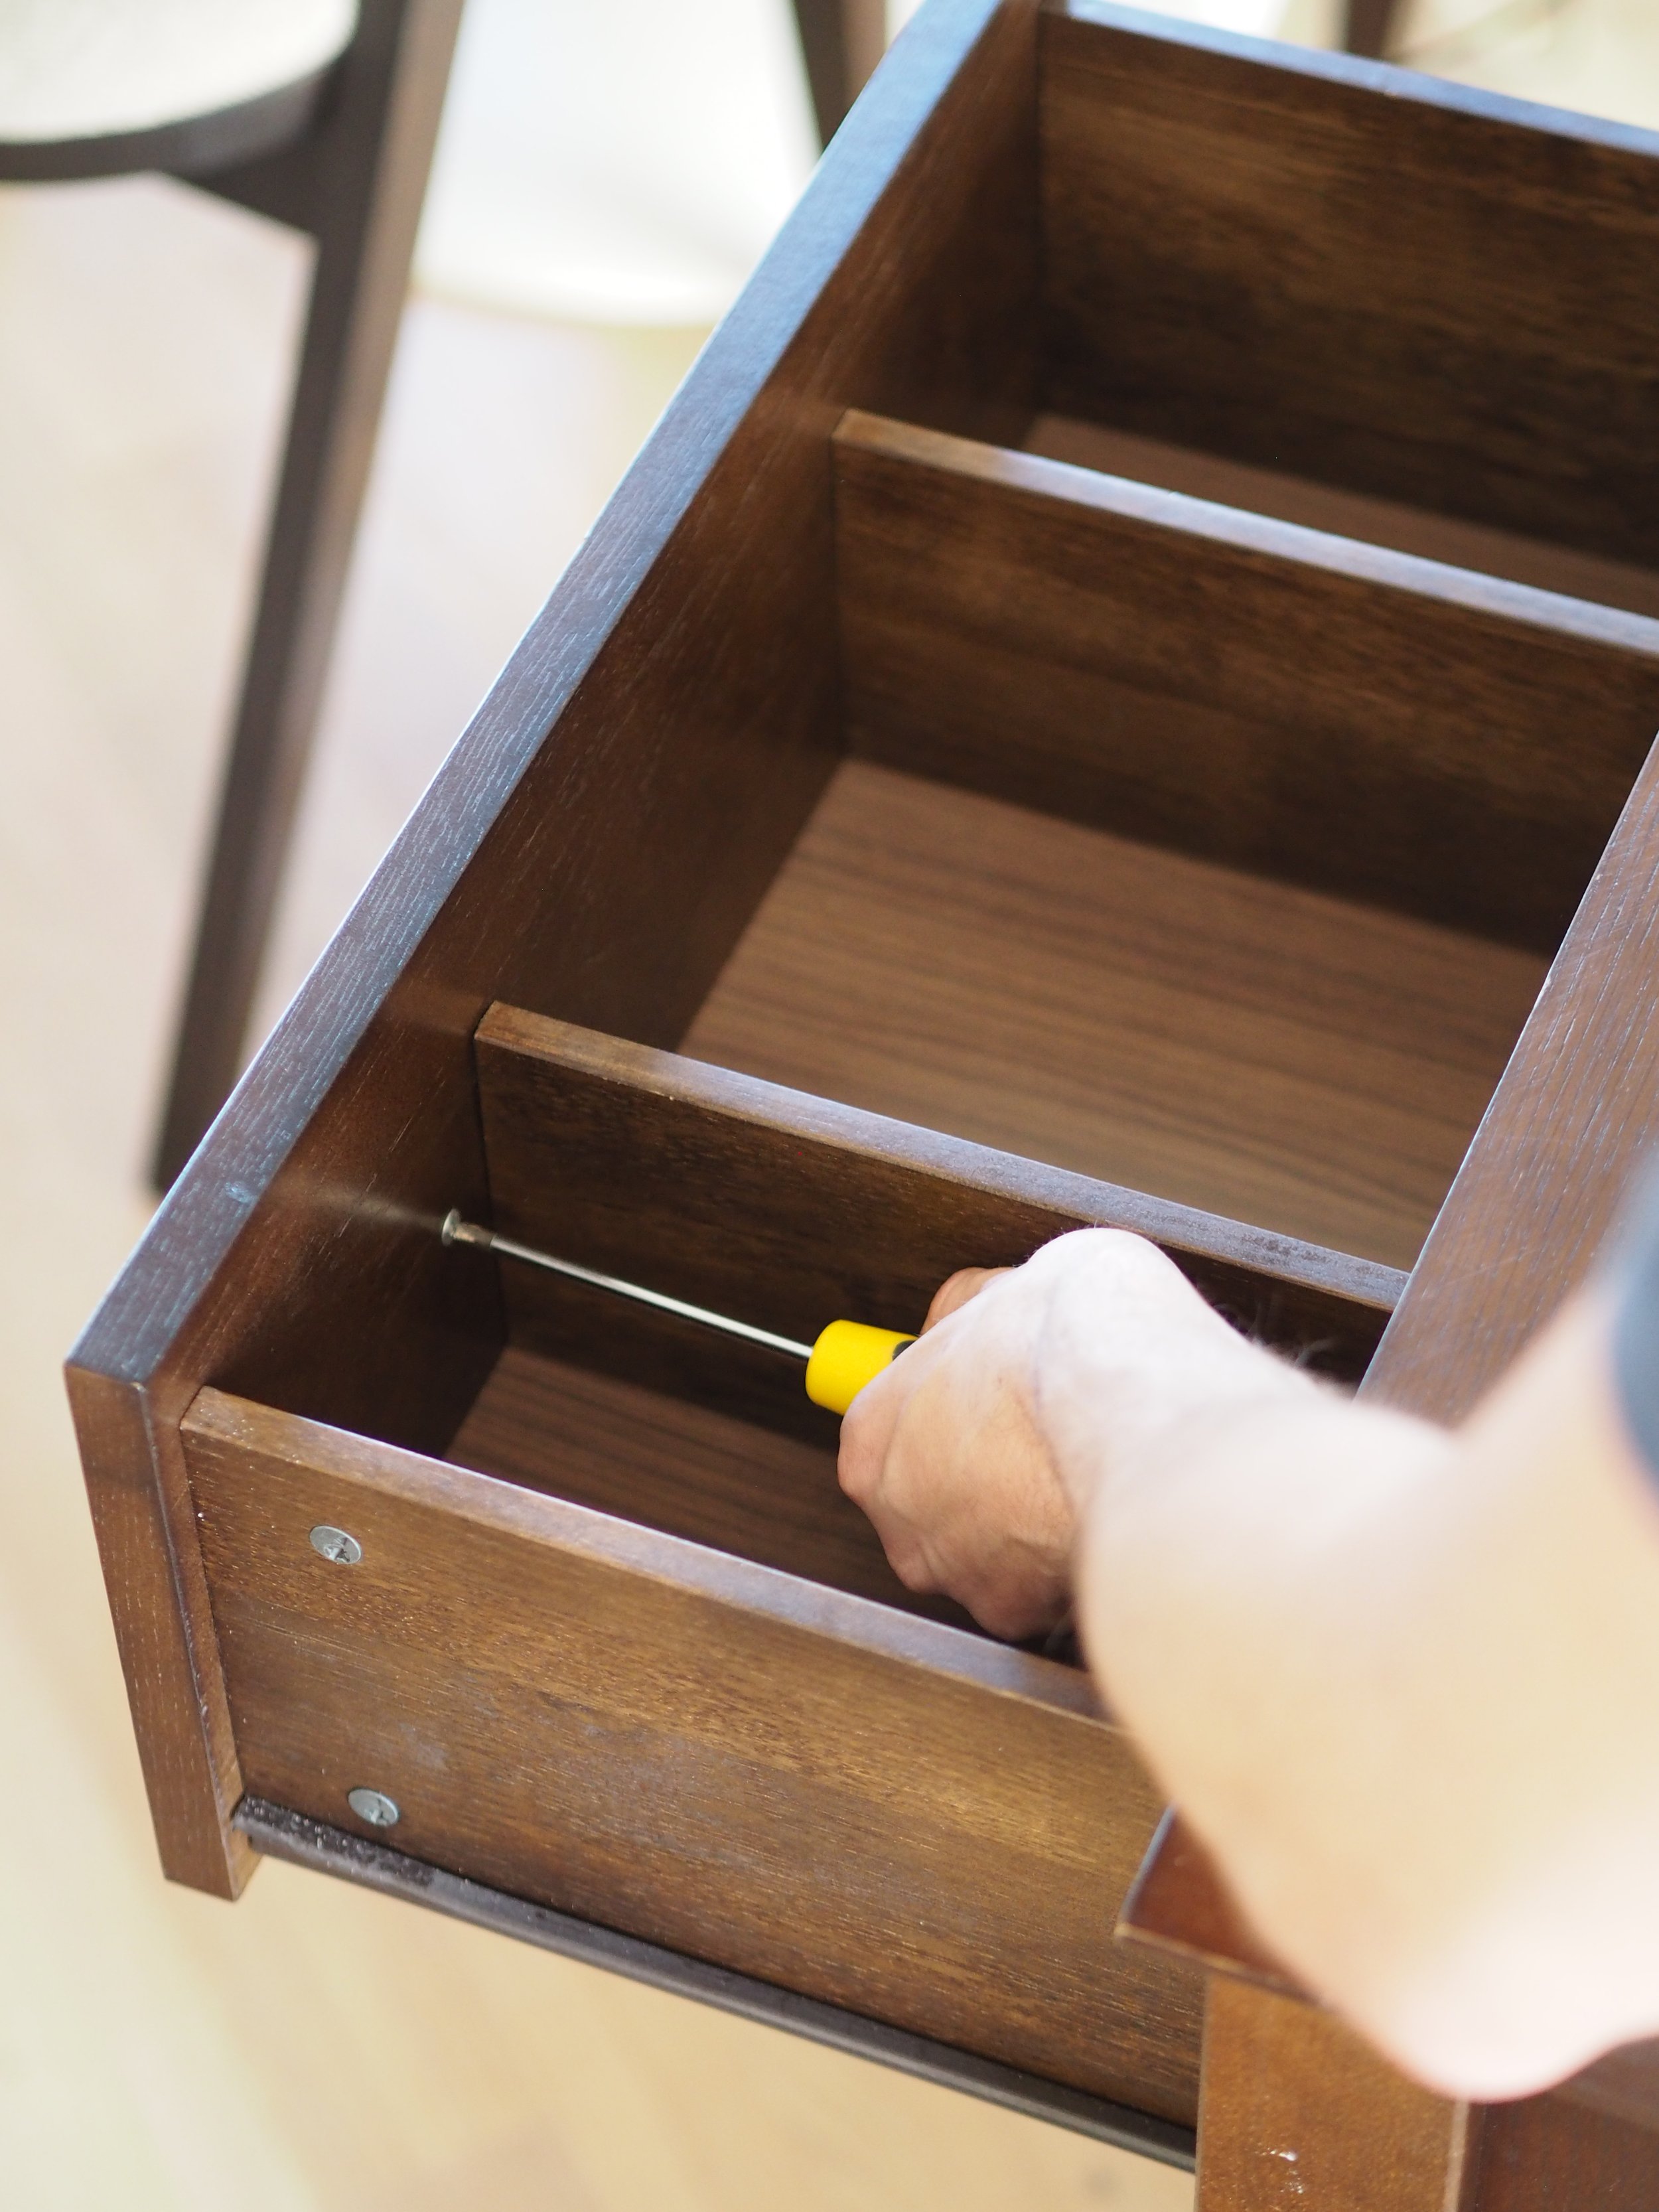
Remove old hardware using a screwdriver. Use a putty knife to apply wood filler to old screw holes and any other cracks or unwanted seams to help fill and repair the surface of your furniture. Scrape off any excess and leave to dry. Step 2
Once dry, sand the wood filler smooth, in the direction of the wood grain. Wipe away any excess dust with a lint-free cloth. 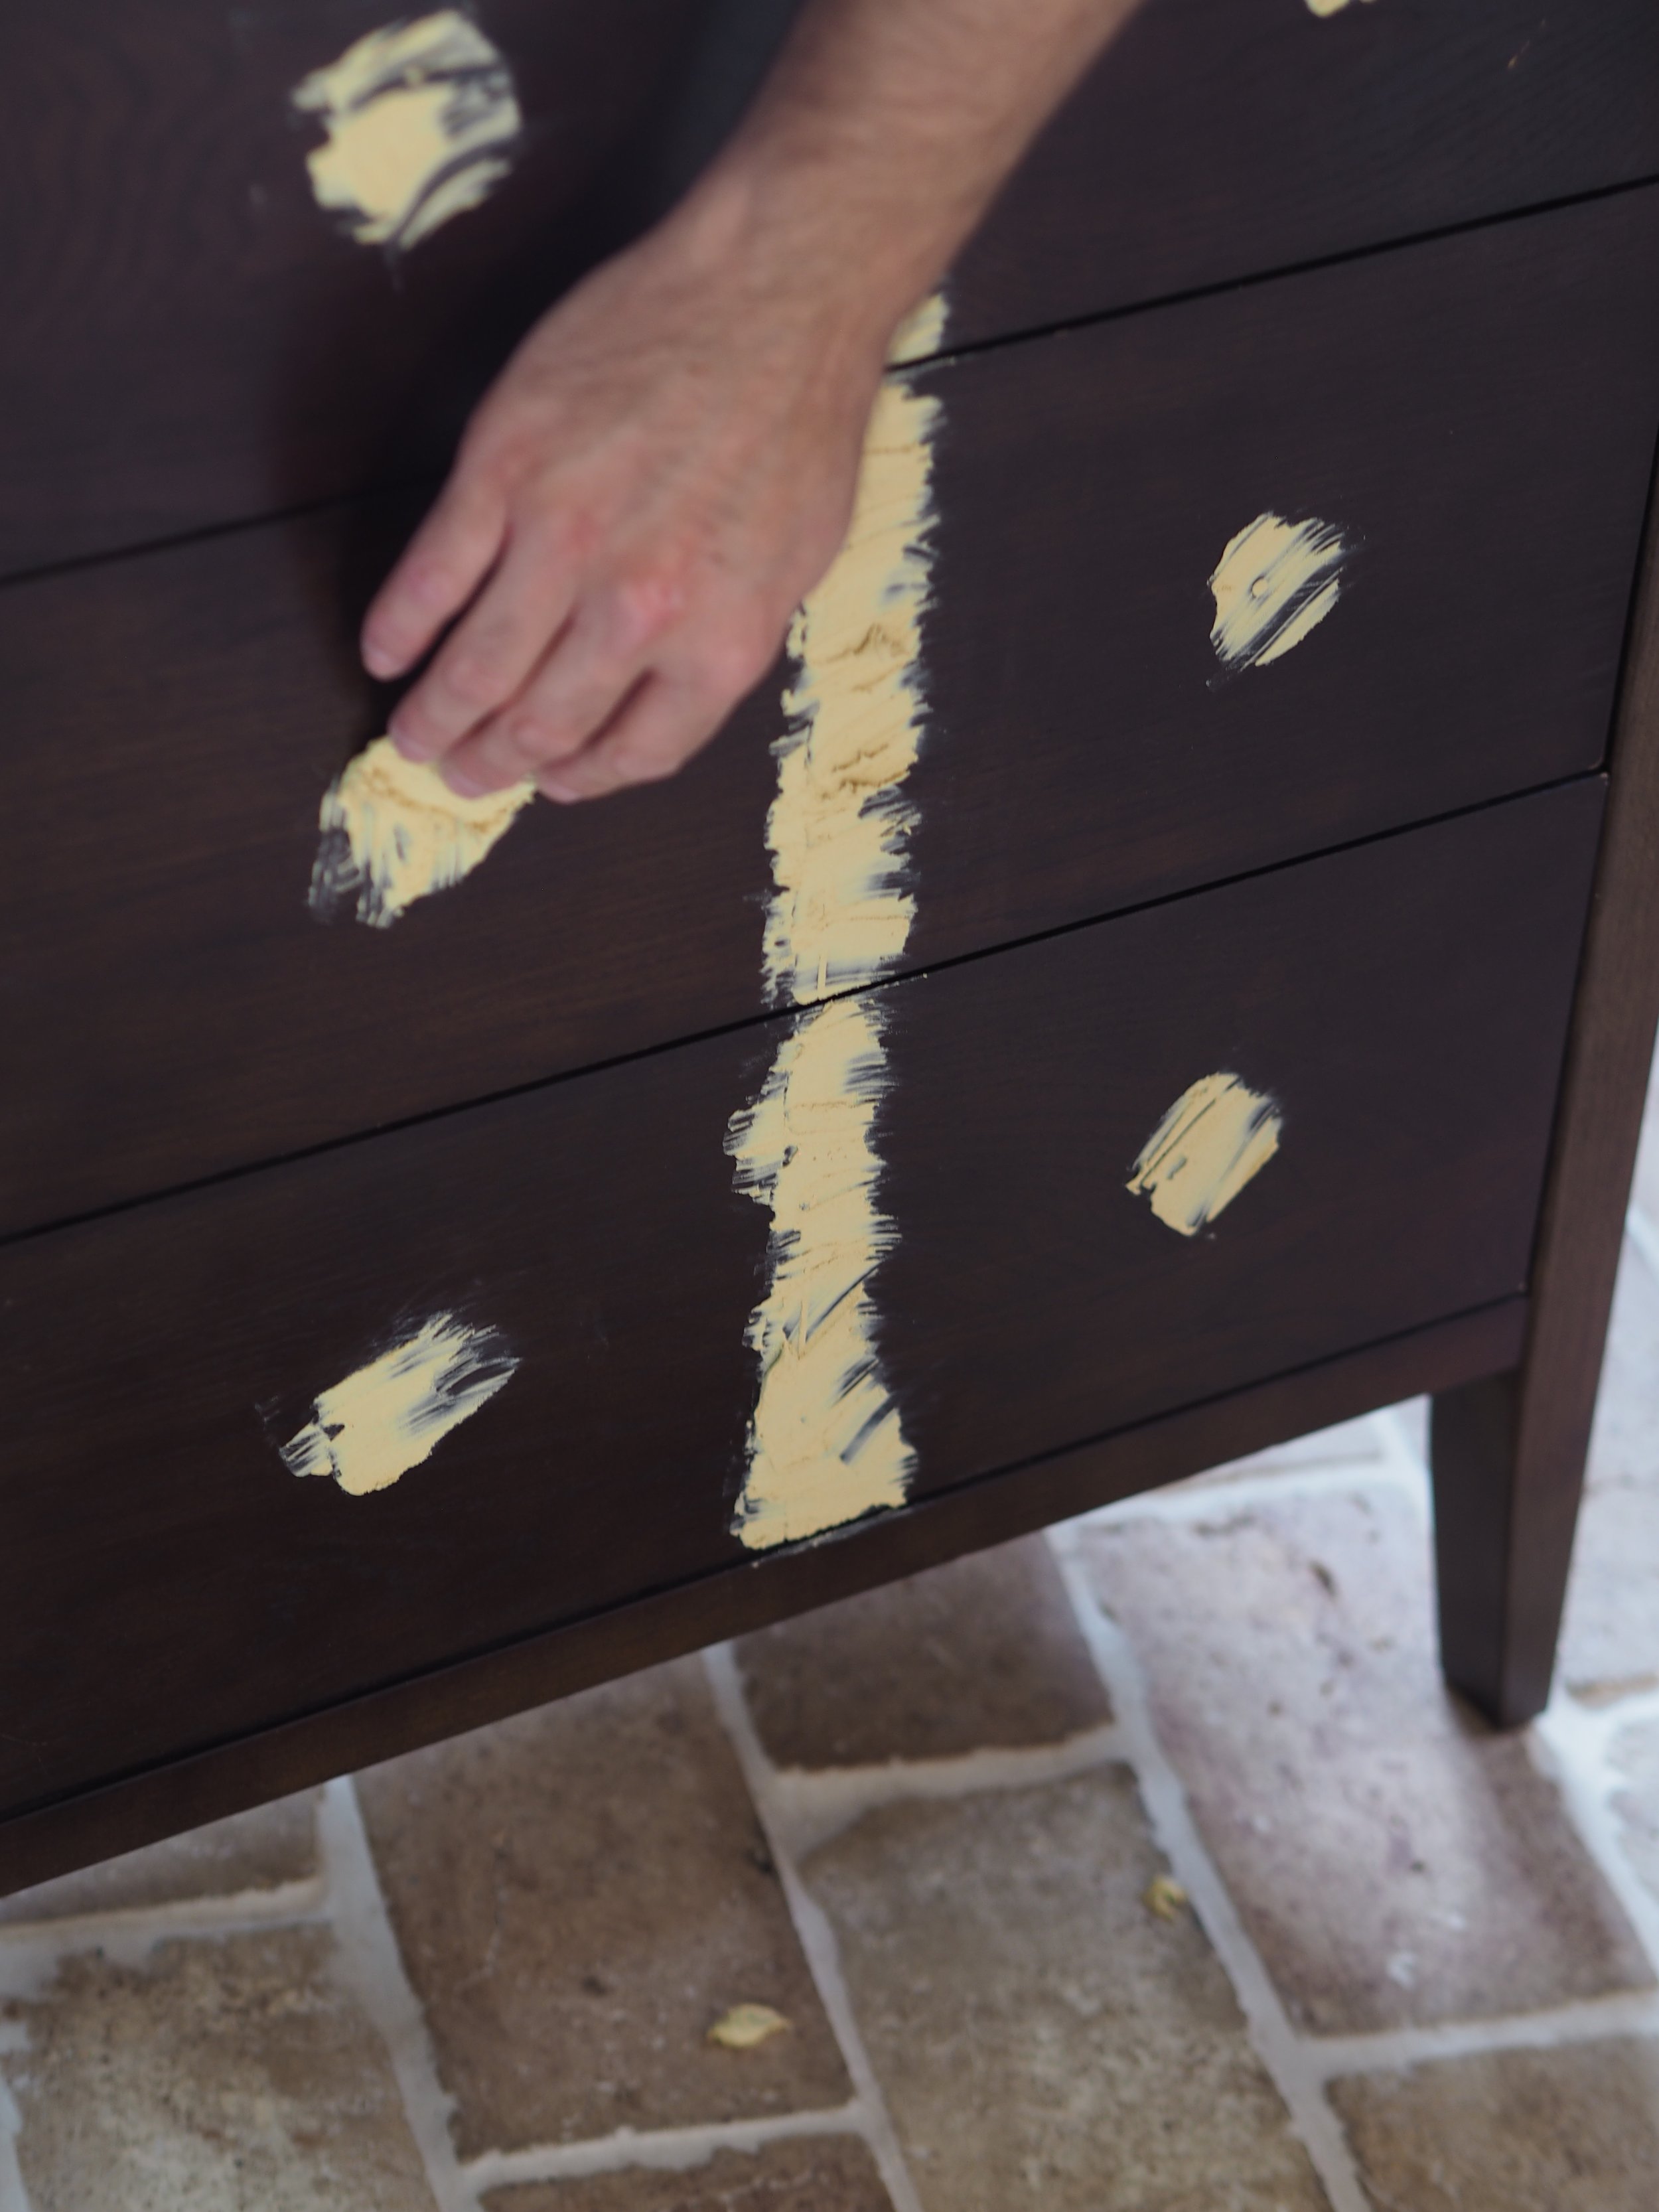
Step 3
To remove the varnish from the chest of drawers, Use 150-grit sandpaper and sand the entire surface. Then, move onto 220-grit sandpaper and repeat. This should remove the varnish. An orbital sander will make this job much easier and quicker if you’re removing varnish from a flat surface. Step 4
Brush down the surface to rid of excess dust, and use soap and water to clean the surface. Your chest of drawers are now clean, prepped and ready to paint 👌
Creating the MDF layer:
Step 1
Measure the length and width of the front of one drawer, and use a pencil and ruler to mark those measurements on the MDF. Trim the MDF along the markings. This should be the same size of the front of the drawer.Step 2
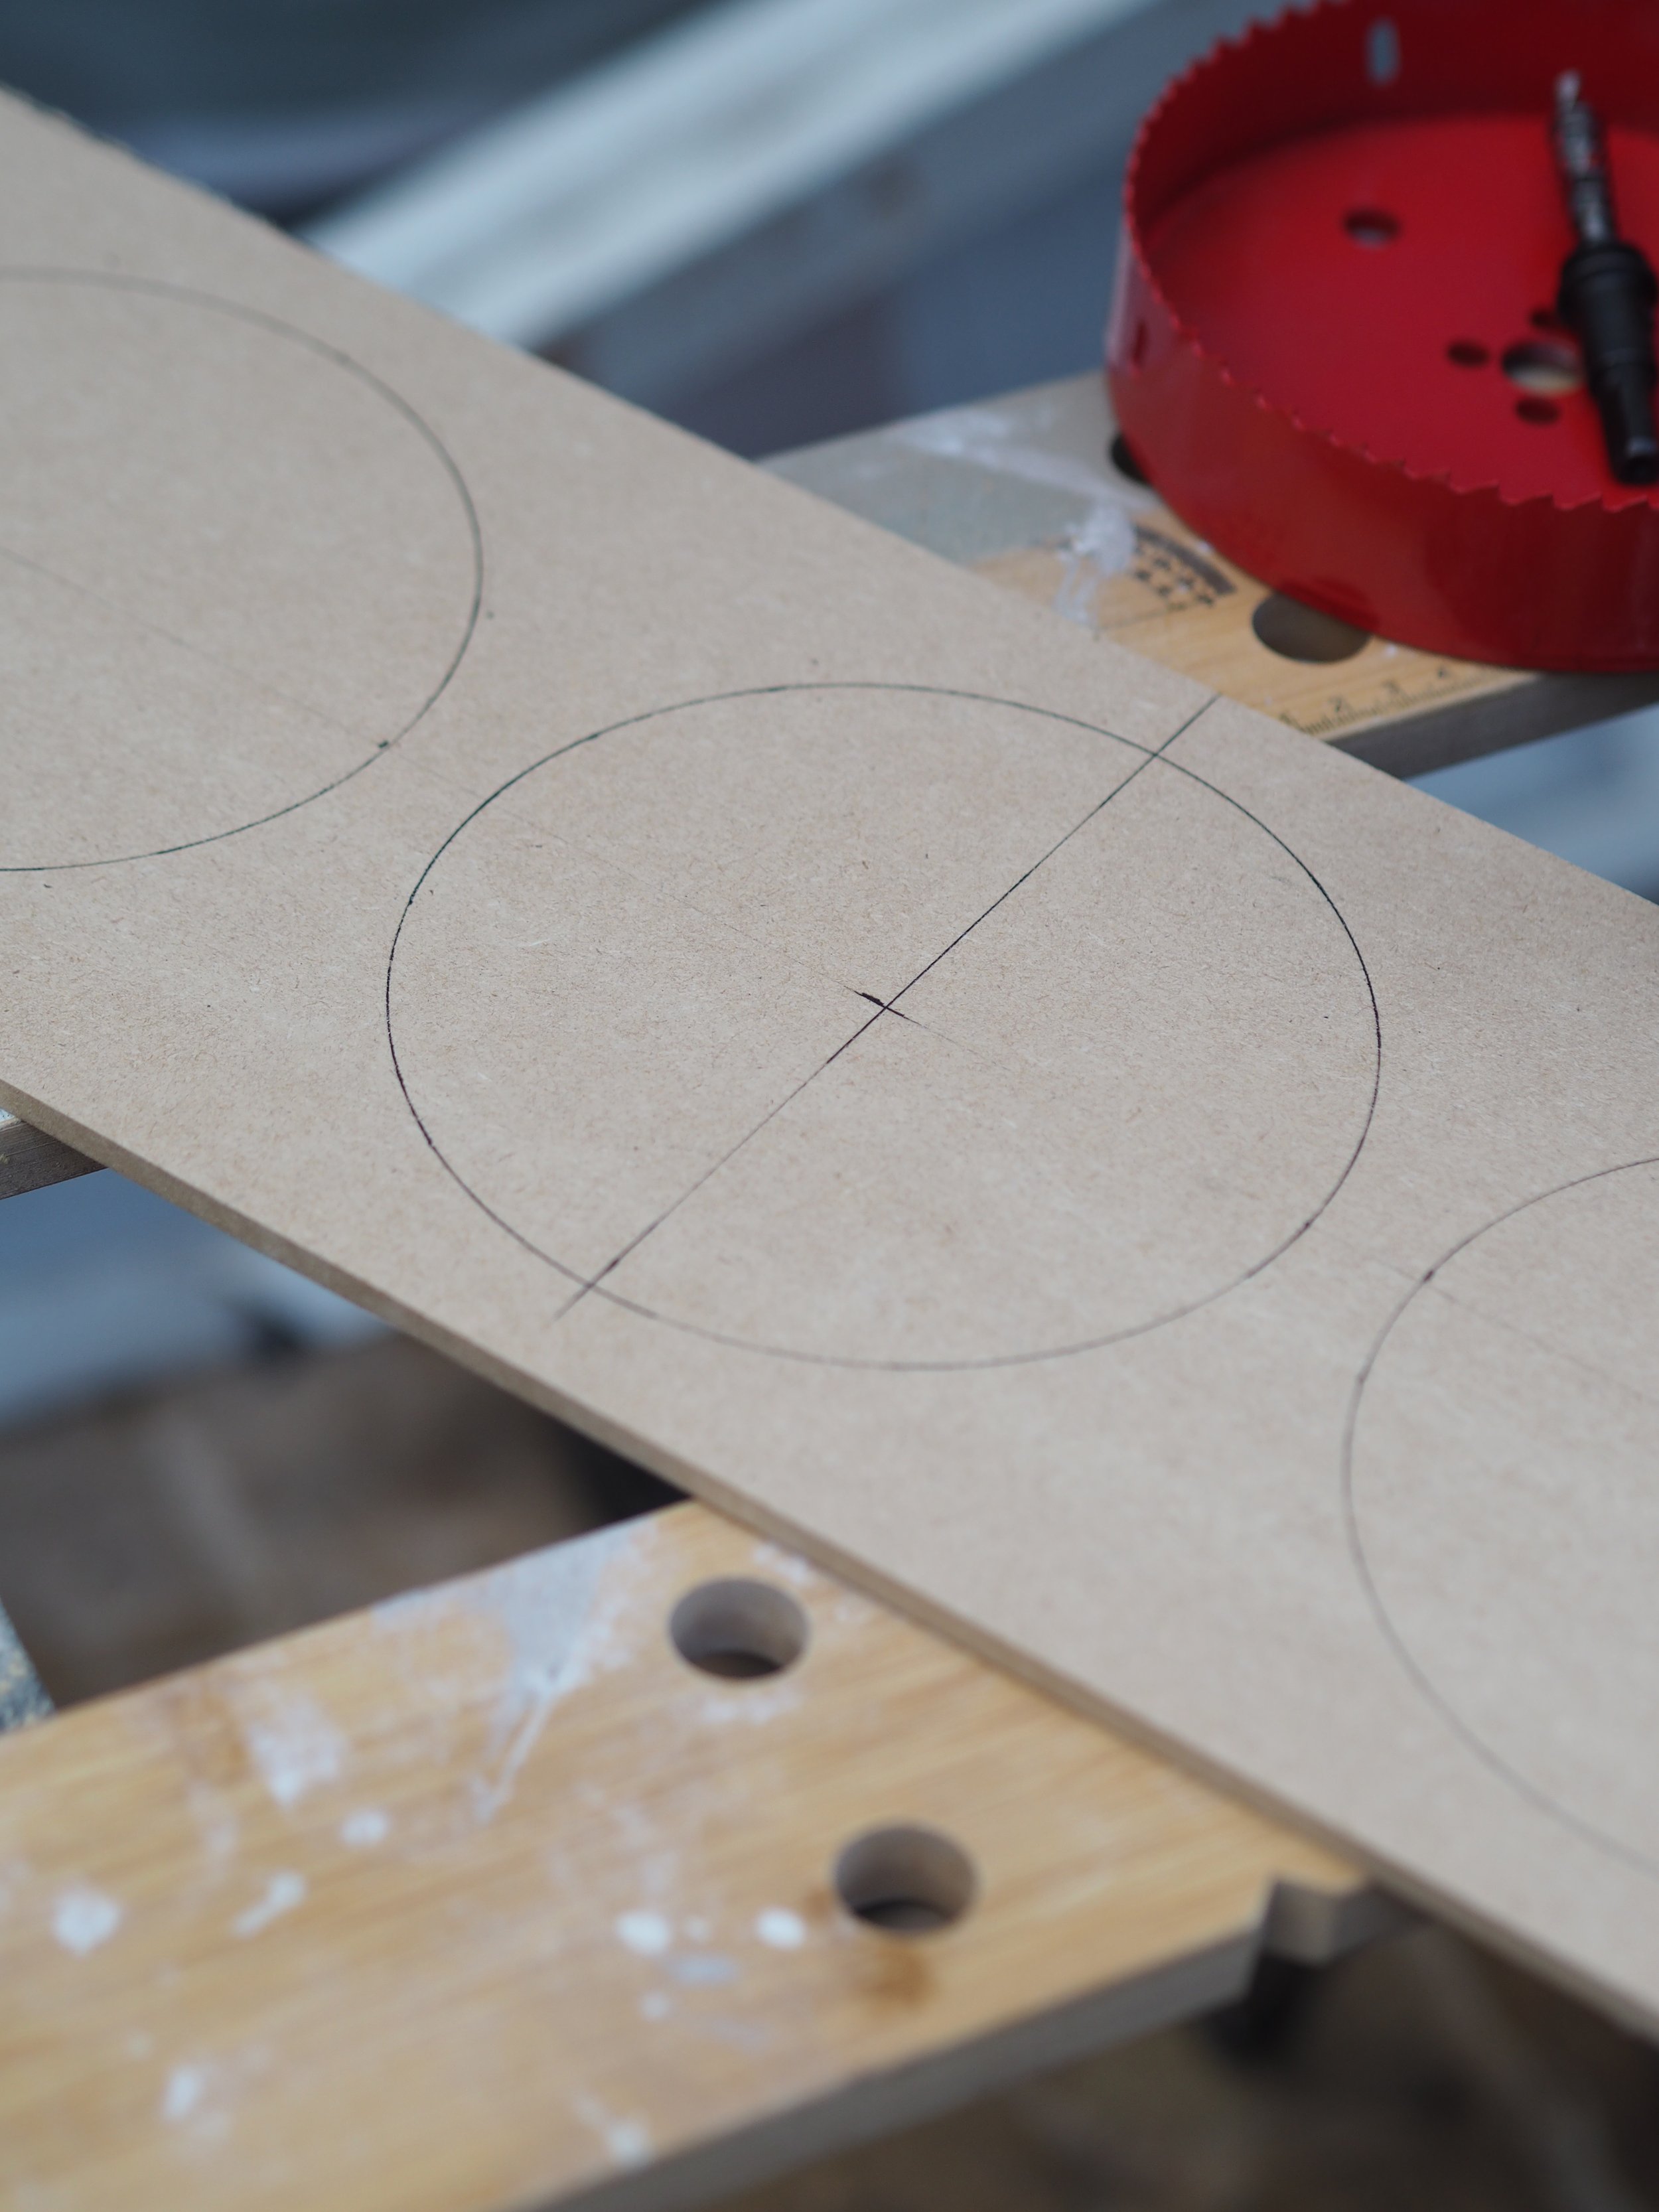
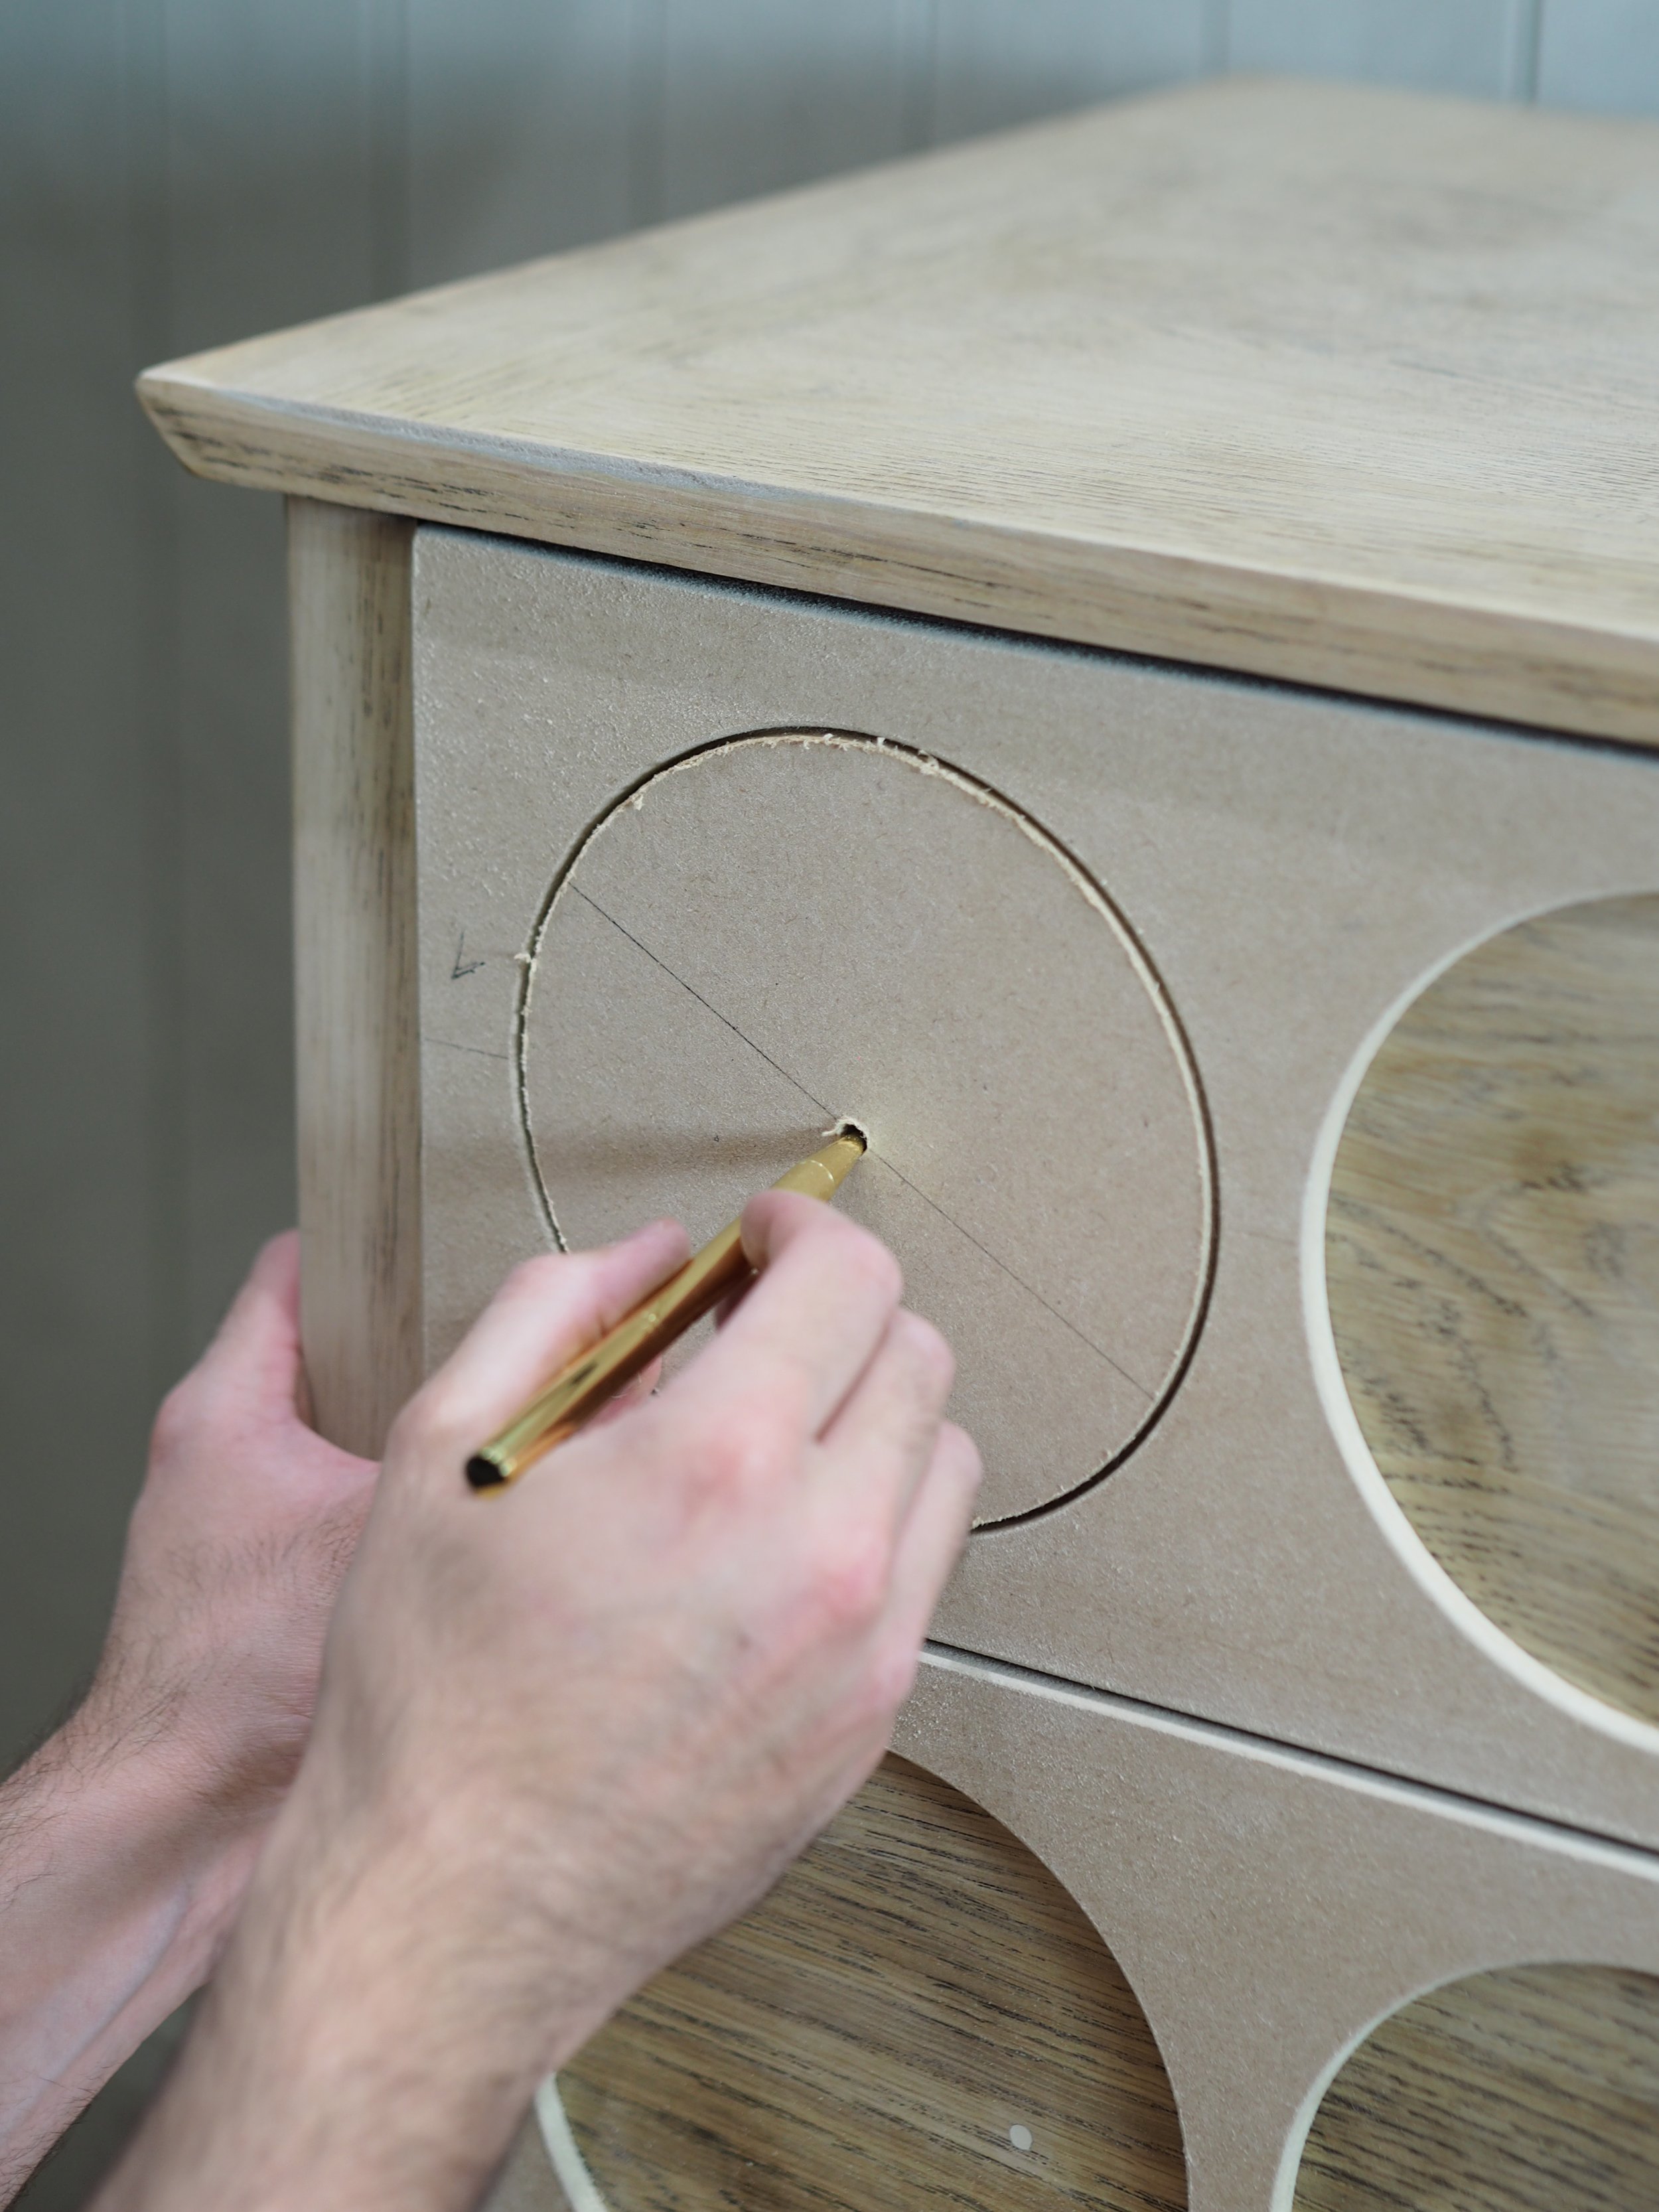
It's time to measure and mark. Divide the length of your MDF piece by two. Measure and draw out a horizontal line using a pencil and ruler. You should have a horizontal line going across the centre of the piece of MDF. Then, do the same with the width of the drawers. Divide the width of your MDF piece by two. Measure and draw out a vertical line using a pencil and ruler. You should have a vertical line going down the centre of the piece of MDF.Step 4
Measure the width between the cross-section (where the two lines intersect) and the right horizontal edge of the MDF. Divide this figure by two. Measure and draw this a vertical line with a pencil and ruler. Repeat between the cross-section and the left horizontal edge of the MDF. You should now have three vertical lines going down the MDF, all an equal distance apart from each other - you just mapped out where your circles will go 👏Step 5
Align the central hole of your saw bit to a marked cross section. Trace around the saw bit with a pencil, to outline a perfectly round circle. Repeat on the two other marked cross sections. Take a step back and assess the markings - are your circles looking perfectly aligned? 🧐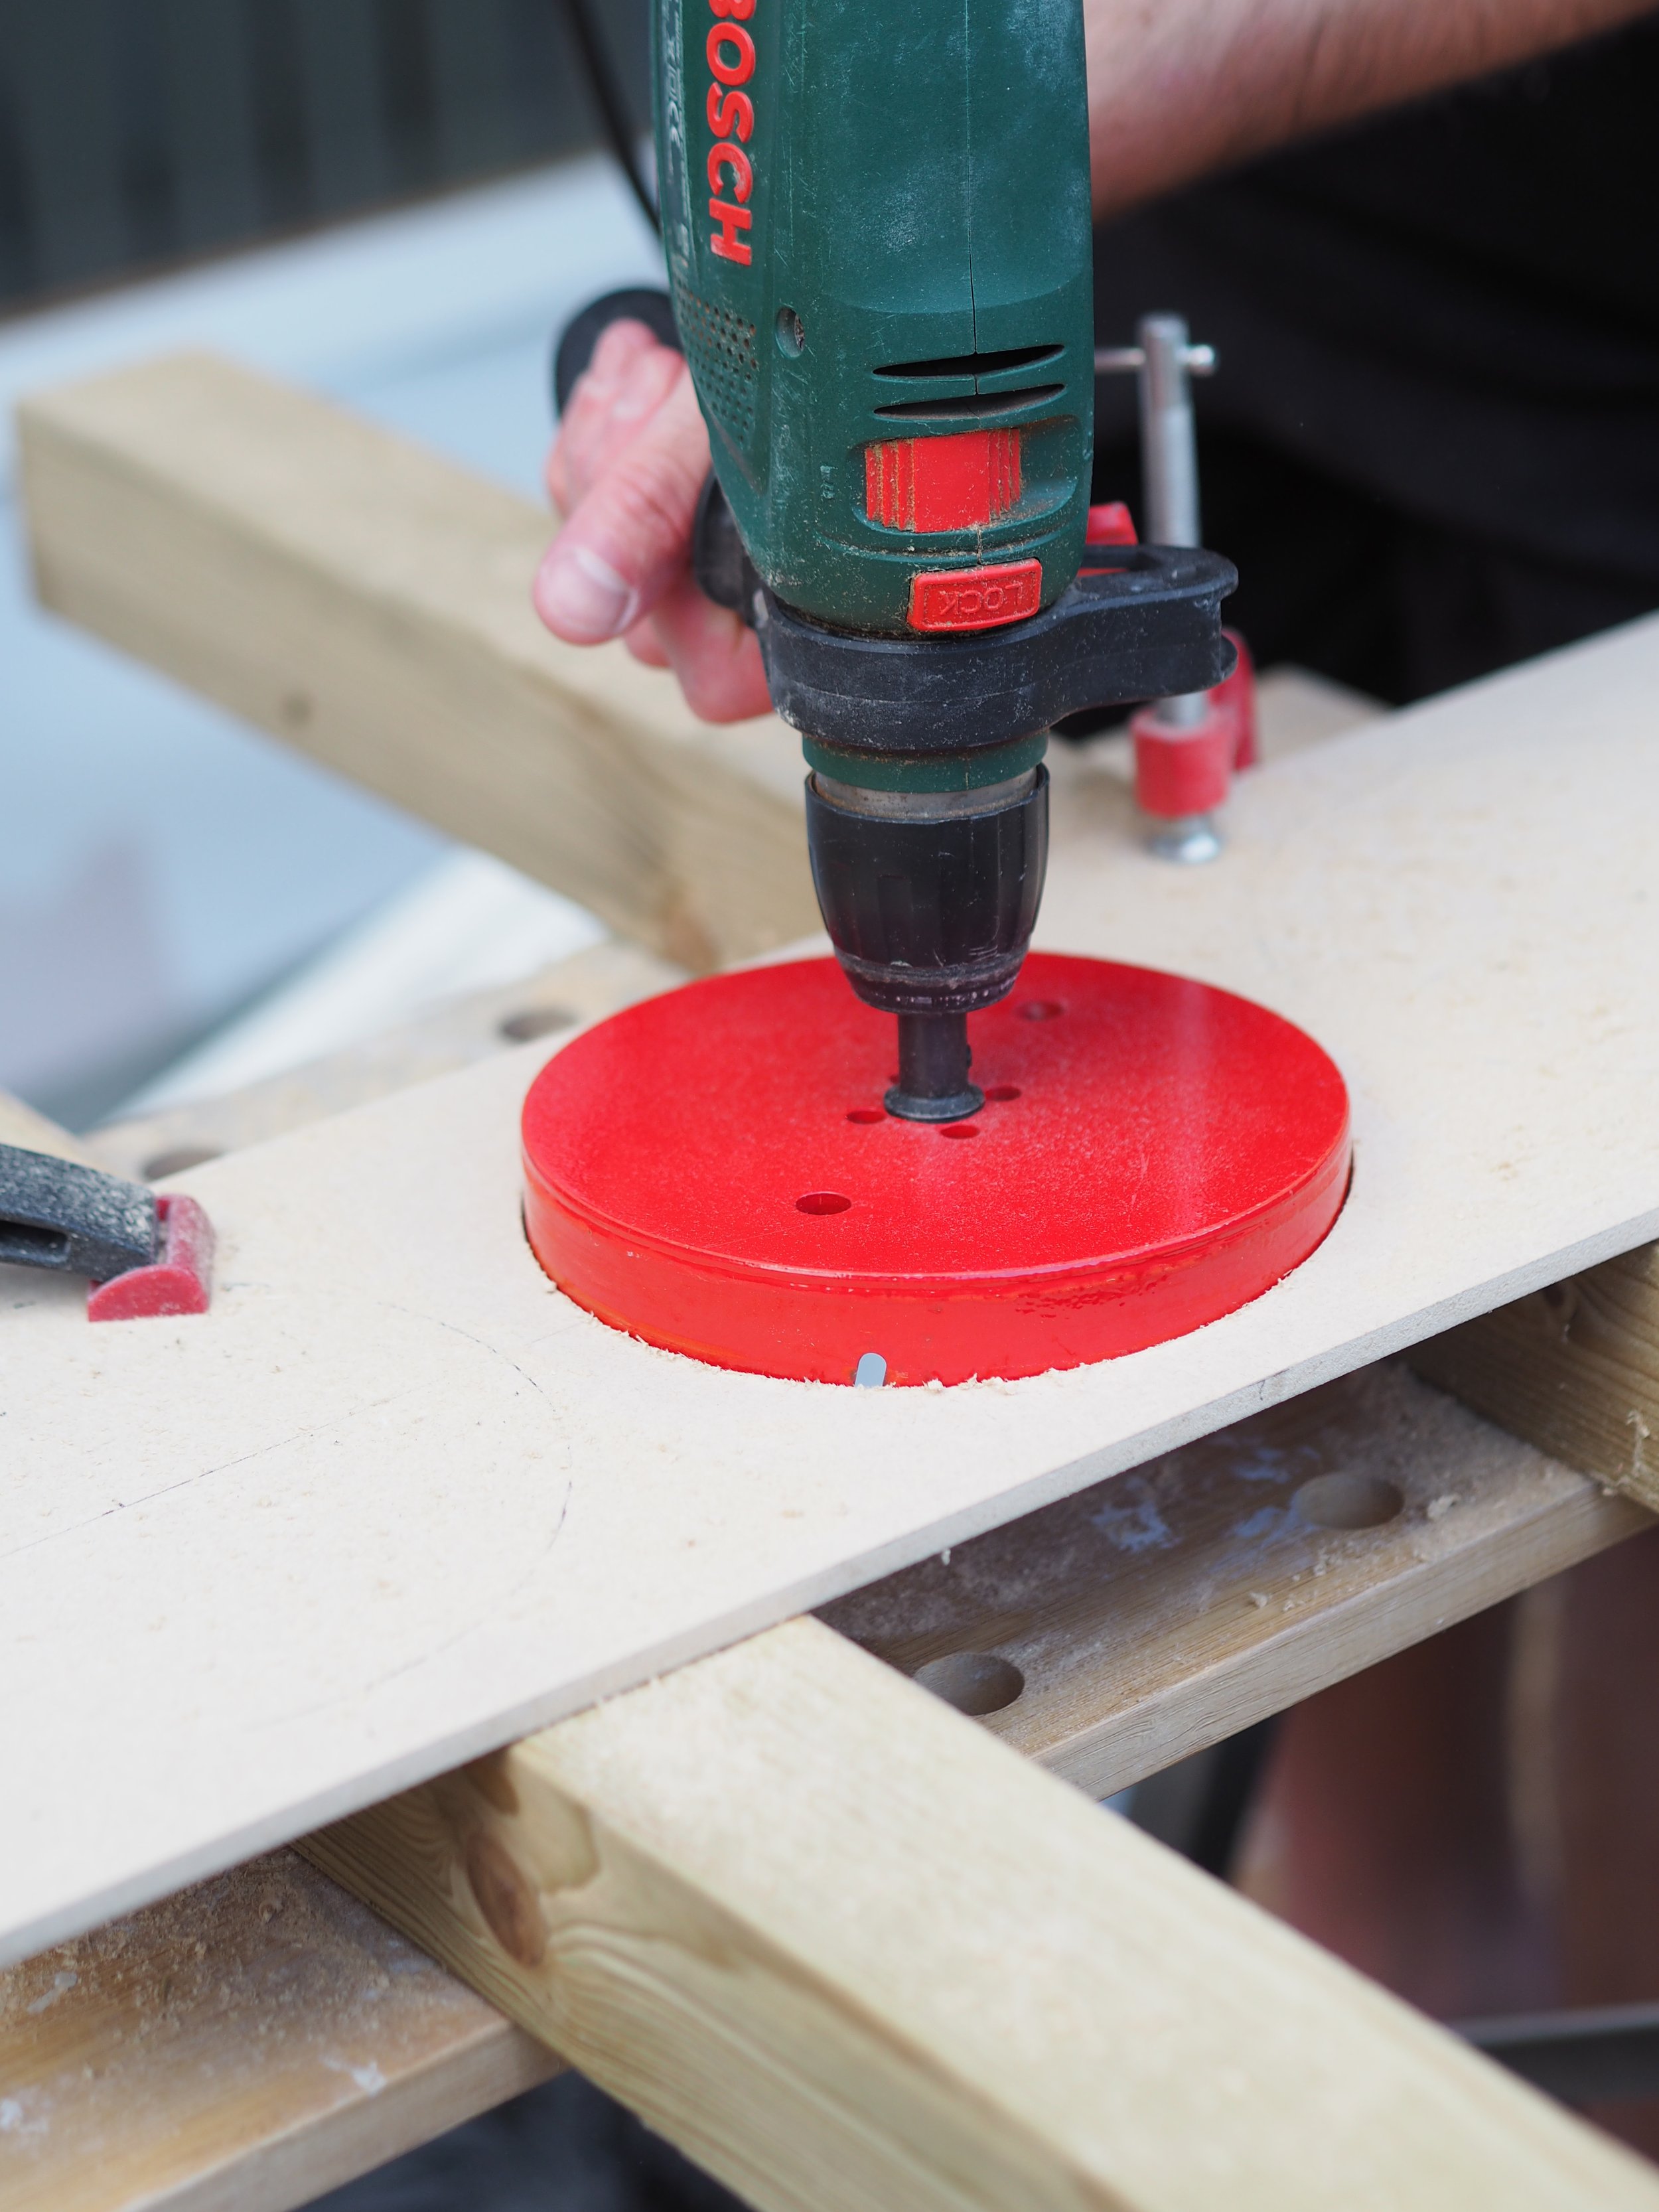
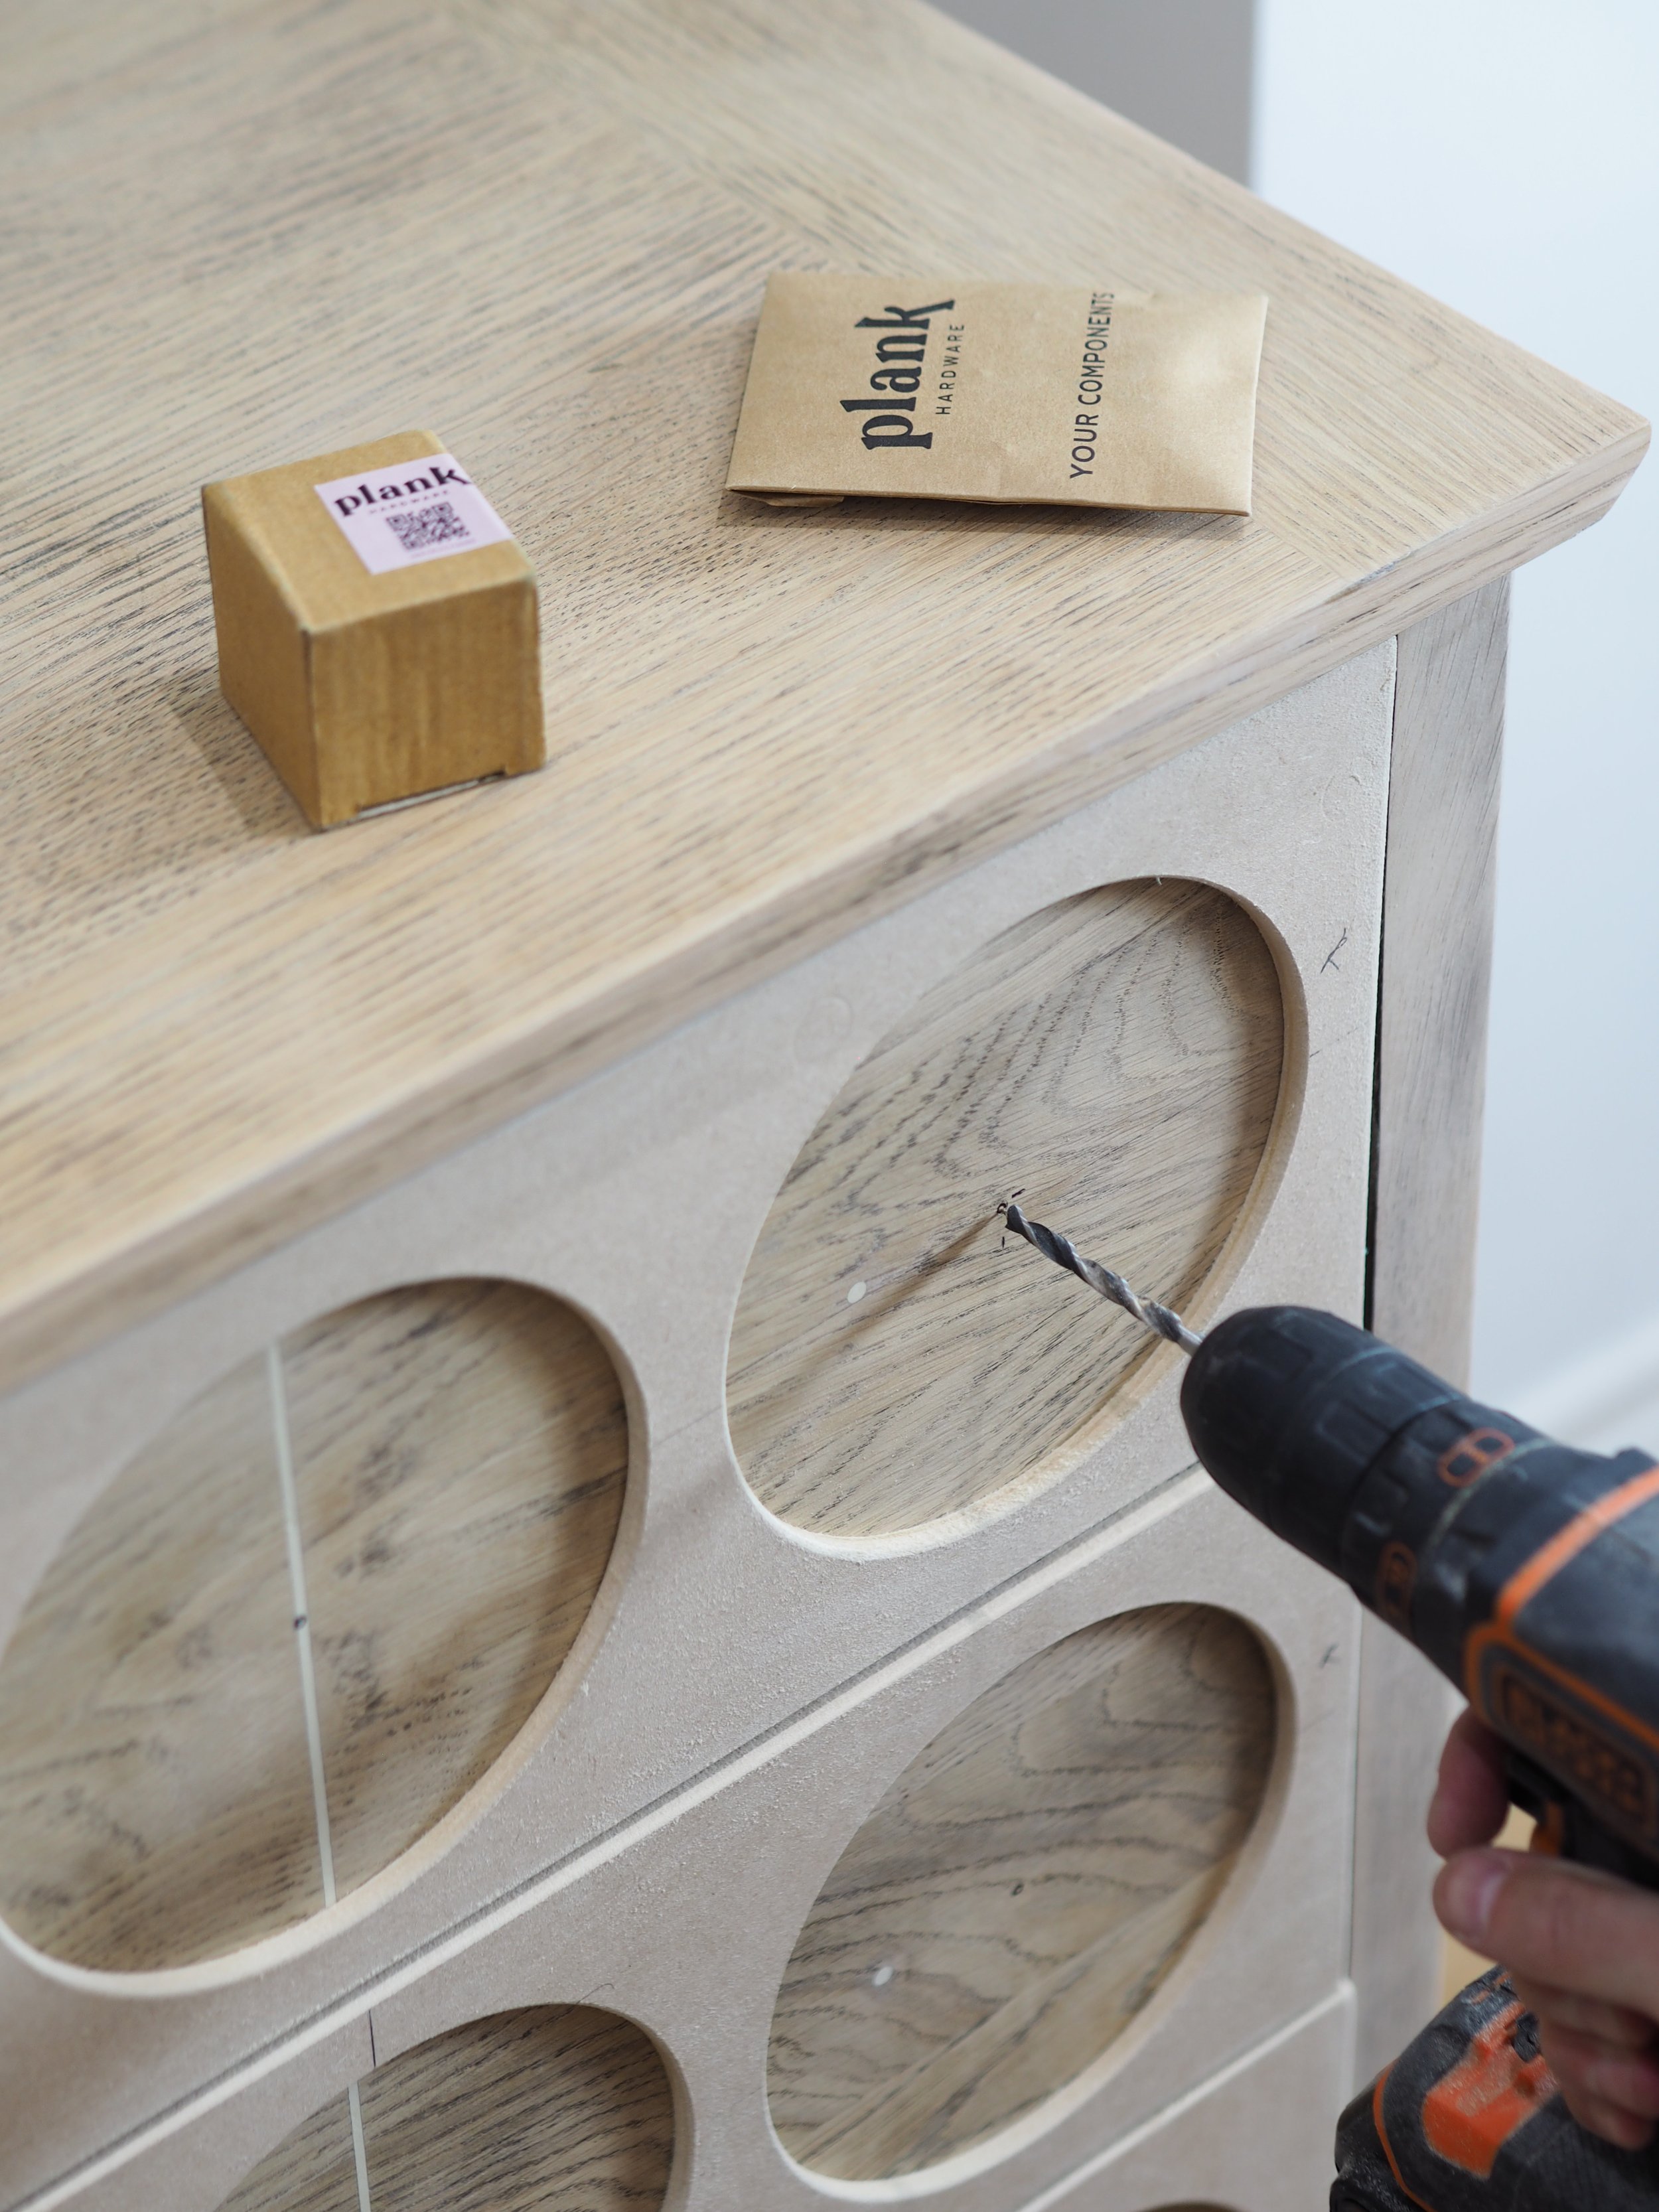
Step 6
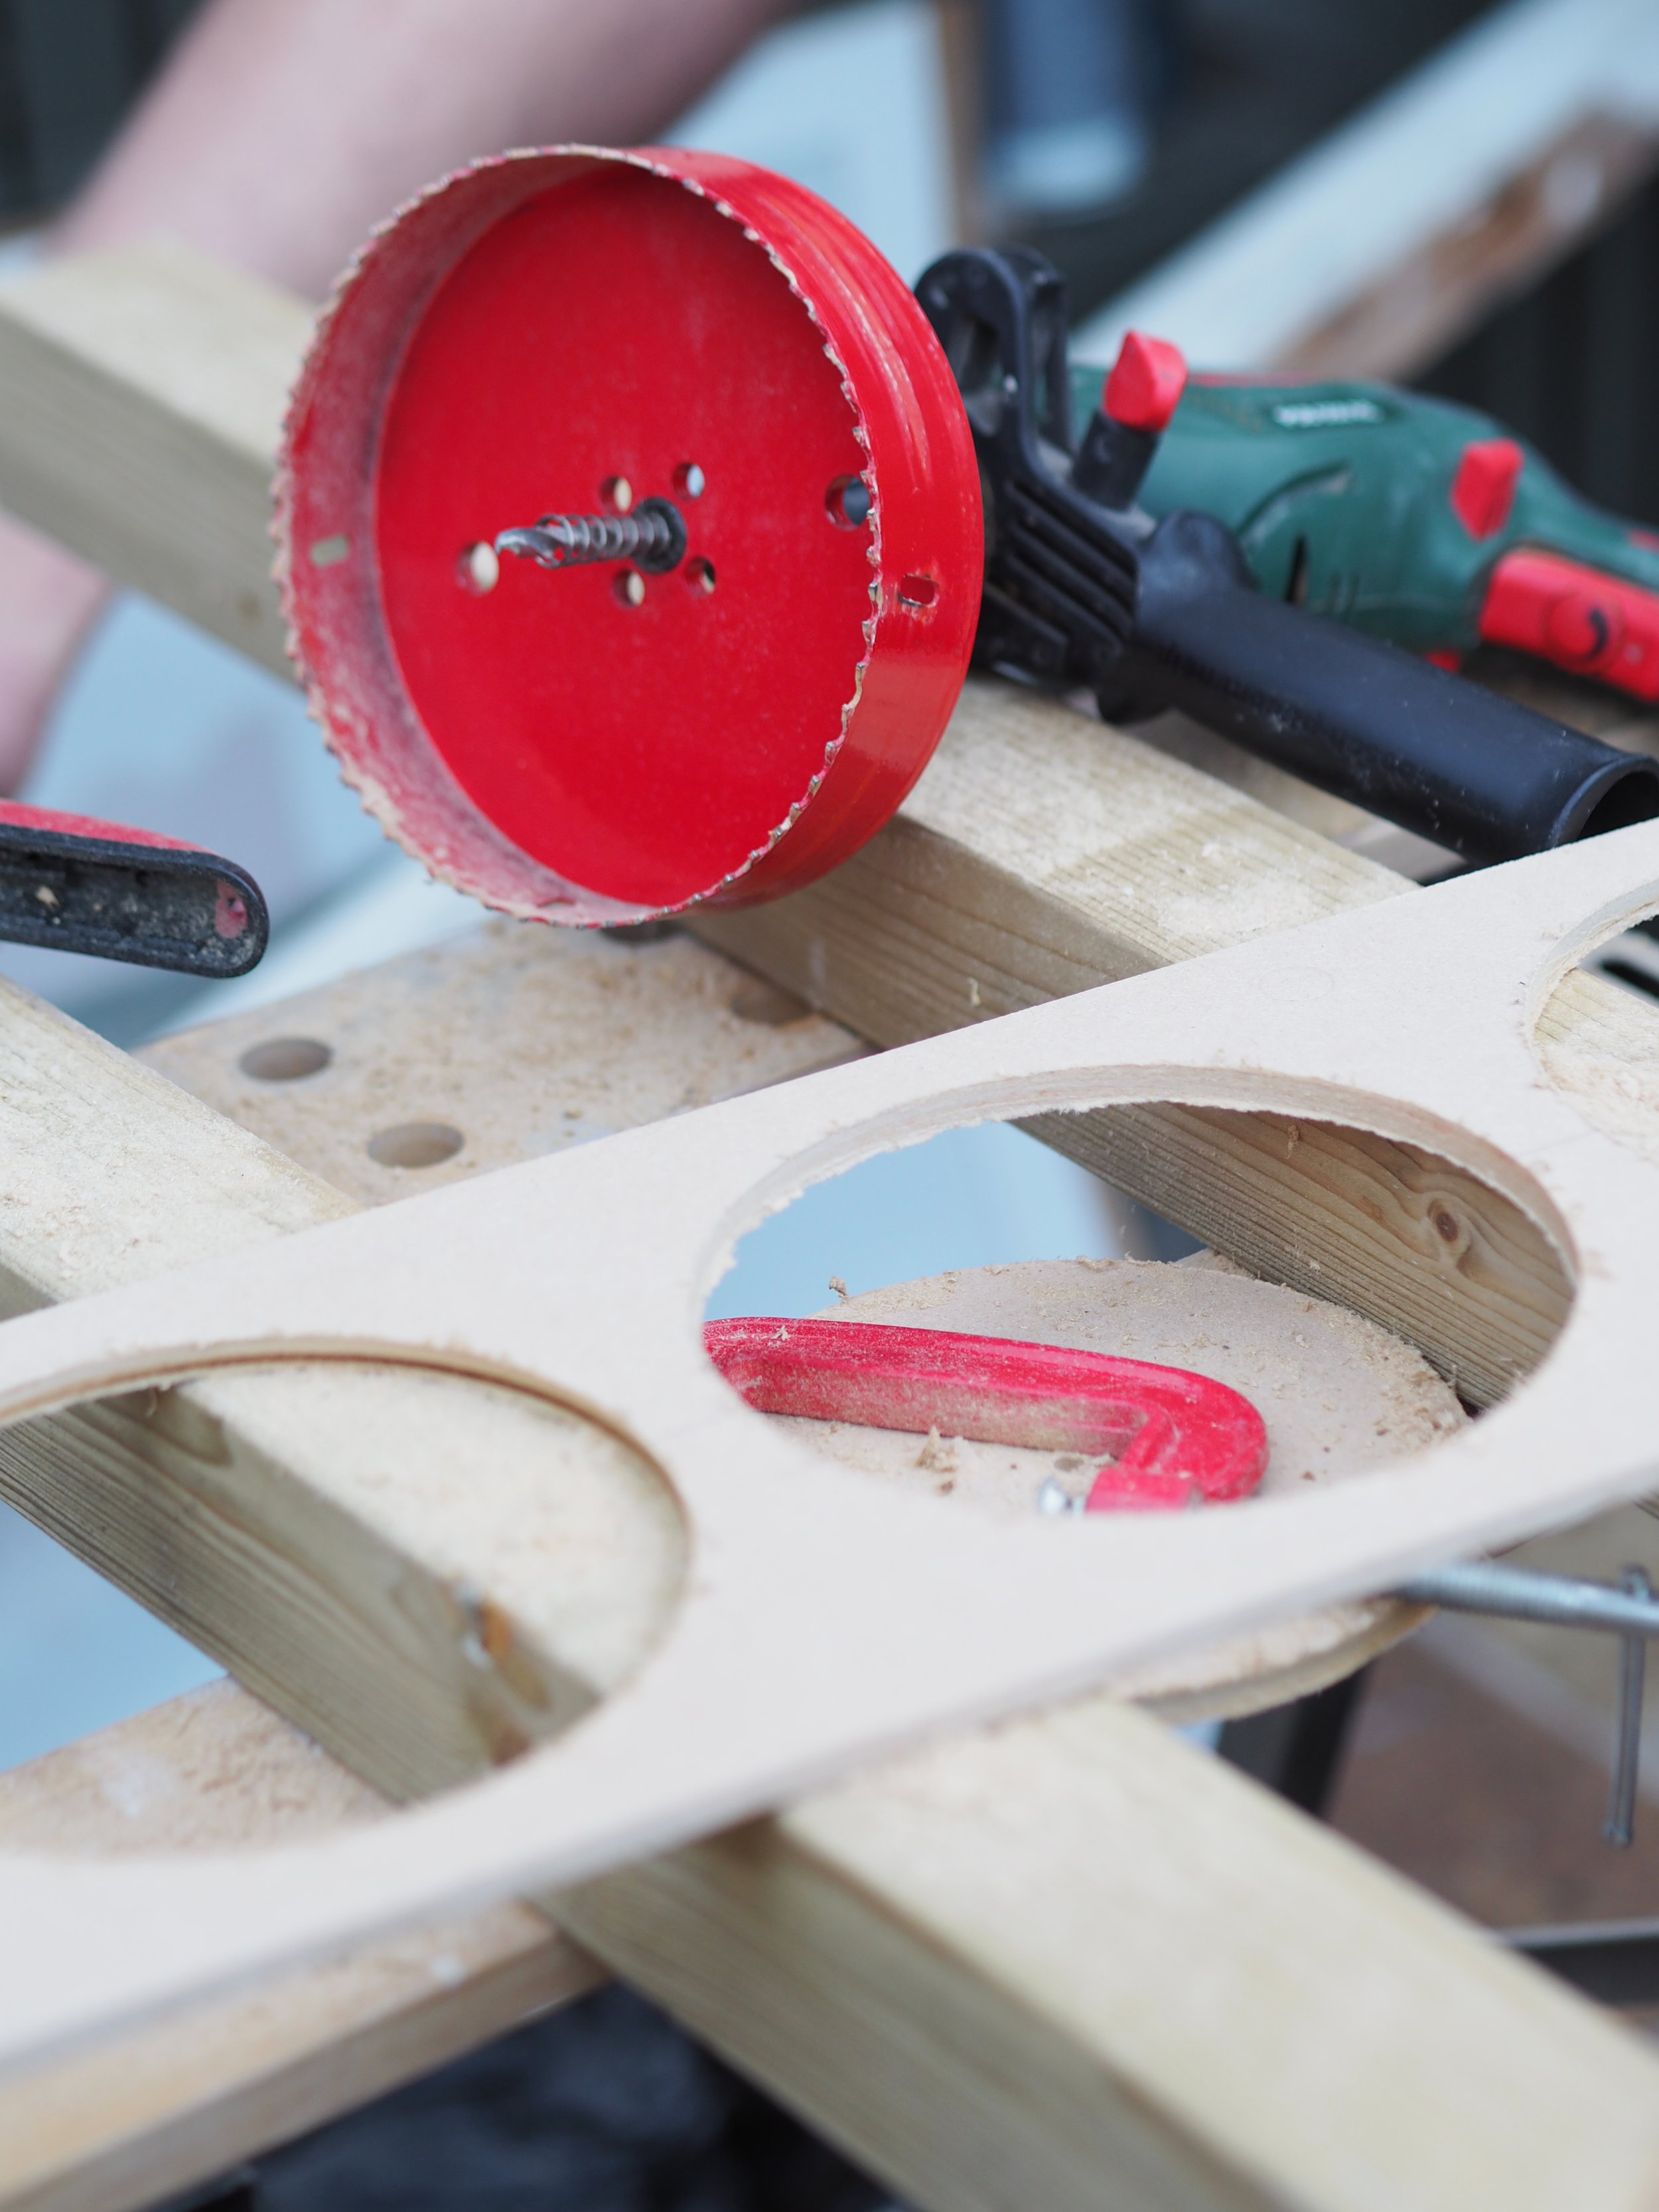
Time to get drilling. Place the MDF on a secure surface, preferably with a clamp to hold the piece in place. With your hole saw bit and arbour secured to your drill, align the drill bit to a marked cross section. Drill straight down into the MDF. You should now have a perfect circle. Repeat for each marked circle. (Tip: set aside at least one MDF circle that you drill out)Repeat this process for each drawer. You should then have an MDF piece per drawer, each with three cut-out circular holes 👌Assembling the drawer:
Step 1
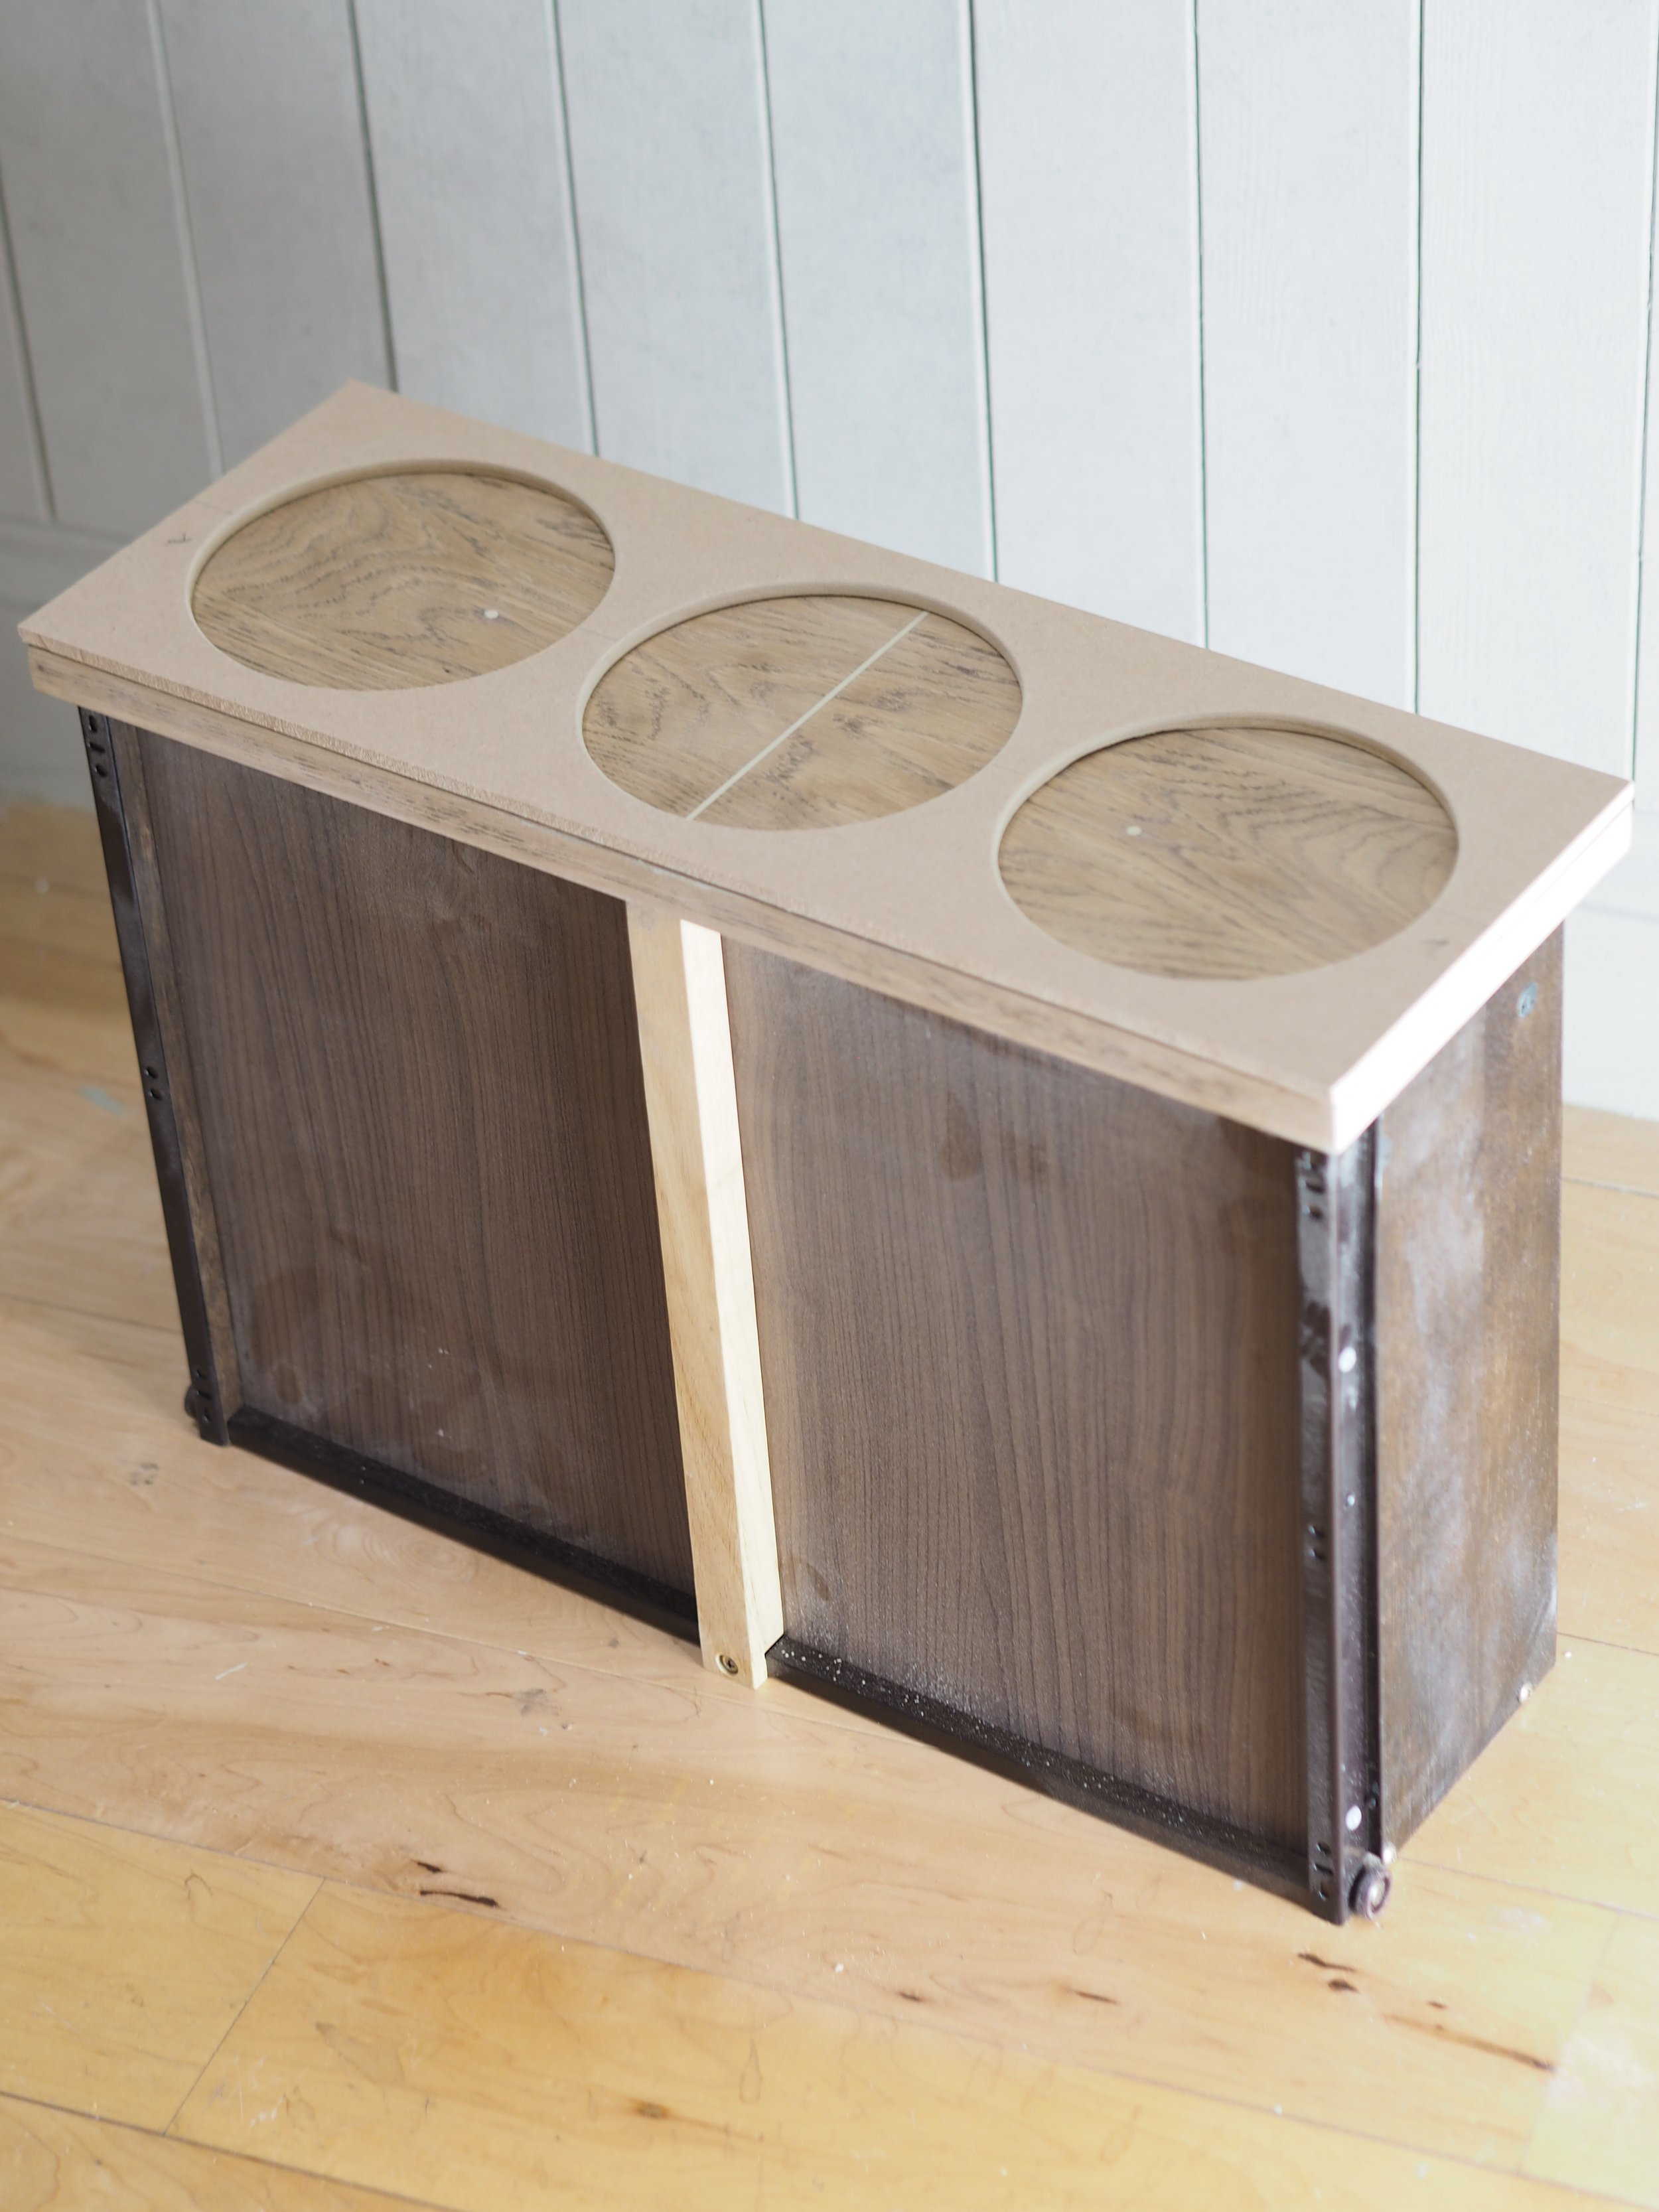
Generously apply glue on one side of the MDF and securely press on to a drawer. Repeat for each drawer and leave the glue to set.
Step 2
Place the circle of MDF you drilled out back inside the circular cut-out. Use a pencil to mark through the central hole. Repeat for each circle on the drawers. These markings show where your hardware will go. Drill into the marking and repeat for each circle.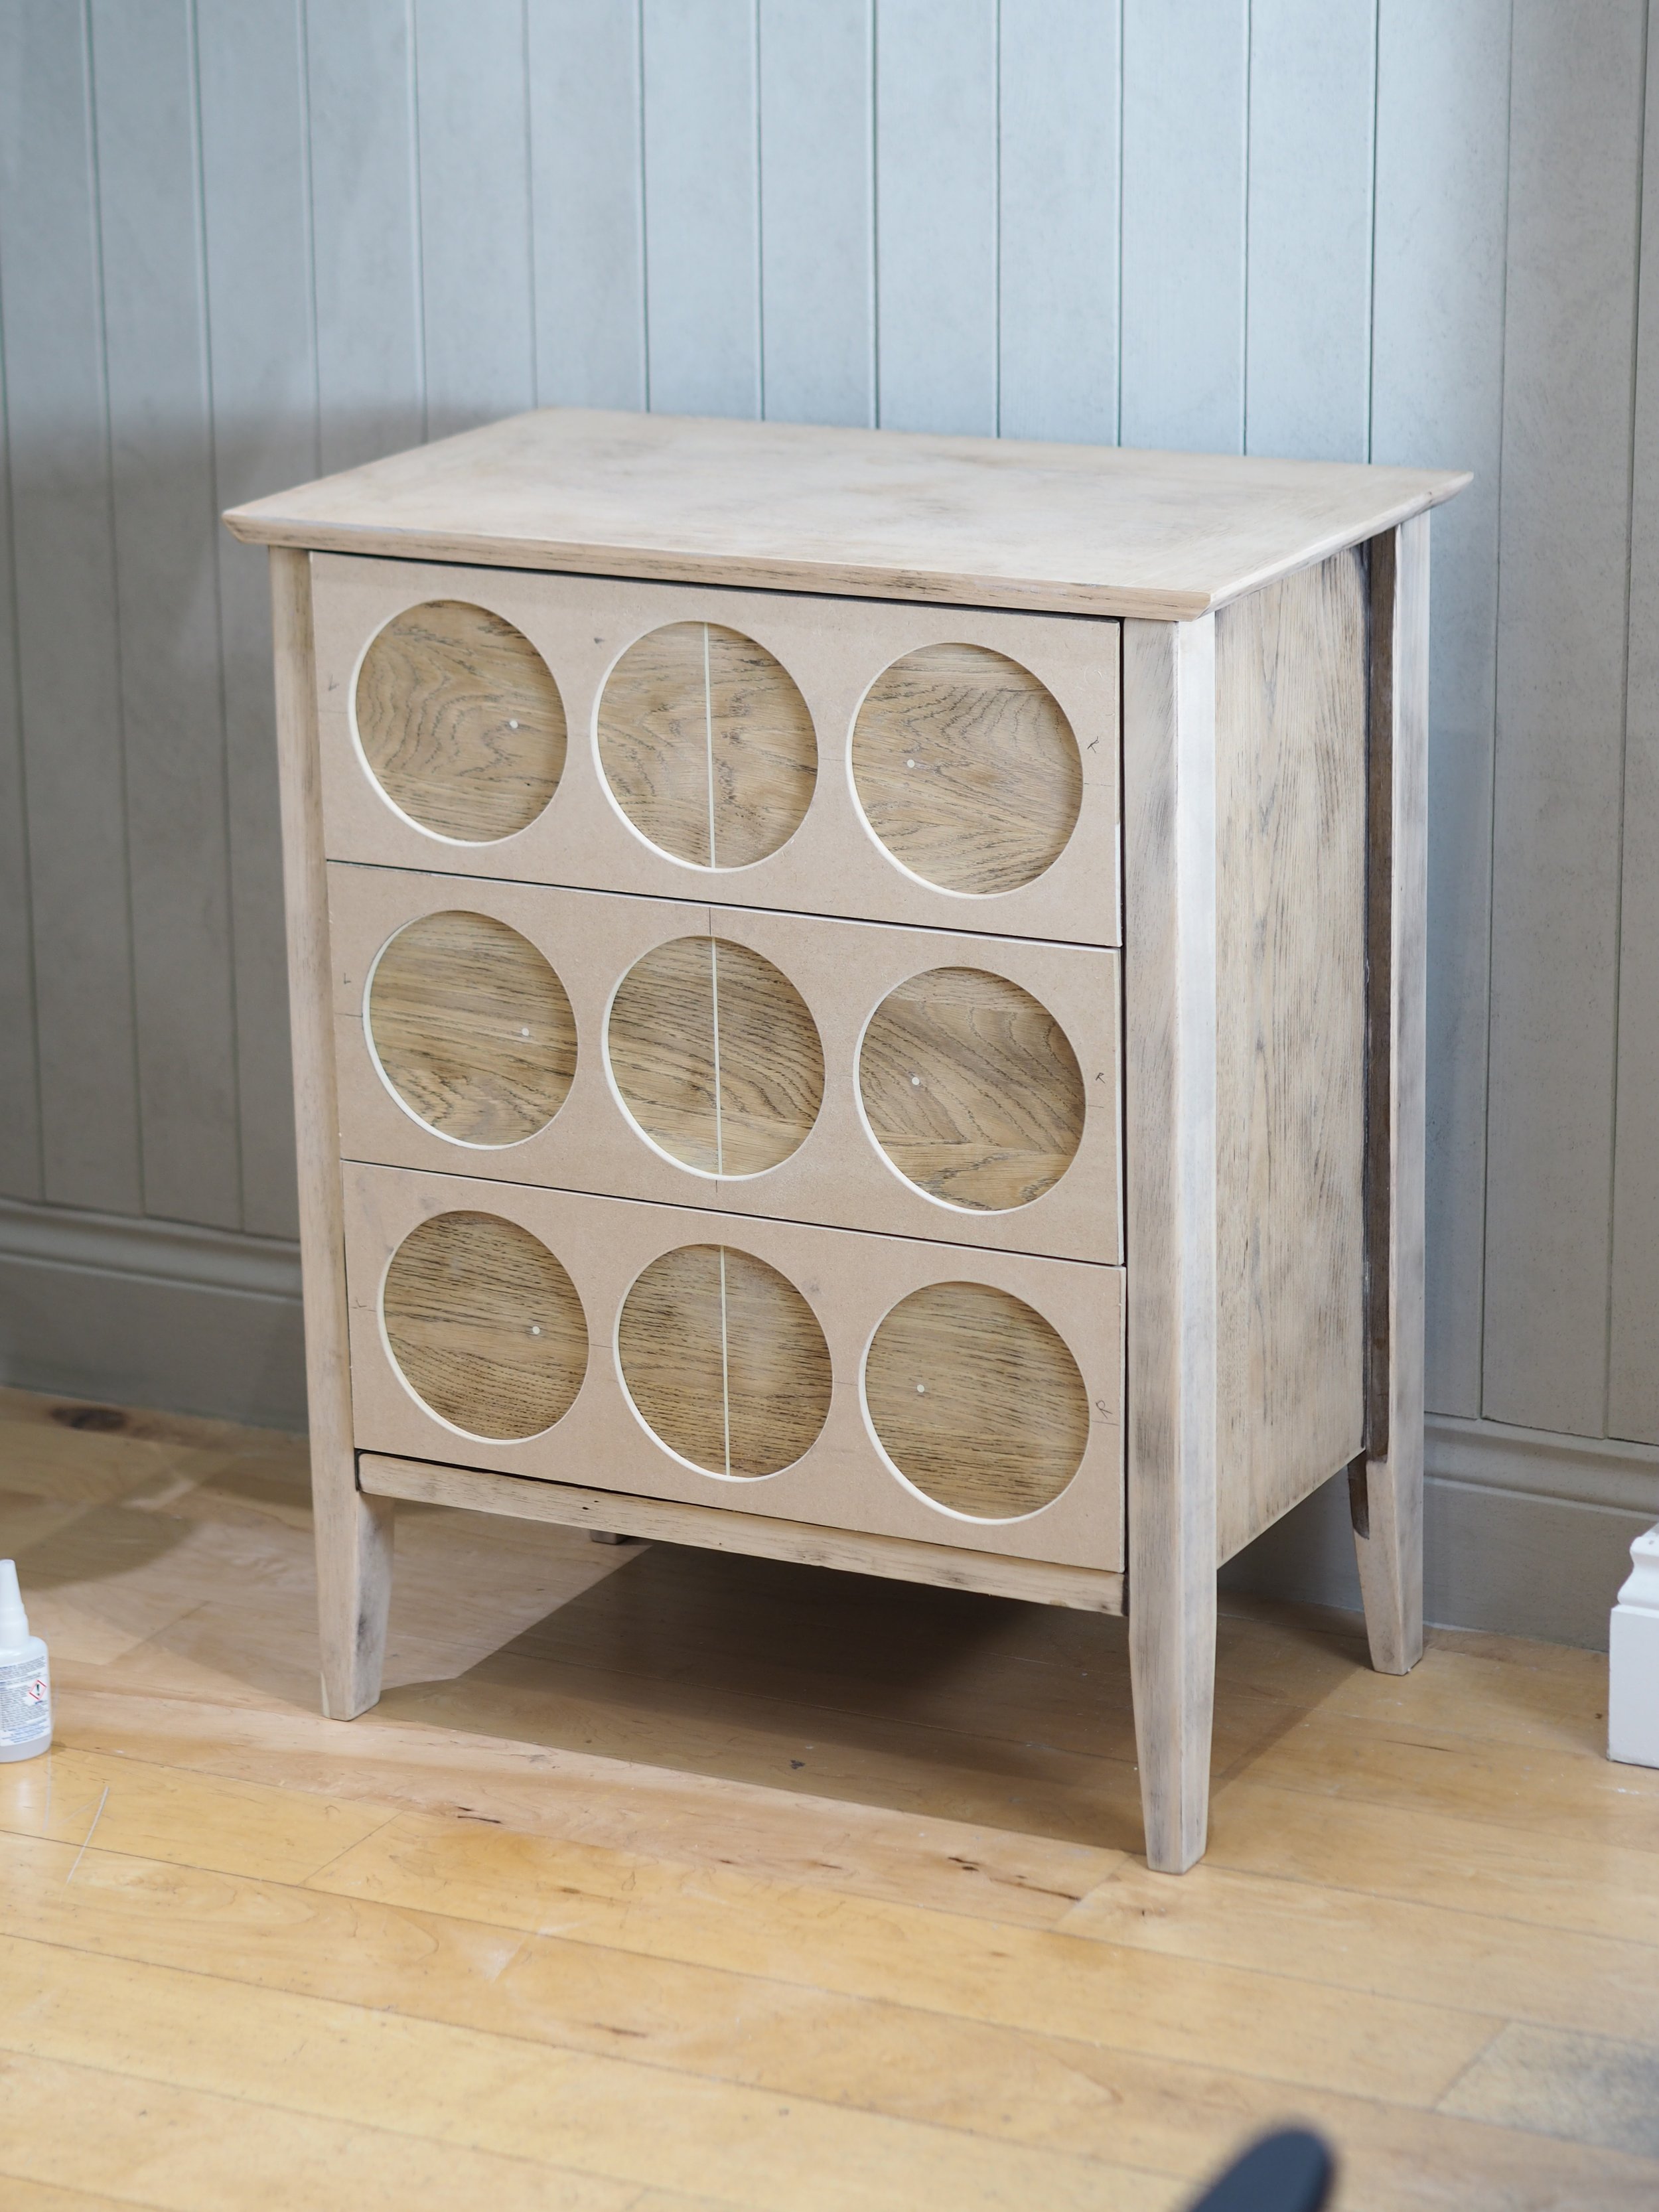
Step 3
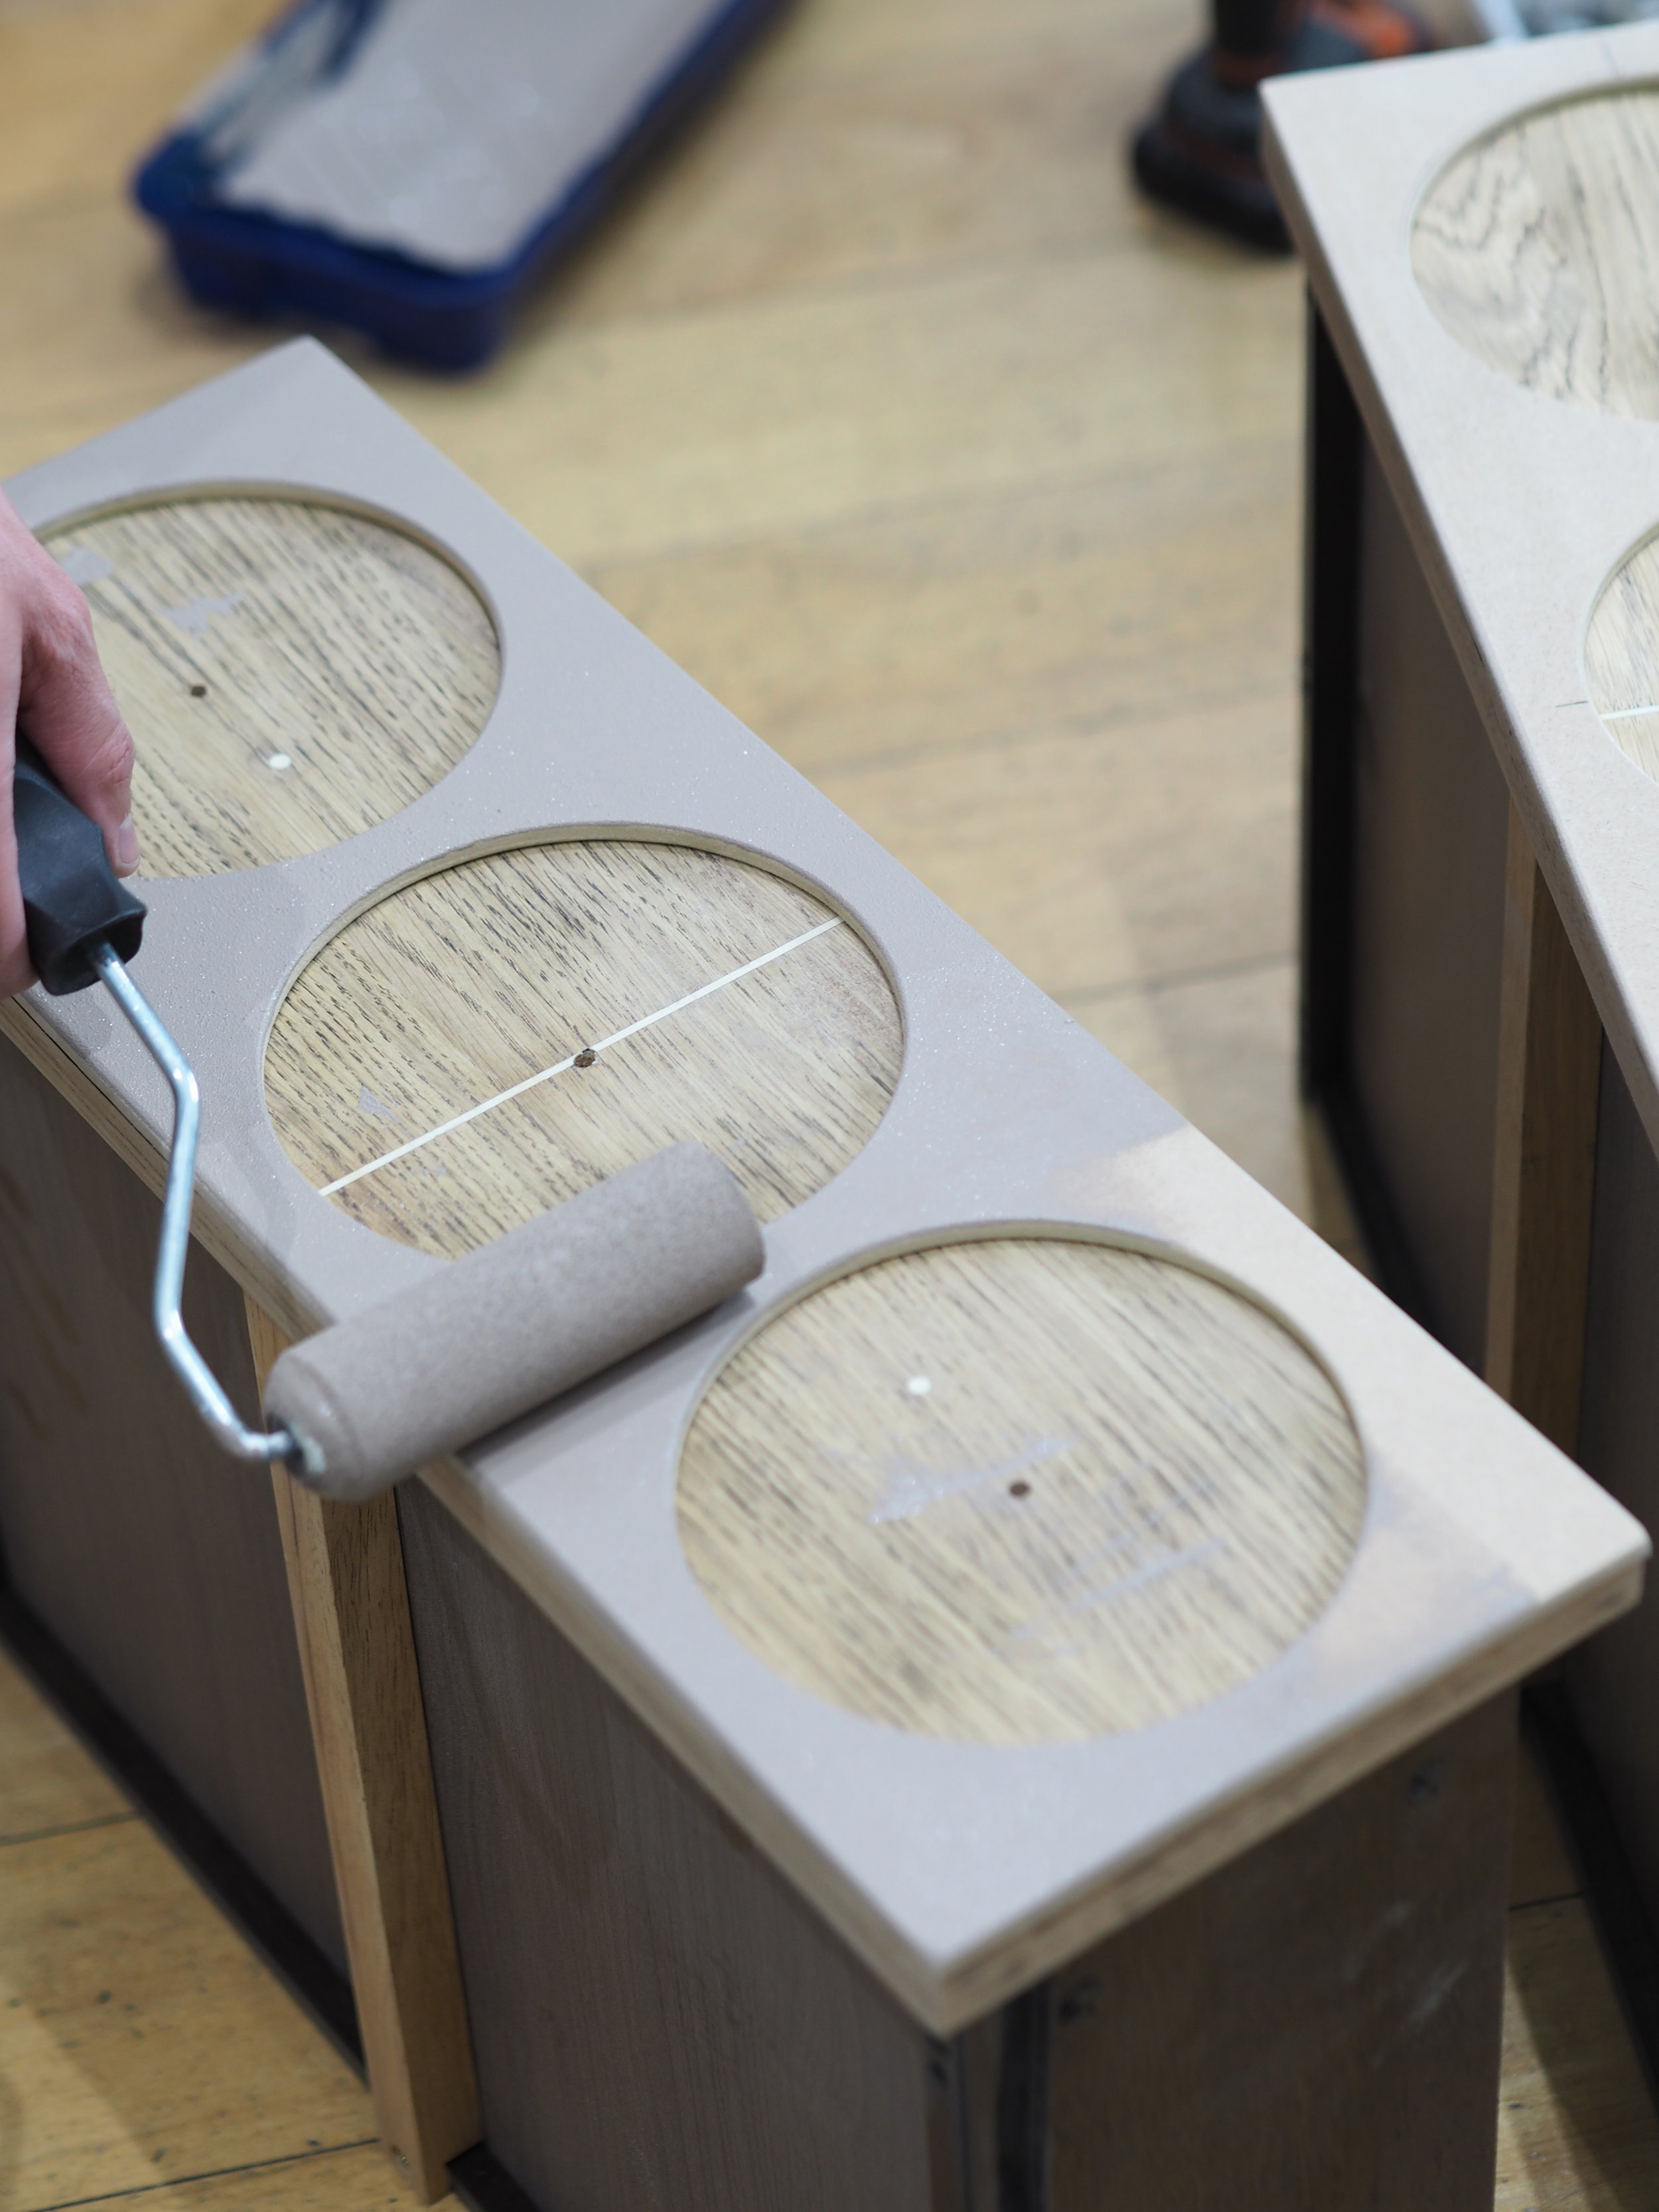
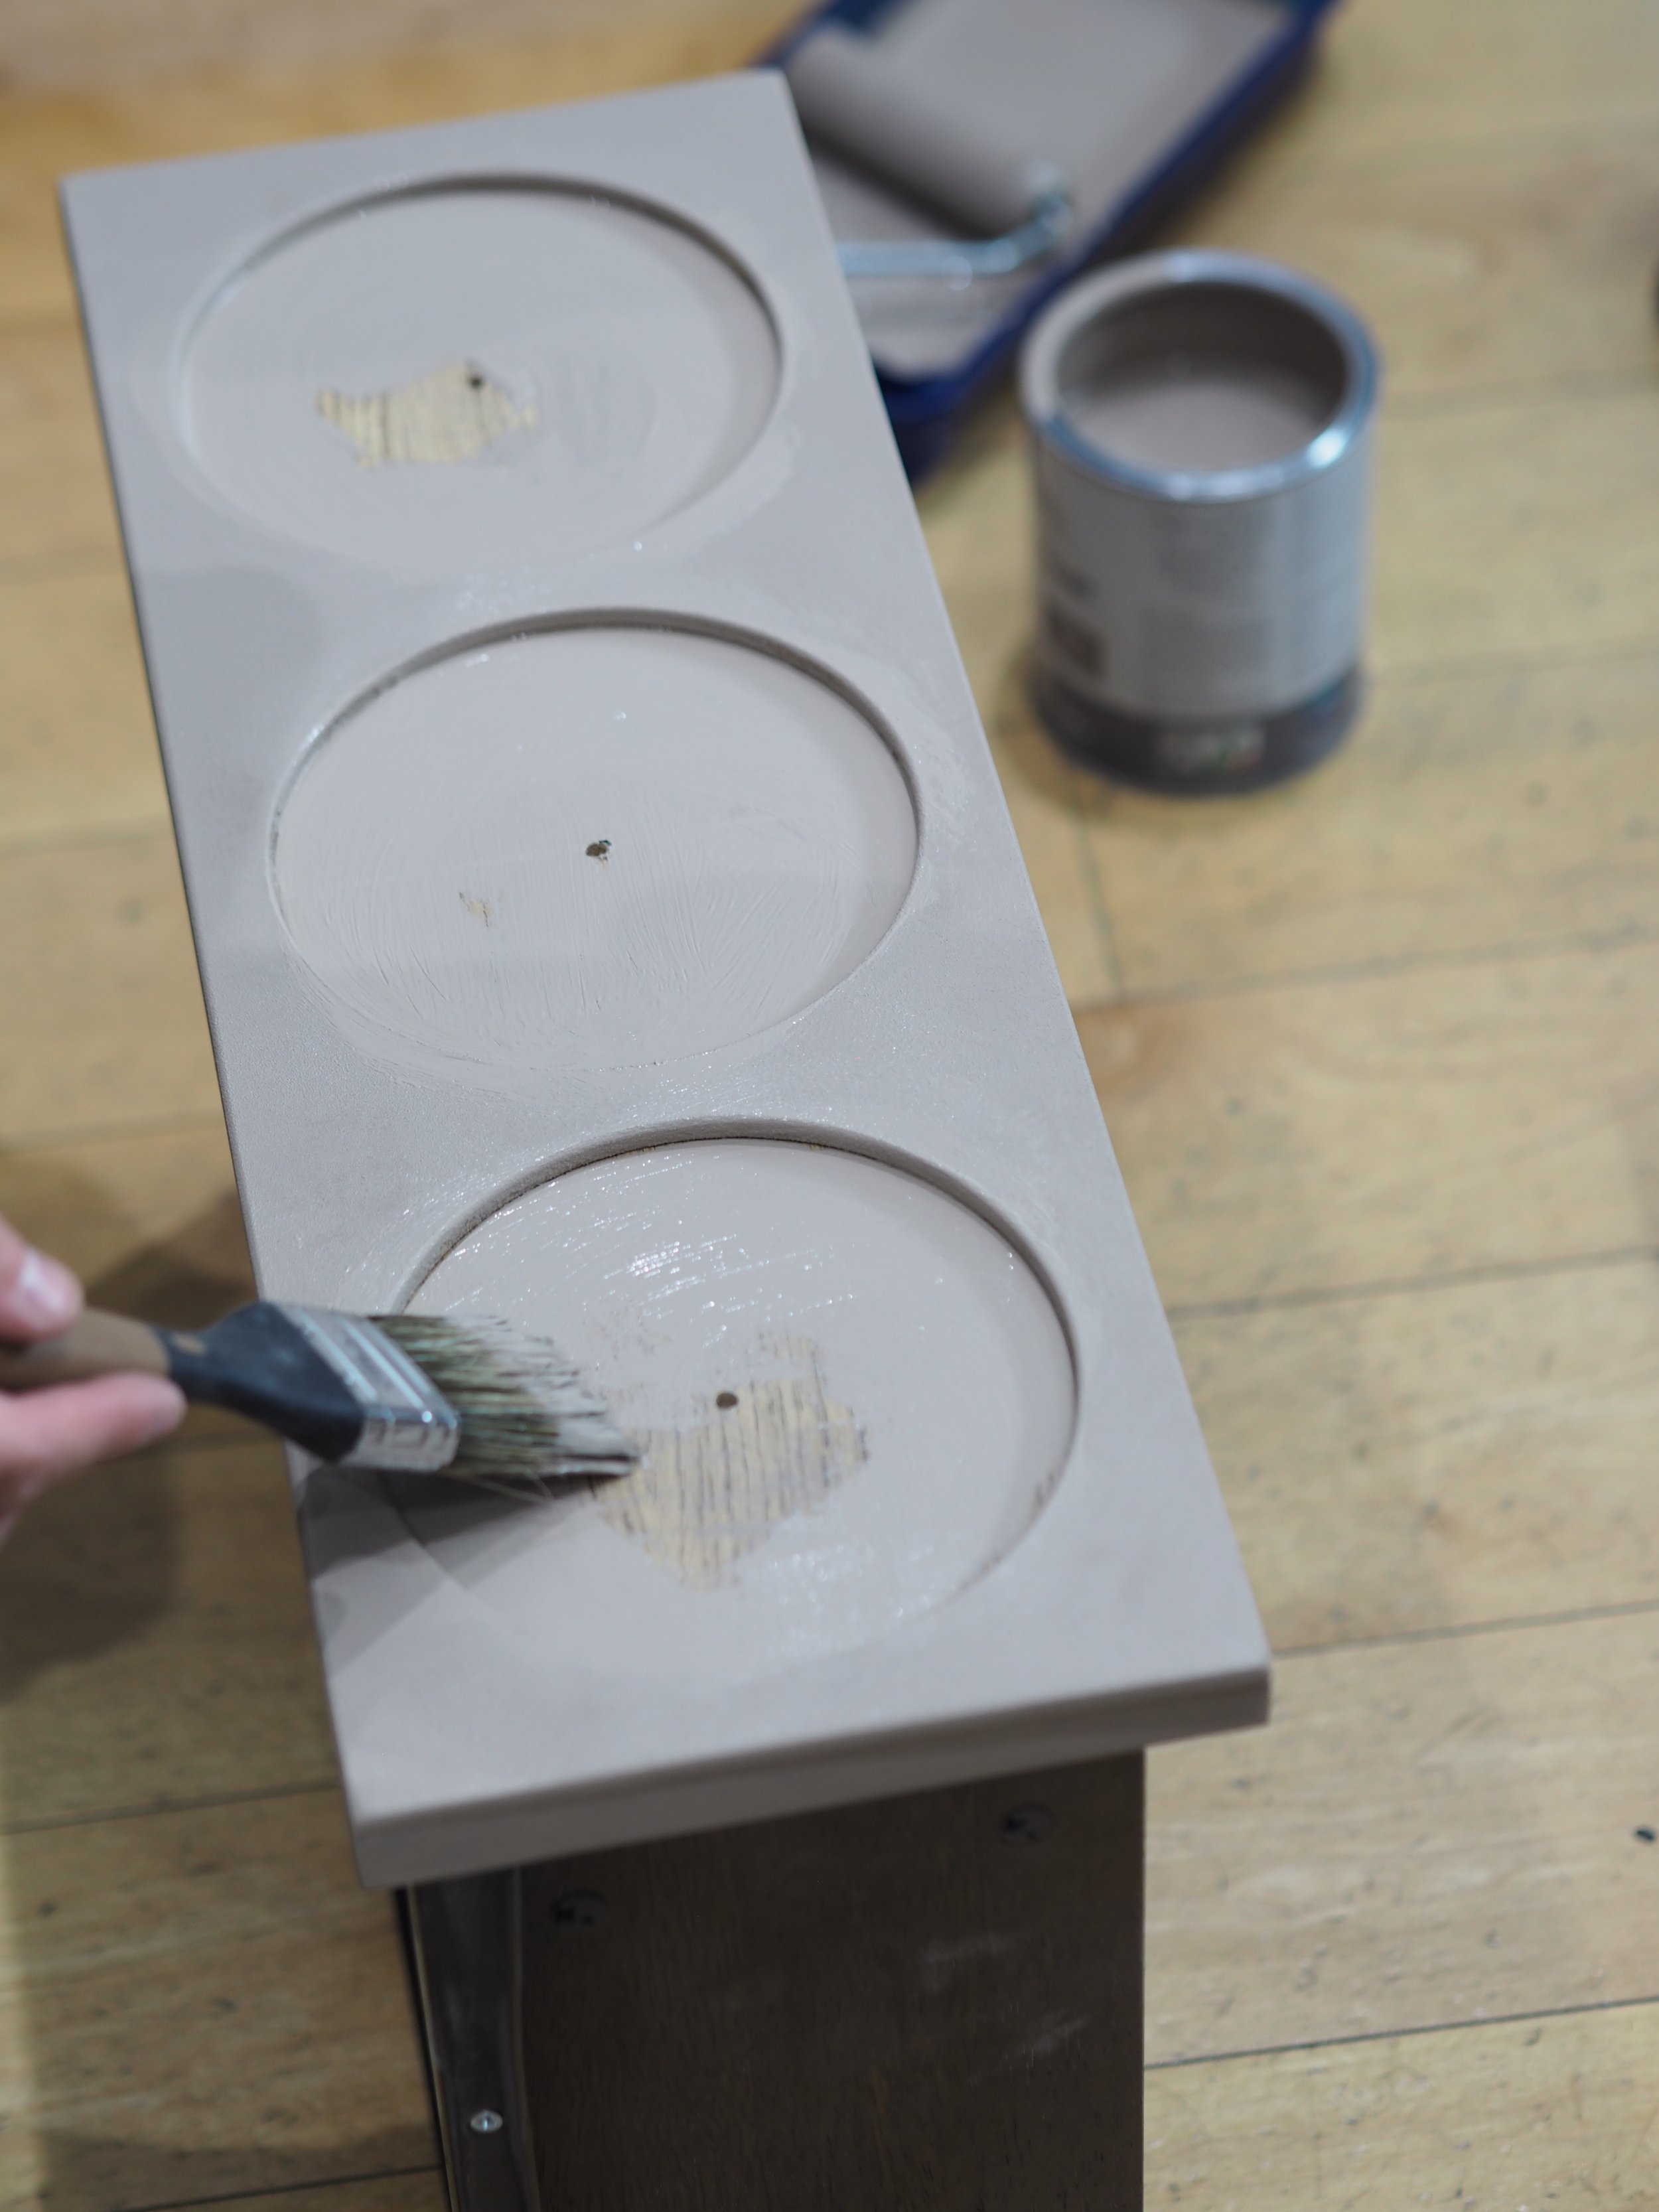
Using Annie Sloan’s Chalk Paint in Coco, paint the chest of drawers. Once dried, seal the paint with a thin coat of Clear Chalk Paint Wax. Work in small areas at a time, wiping off any excess with a clean cloth. Wait until the first coat of Chalk Paint Wax is touch dry (which will take around an hour depending on environmental factors) before applying a second.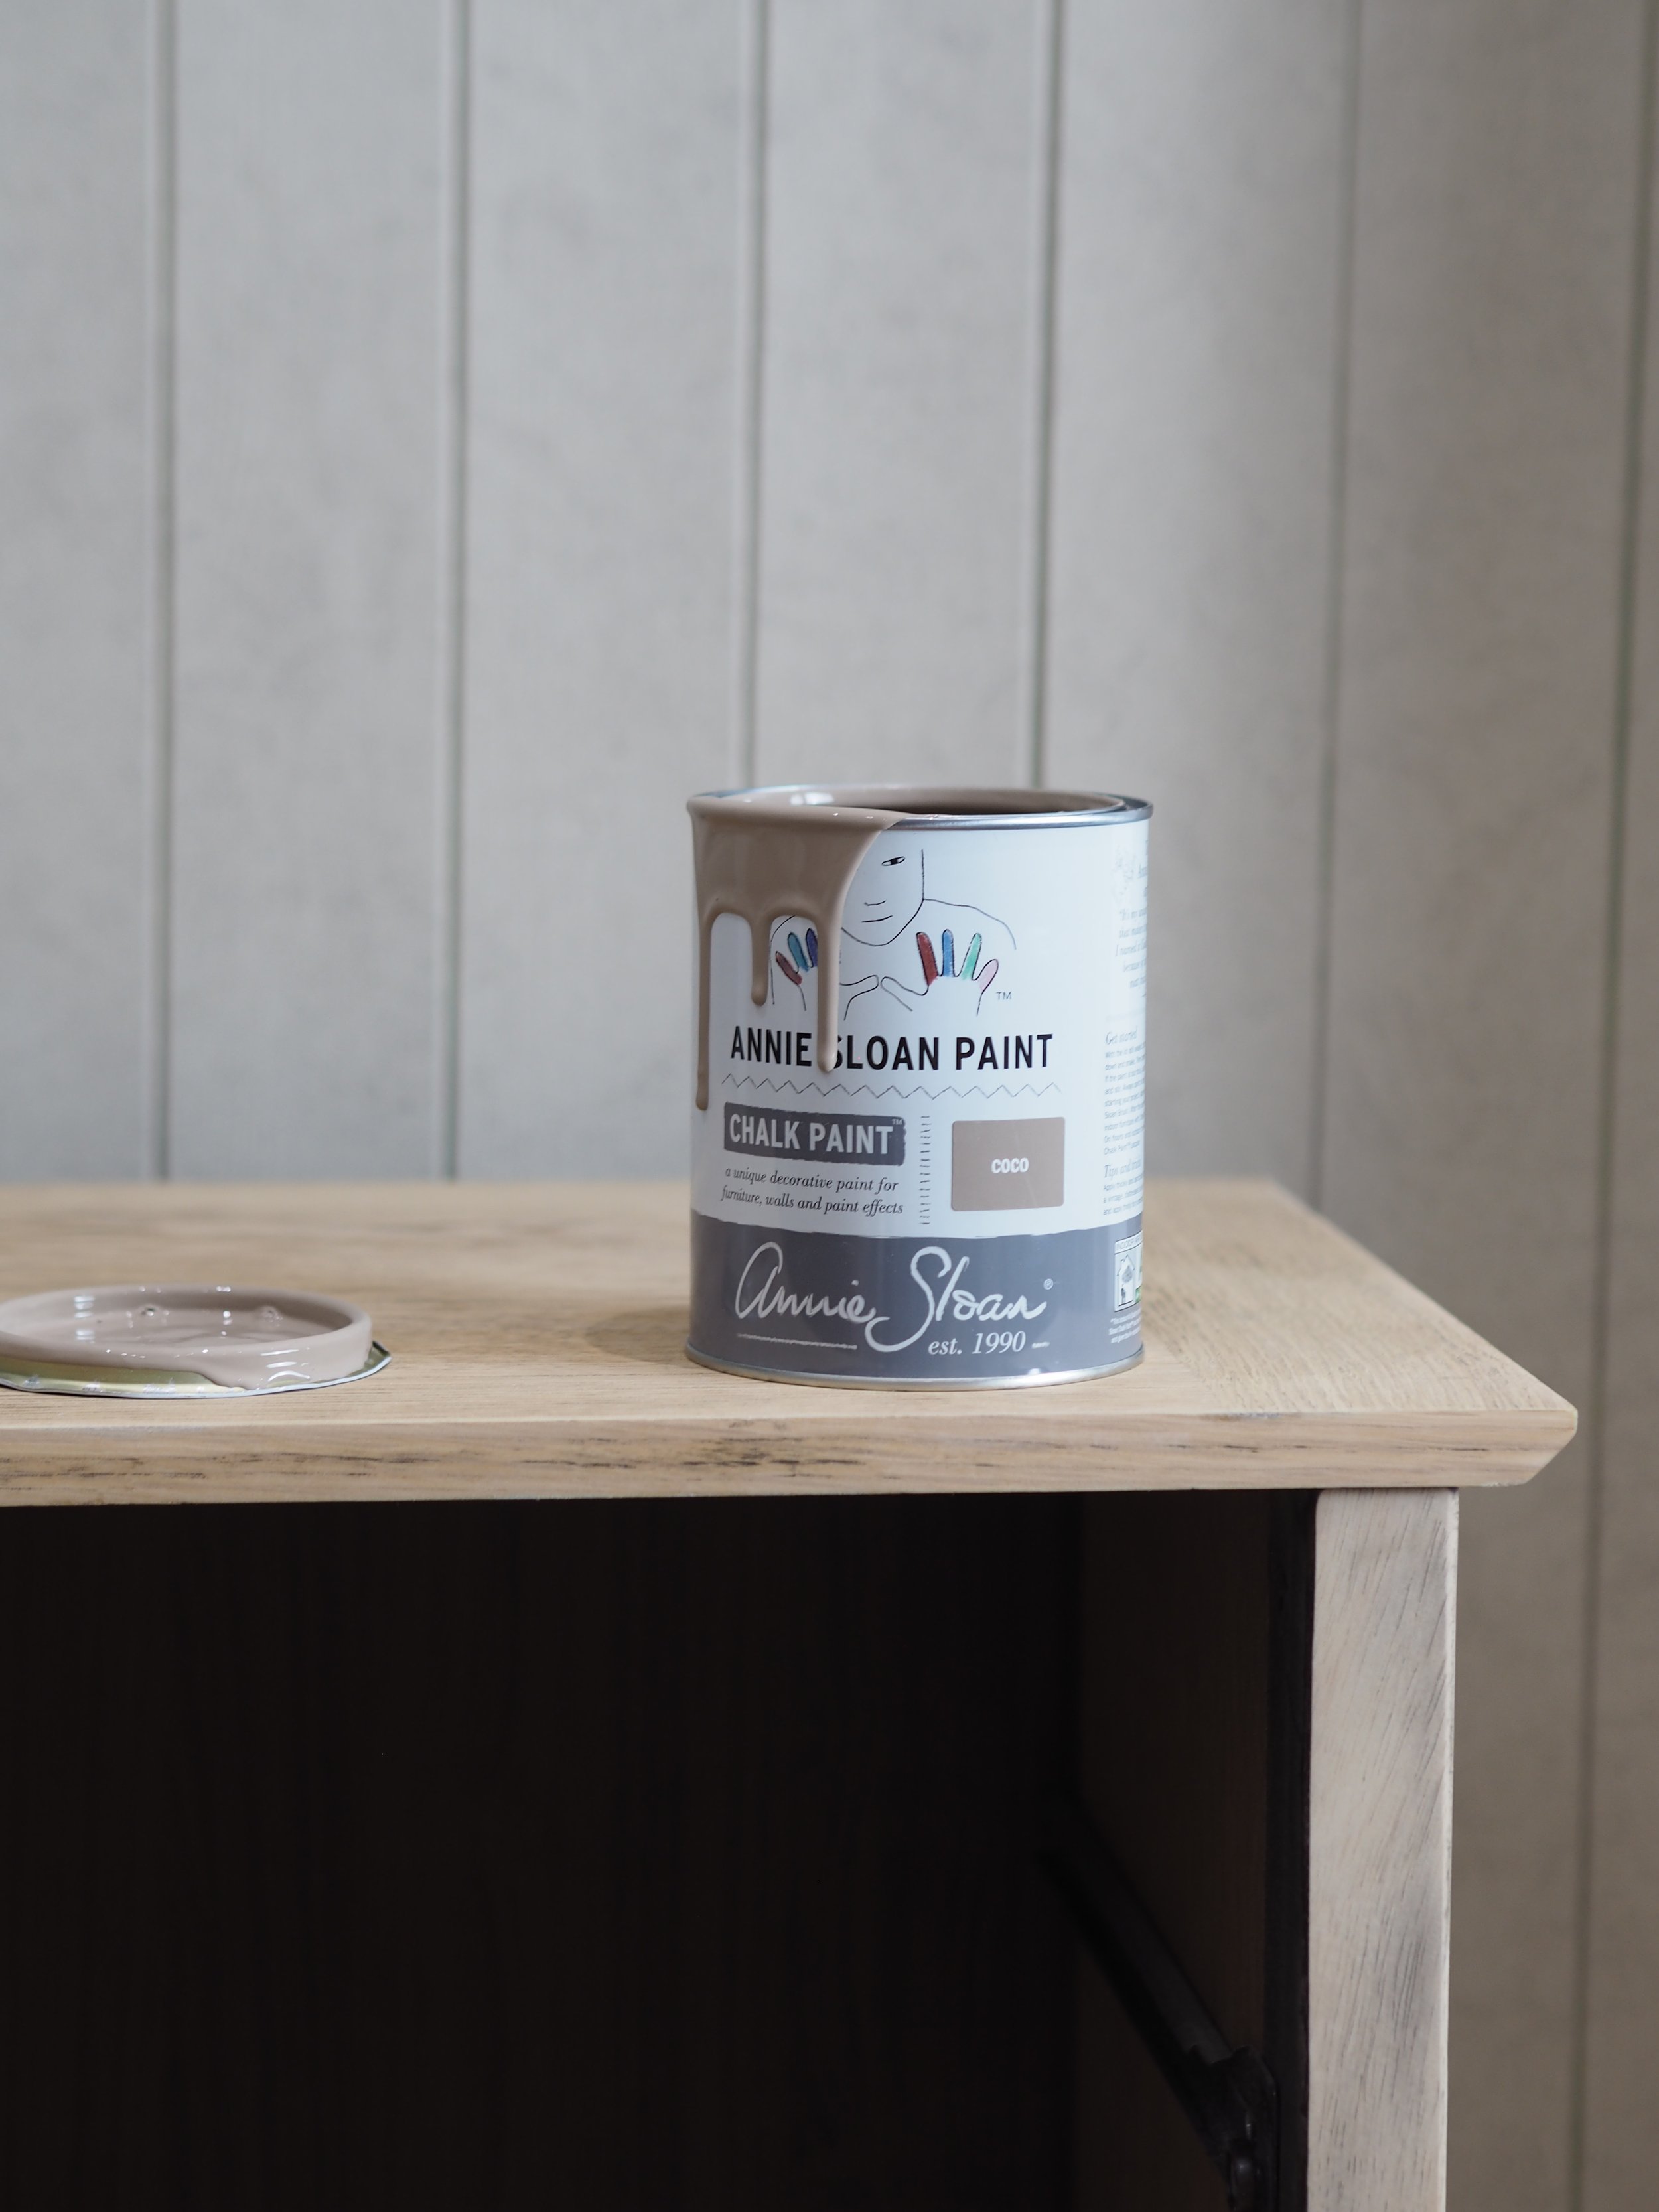
Step 4
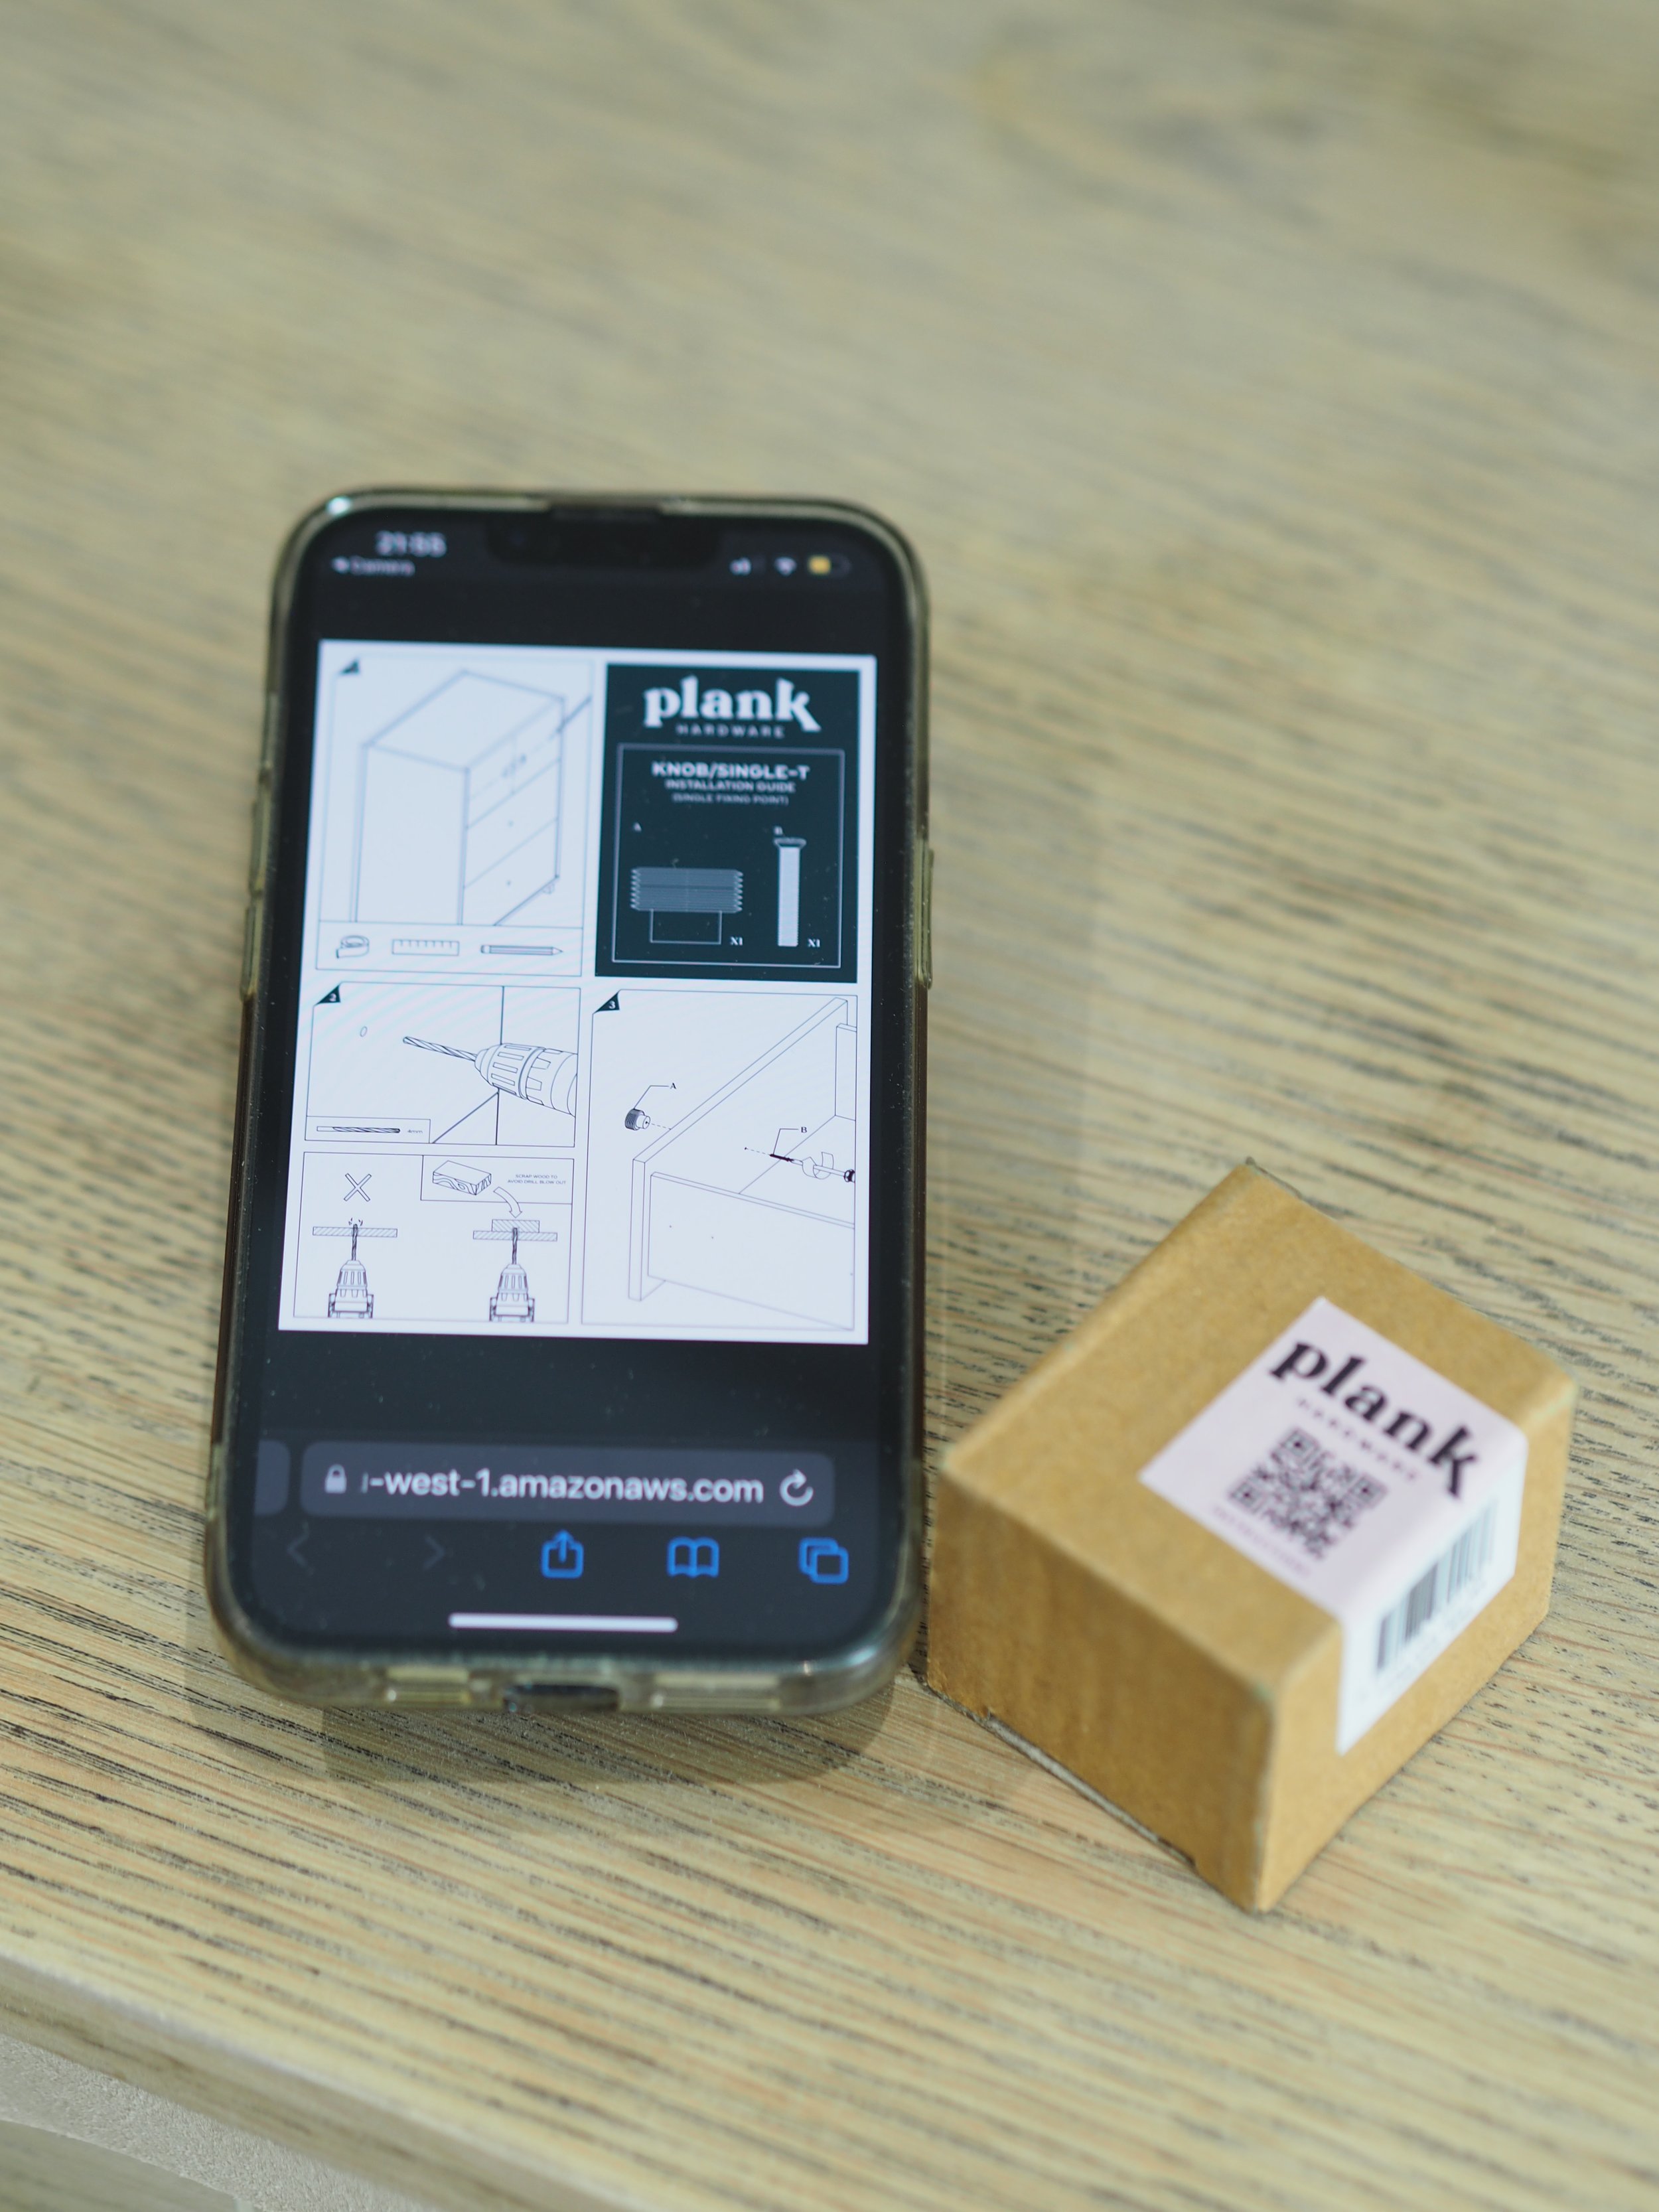
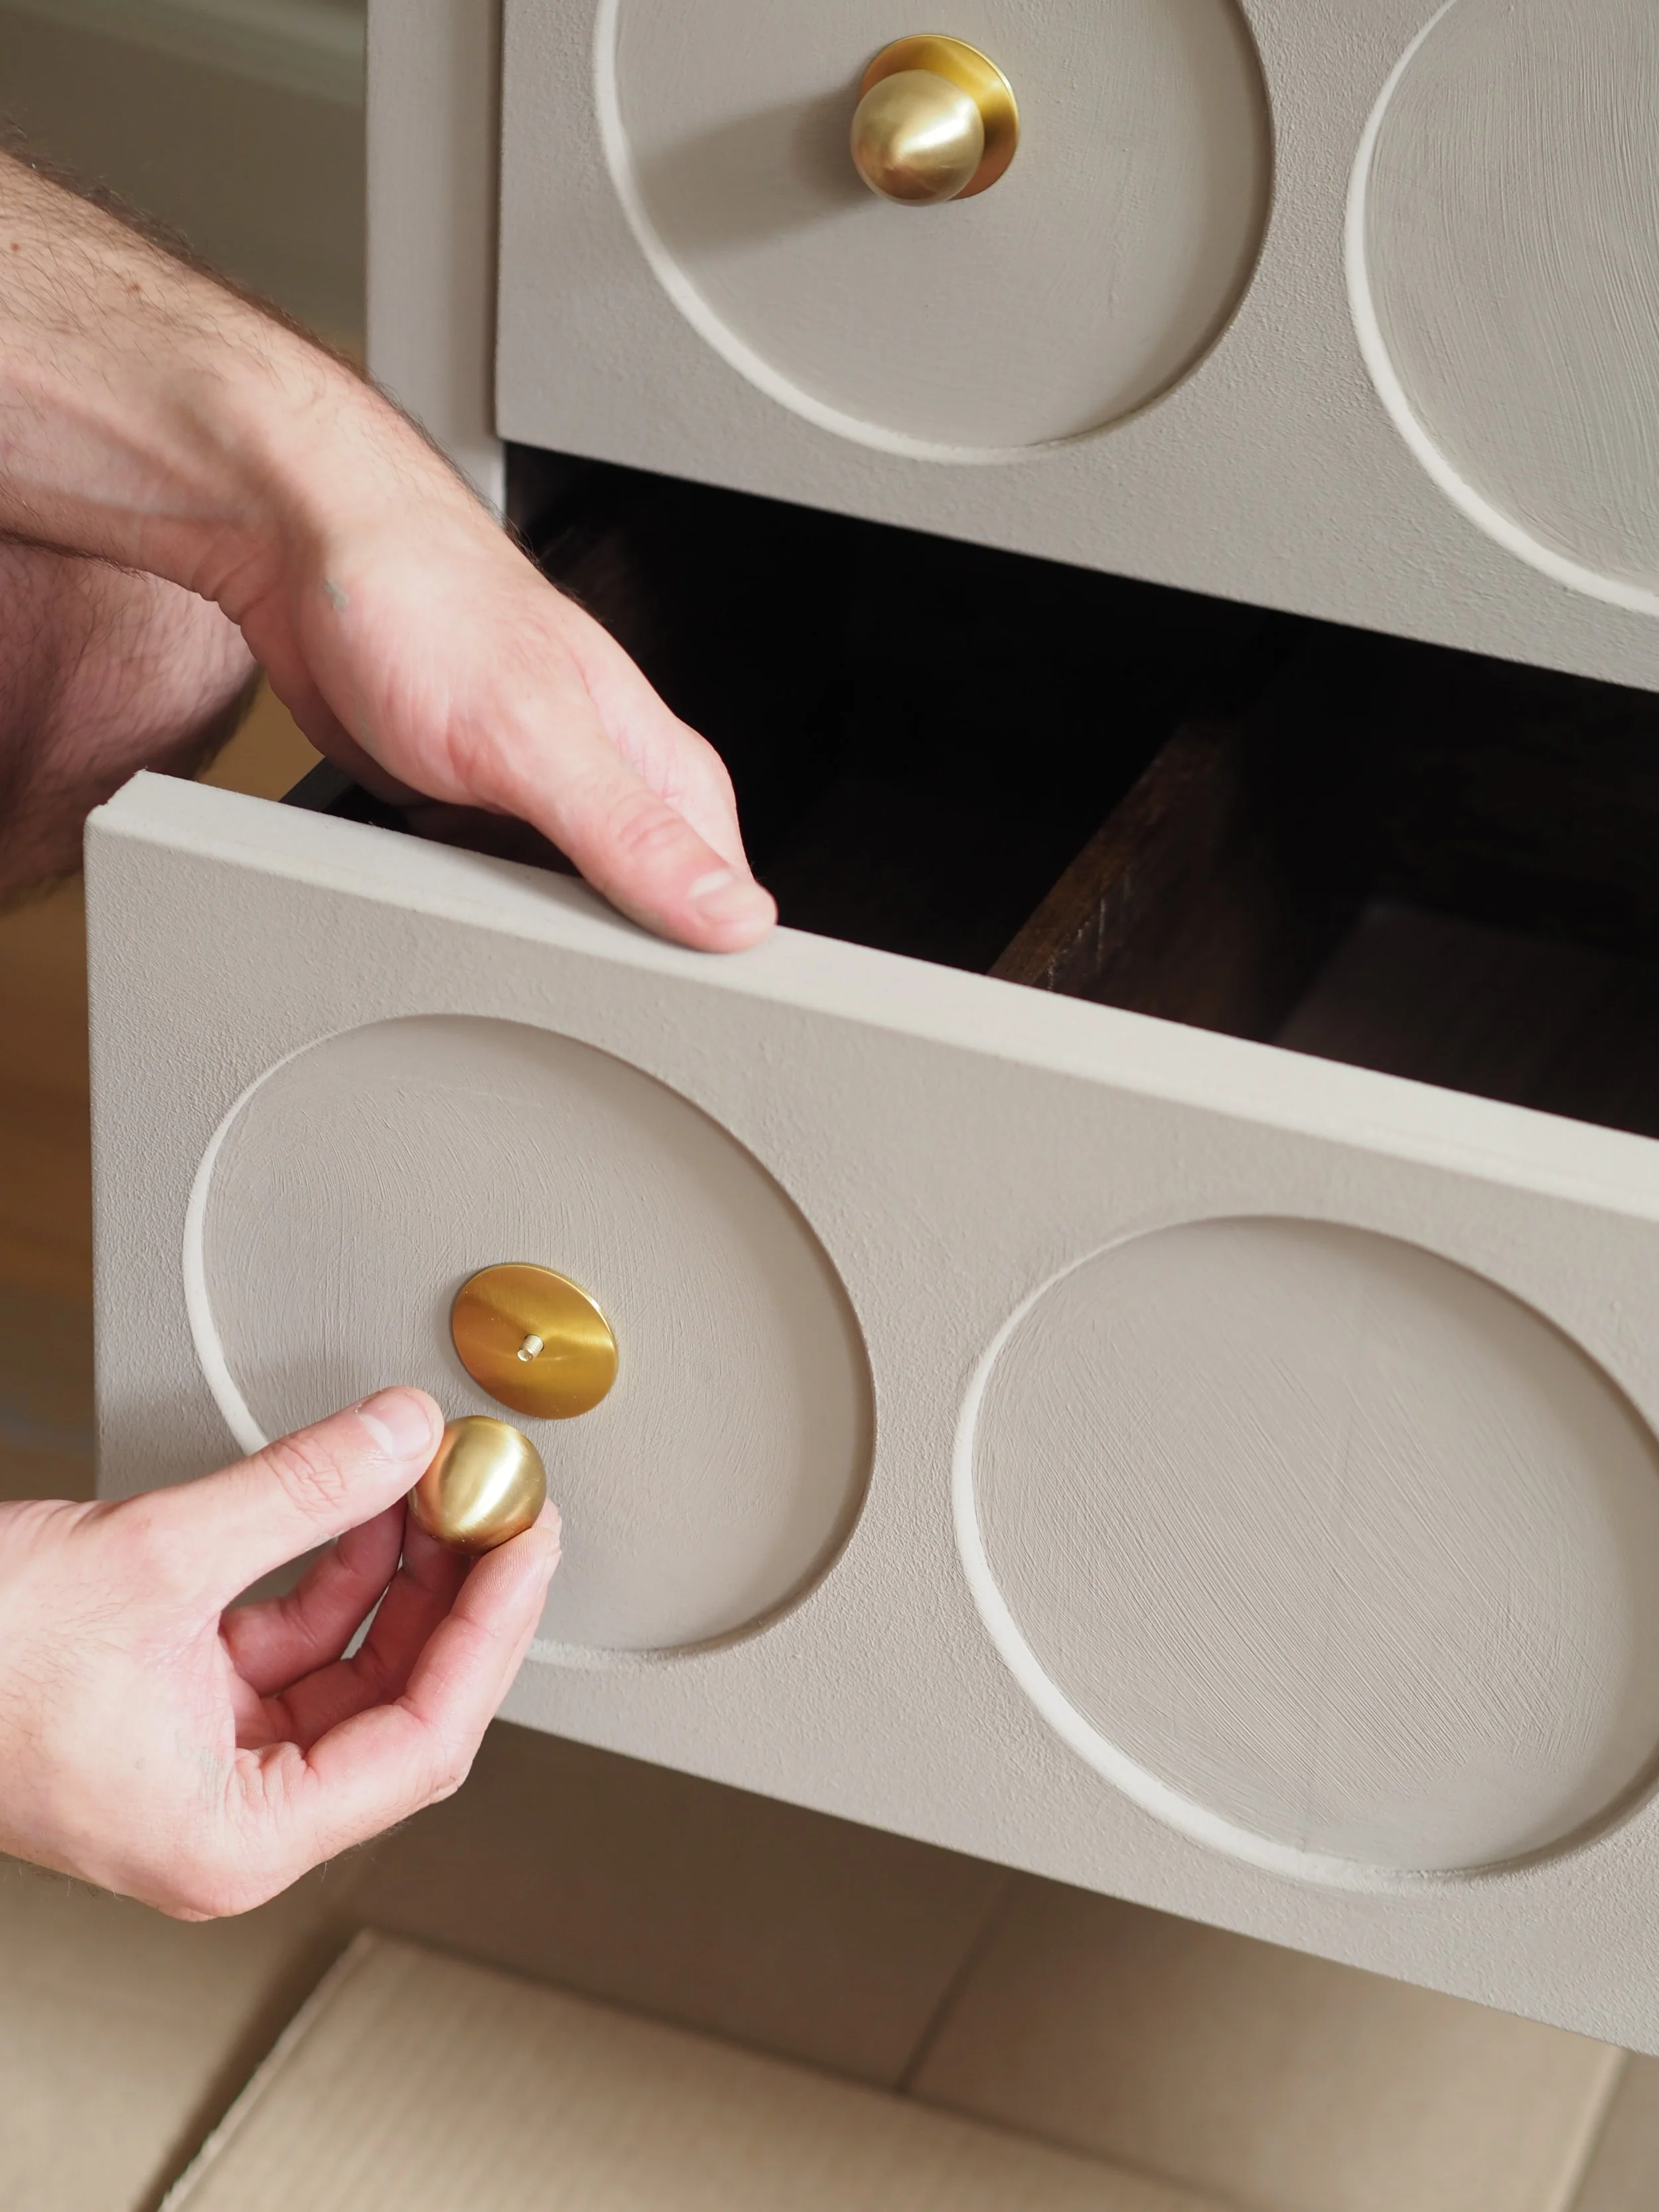
With the chest of drawers completely dried, we can install the LUNA Round Halo Knobs. From behind the drawer, insert the screw through the drilled hole. Holding the screw in place, insert the halo backplate and screw in the round knob. Tighten with a screwdriver. Now, step back and admire the transformed piece of furniture 🌟🧍♂️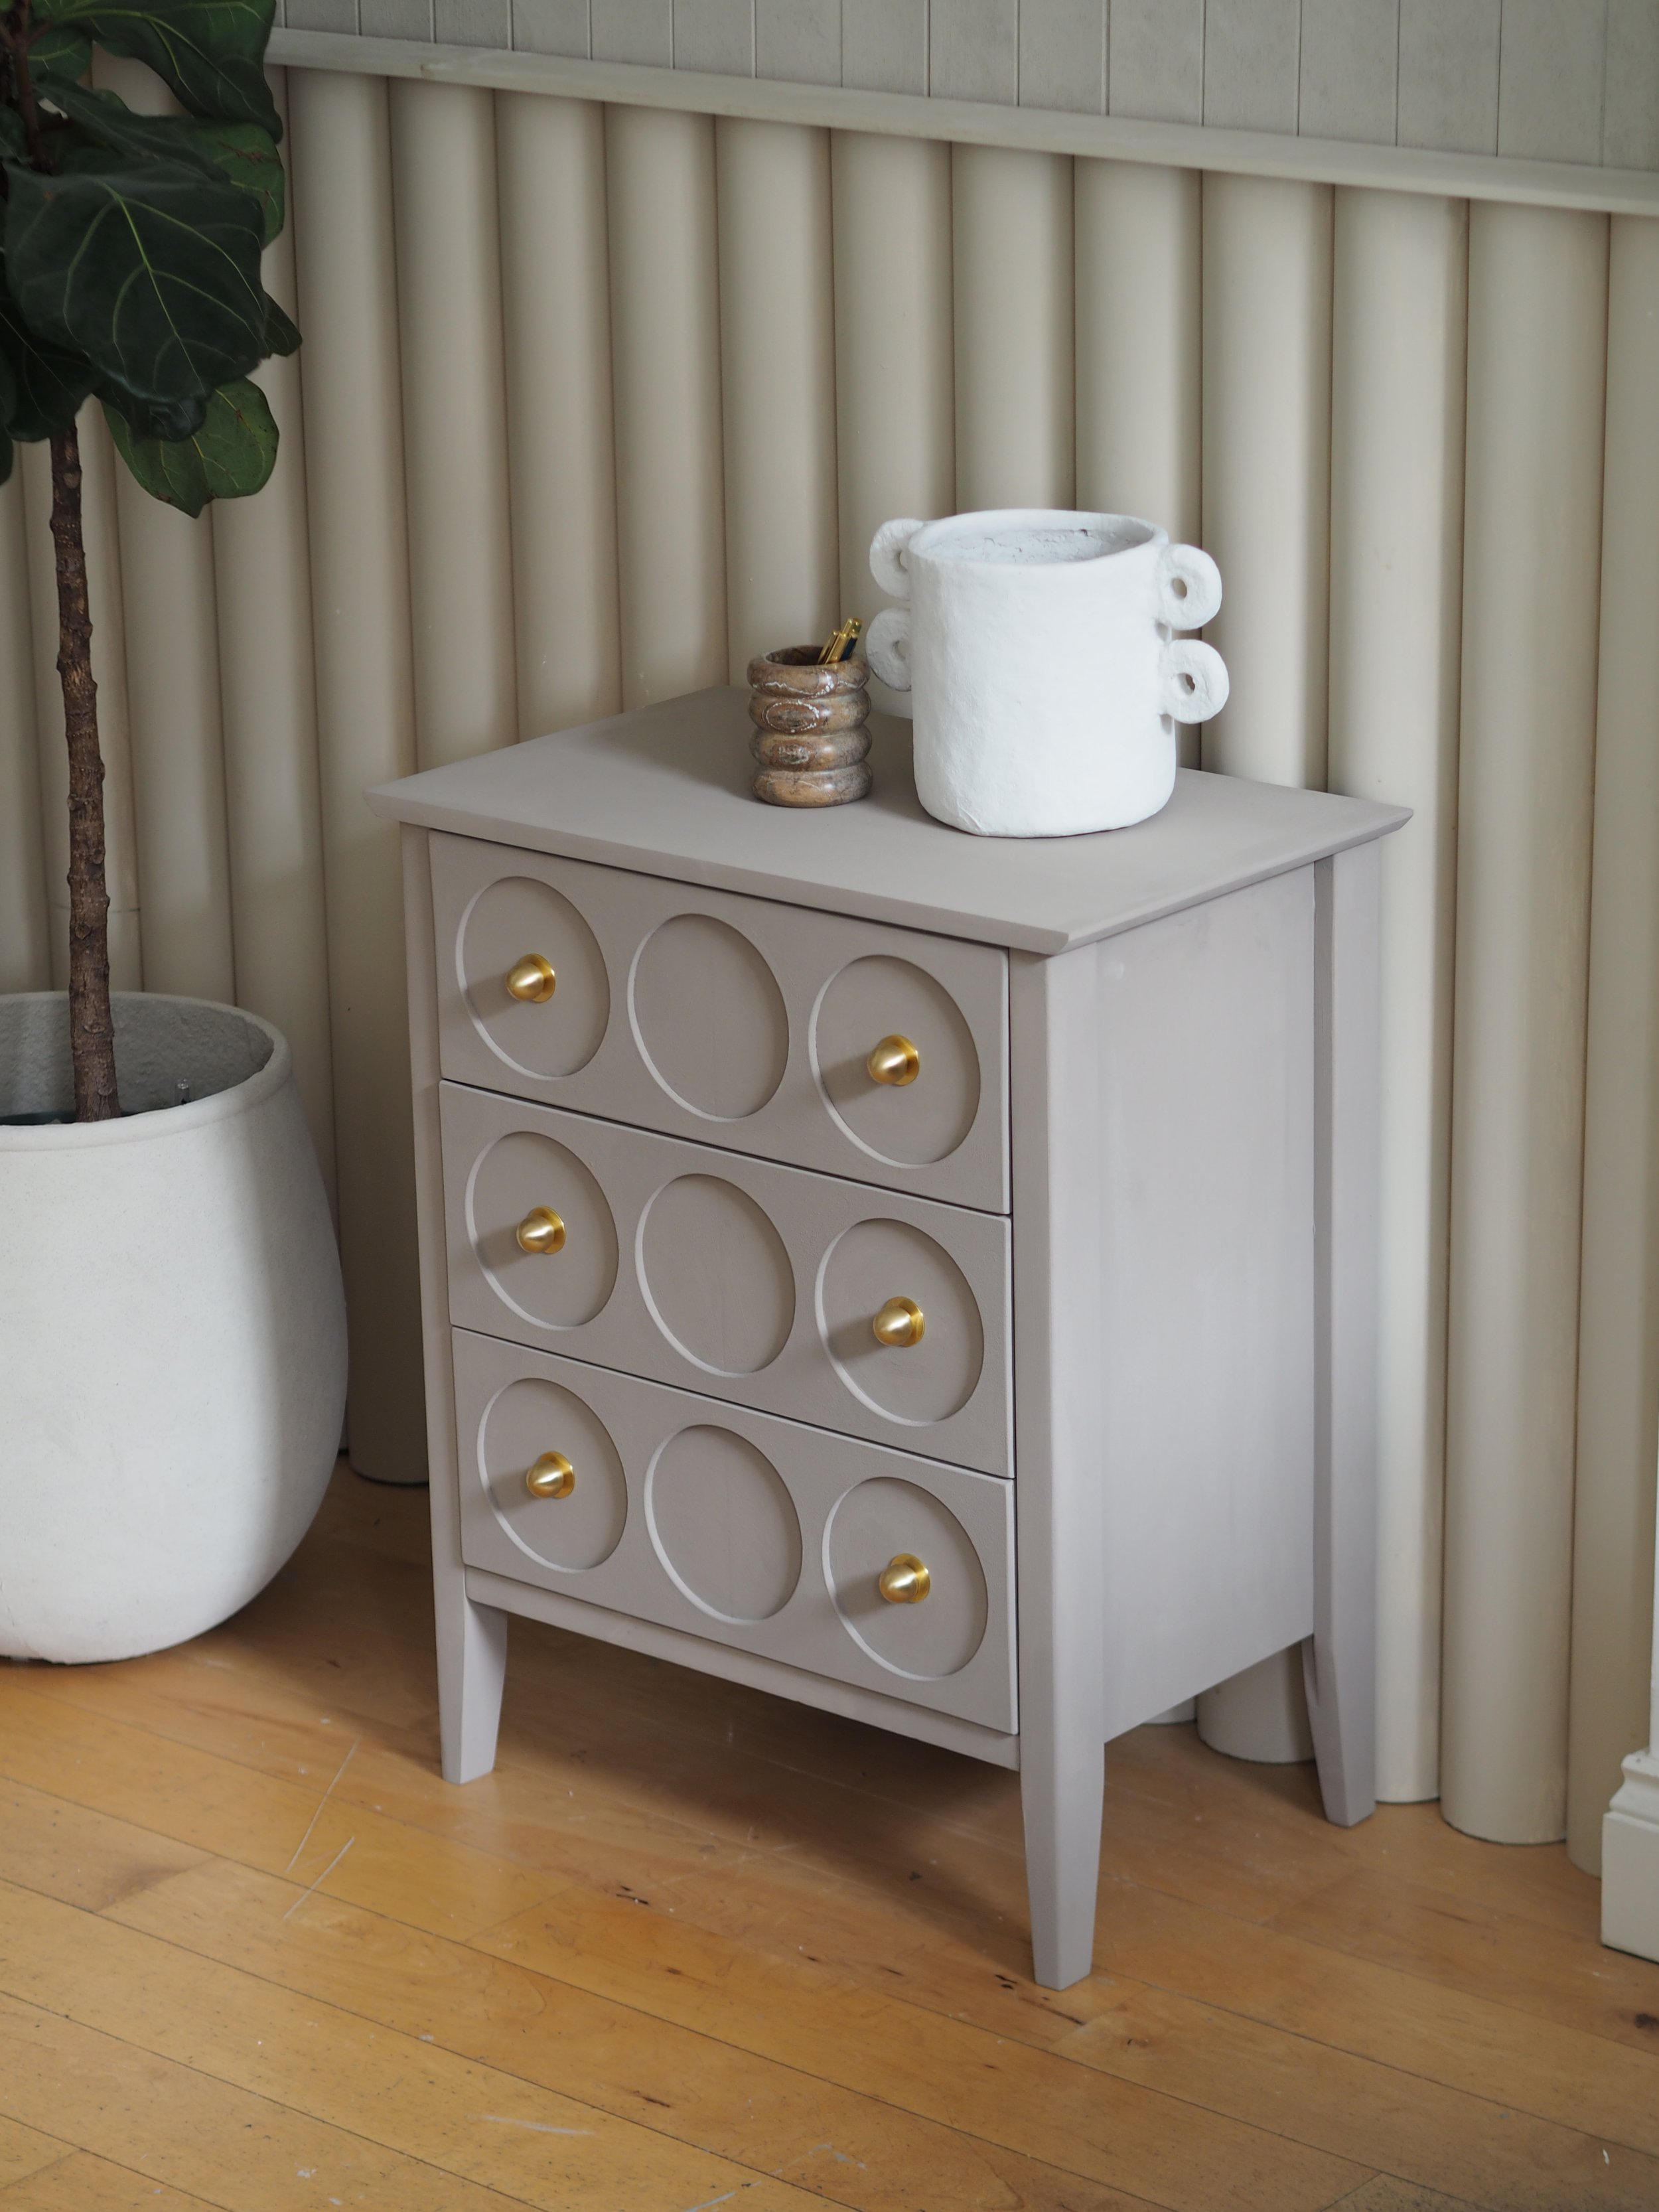
Have you followed along and created your own head-turning piece of furniture? We’d love to see how you got on. Share your upcycle by tagging us at @plankhardware and @anniesloanhome.
Blog


Fit for pro skills…