How to Mount Hooks to Walls
If you’re running out of storage space at home, forever misplacing your keys, or regularly picking up wet towels from the floor, we have the solution – wall hanging hooks. These small but mighty fixings are an easy way to maximise unused space on your walls, doors and cupboards. From your living room to bedroom and home entryway, everything will have its place and be within reach 🙌
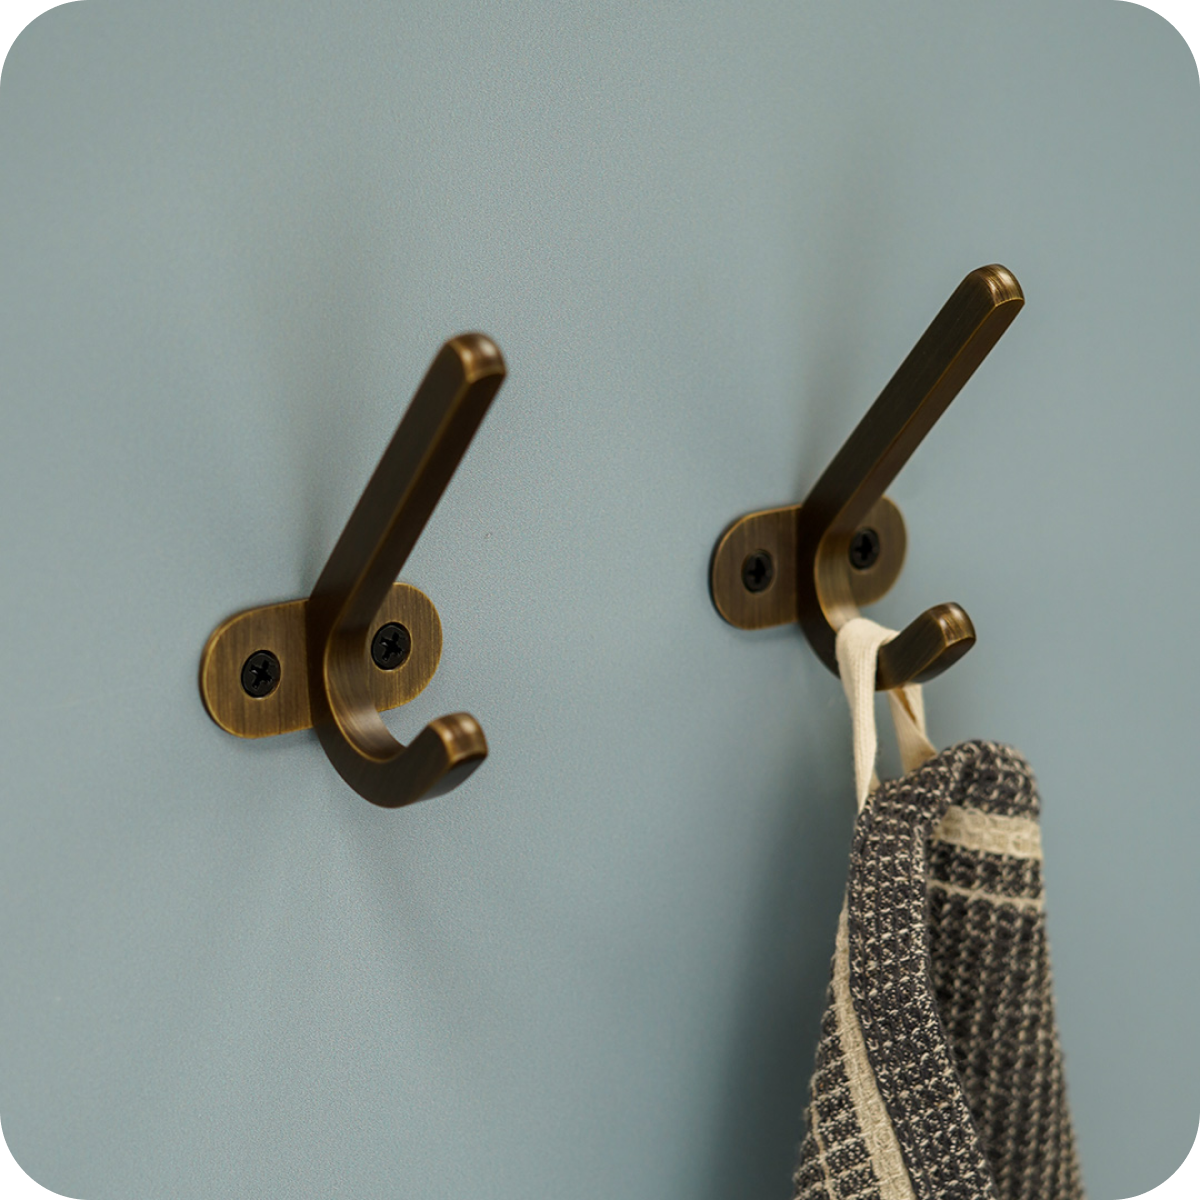
LEVI stands proudly on walls, with a double-pronged design 🙌
In this blog, we’re teaching you how to add wall hooks safely and round off your home renovation. Keep reading to discover how our contemporary hooks can meet your practical needs while creating neat consistency throughout your interiors.Step-by-step instructions to mount hooks to walls:
Some key considerations when hanging hooks for wall storage and decor include selecting the right sized hooks, knowing the type of wall you’re drilling into and ensuring your hooks are 100% secure. Here’s everything you need to be aware of before you start drilling.1. Select the right hook
Before you can take any measurements, you need to check if your wall hooks offer the right level of support. These are the weights our hooks can withstand:Smaller hooks can generally withstand 10kg:We’ve a range of smaller hooks — which are actually our trend-led knob designs supplied with a dowel fixing screw and wall plug. Just take a look at BEZEL or LENNON. Whilst they can withstand varied maximum loads, we’d play it safe and keep weight below 10kg 💪Large hooks withstand up to 15kg:Didn't spot your wall hook? You can now find maximum load per hook under the ‘dimensions’ product description.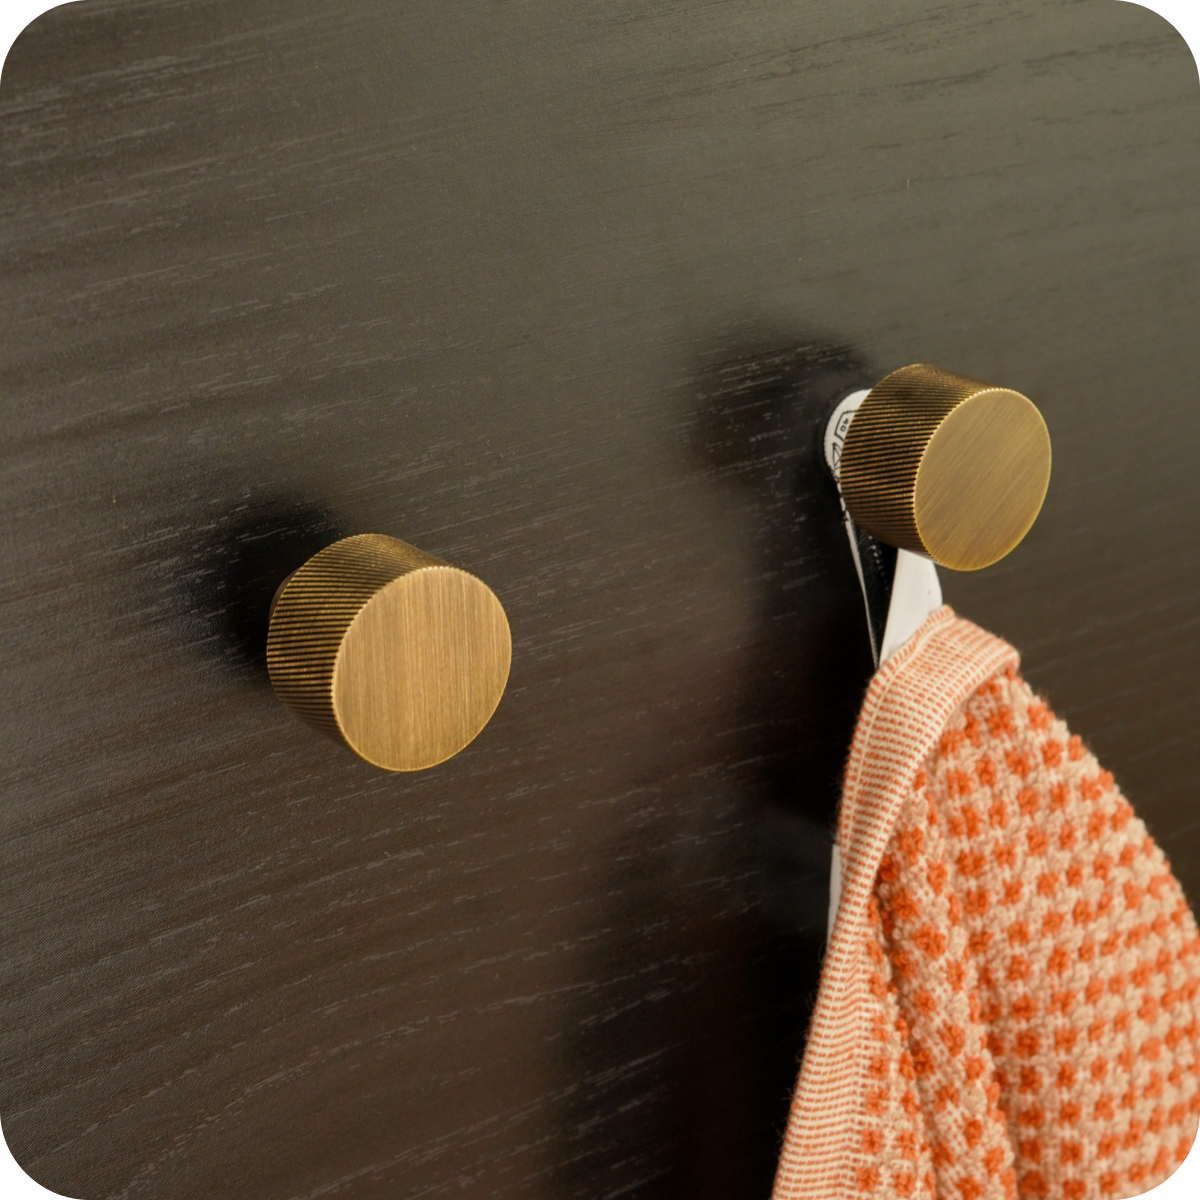
2. Consider the type of wall
Another thing to consider is the type of wall you plan on drilling into, as this will determine how much weight your hooks can hold up and what you'll need for installation. Each of our hooks come with fixing screws and wall plugs to allow installation to solid walls or for other projects. There are three common type of walls in the home:Concrete
As the strongest type of wall, concrete is ideal for heavy-duty purposes such as hanging weighty coats and bags. To install hooks on a concrete wall, you’ll need to use screws and wall anchors.Drywall
Drywall can’t hold weight on nails the way that concrete can, so be mindful when choosing hooks for this type of wall. If you’re looking to hang lighter items such as towels or scarves, you can use screw-in or adhesive hooks. For your heavier items, we’d recommend using drywall anchors to secure the hooks onto the wall.Wooden structures
Does your home boast traditional features such as exposed wooden beams or studs? Good news – these are strong enough to support most types of hooks. Similar to drywall, you’ll want to use screw-in hooks or adhesive hooks for light-duty purposes, and wall anchors to secure hooks for heavier items.3. Think safety
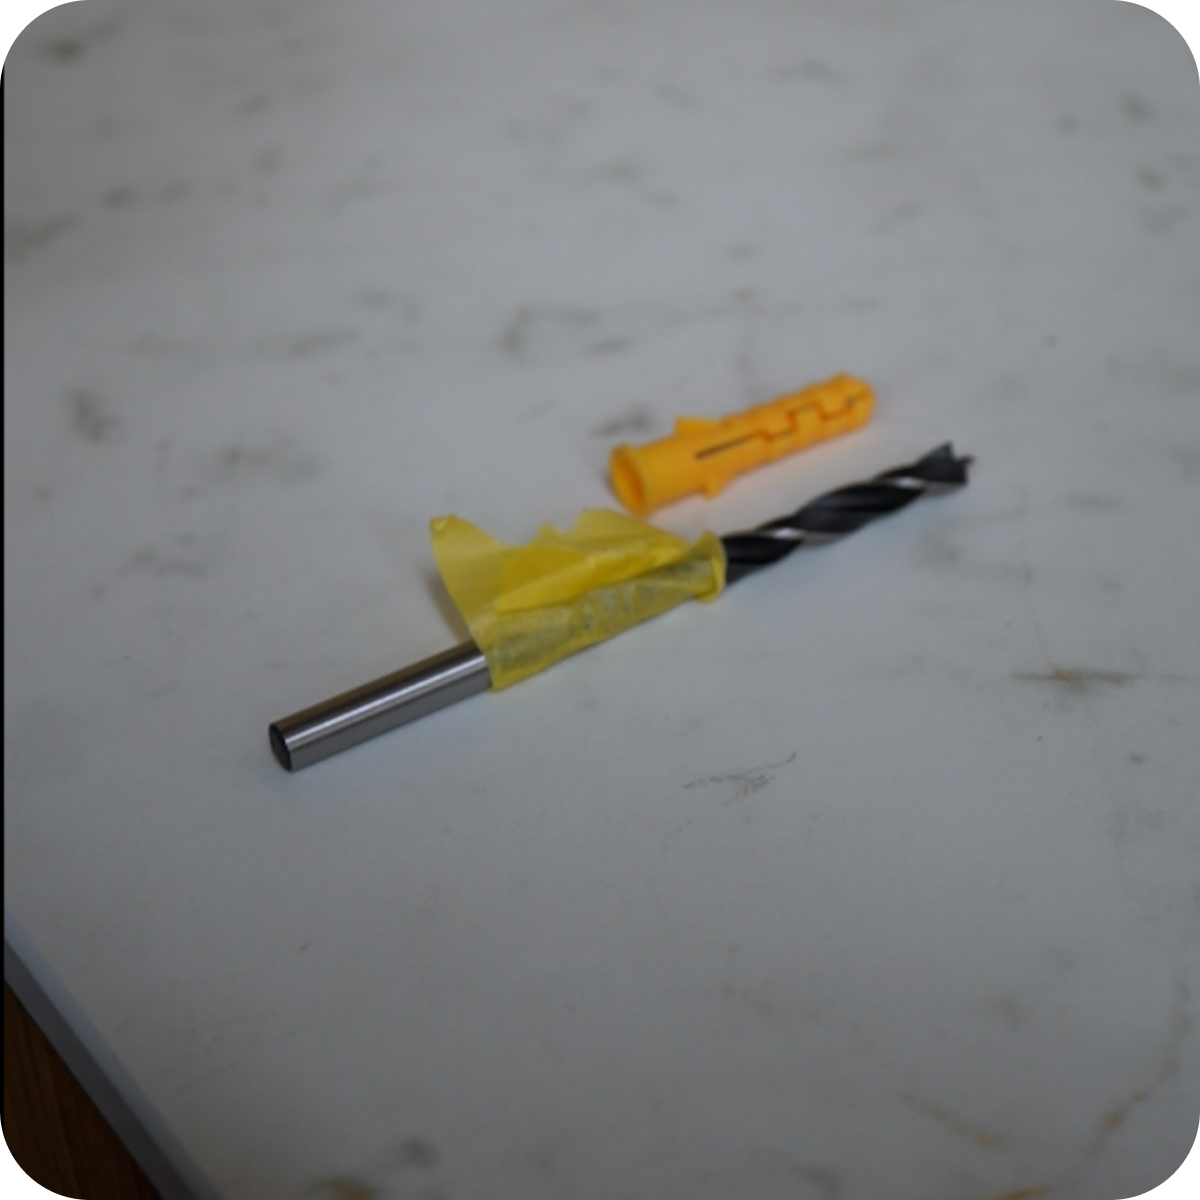
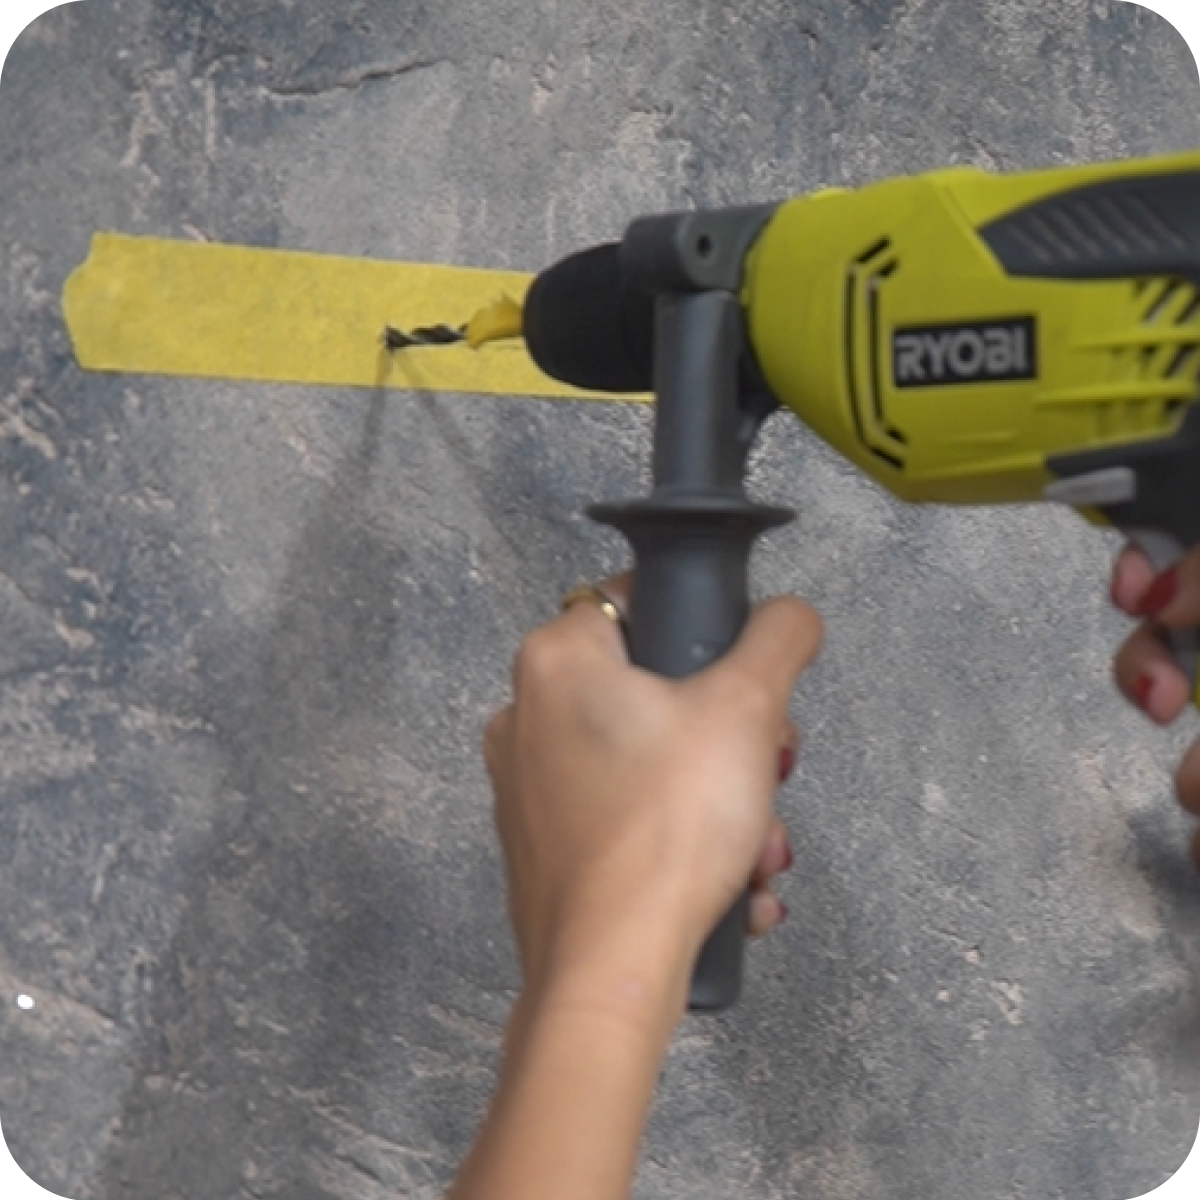
Like with most DIY projects, there are some safety considerations to make before mounting hooks to walls. If you're drilling into a brick wall or masonry, you’ll need a special masonry drill bit for your brick wall hook.For drywall, a regular drill will be fine. Start off by locating the stud in your drywall. Wall studs are vertical pieces of wood or metal positioned at closely spaced intervals to form the structure of the wall. They provide a solid place to drive nails or screws that’s separate to any wires, pipes or insulation. Of course, you should always double check you’re not going to drill into any of these and to do this, you can use a voltage or metal detector. To locate the stud in your wall, you have two options: Give your wall a gentle tap – If it sounds hollow, you’ve missed the stud.Use a stud finder device – You can buy this online or from your local hardware shop.
The main benefit of drilling into the stud is that it can make your hooks more secure. But if you’re not keen on the idea of drilling into the structural parts of your walls, don’t worry. You can bypass the stud and this step altogether. 4. Measure and mark the wall
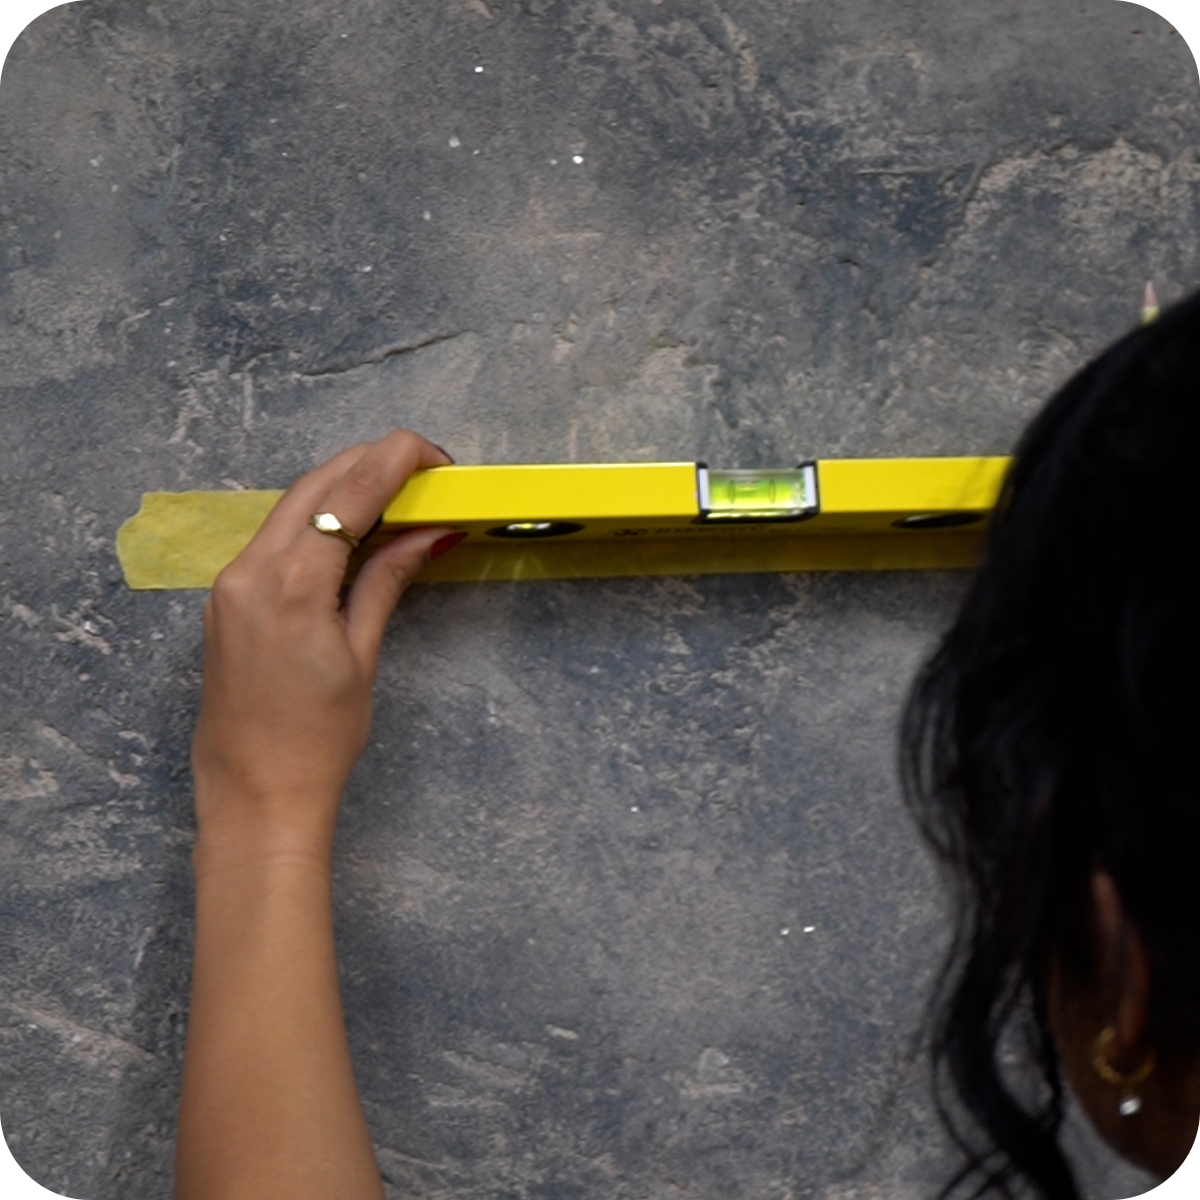
You’ll need to take out a measuring tape or level from your home tool kit to decide where you’ll be hanging your decorative wall hooks. If you’re hanging more than one hook, you’ll want them to be as evenly spaced as possible. You’ll also want to be certain your hooks are positioned at the same height. Once you’re happy with your measurements, mark where you’ll be drilling by either drawing on the wall with a pencil or using painters’ tape ✏️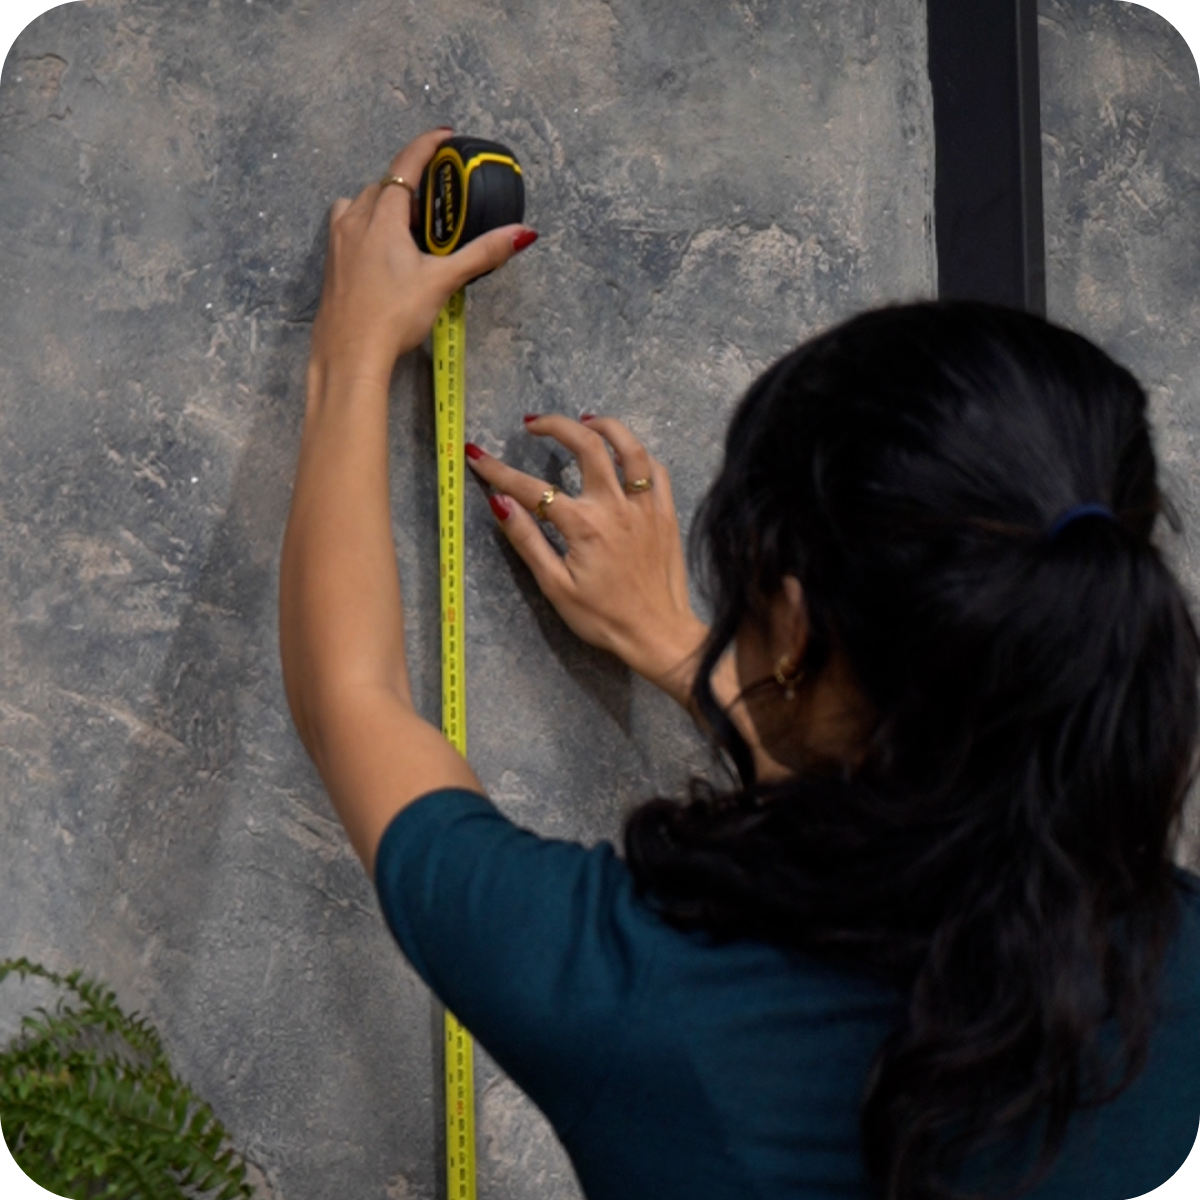
5. Drill the wall and add plugs
Wall plugs are small fibre or plastic inserts that are essential to supporting the weight of an item you’re attaching to a wall. They expand to securely grip the sides of the hole you have drilled, and will help to hold the screw in place without damaging your walls. Without a wall plug, a normal screw won’t securely stay in plasterboard or masonry. Discover how to fit wall plugs below:If you’re drilling into masonry, be sure you’re using a masonry drill bit with your electric drill to pre-drill holes for your wall plugs. When drilling into drywall or the stud, you can use your regular drill bit.Make sure you drill a hole that’s deep and wide enough for the wall plug. Then give your plug a gentle push into the wall.You may find you need to give the wall plug a light tap with a hammer to get it all the way in 🔨
6. Install the hook
If you’re installing a hook that has a hole for the screw, start by putting the screw through the hole and lining it up with your plug. That should make it easy for you to drill the screw in most of the way. Once it’s almost entirely attached, make sure the hook is level and straight before you drill the rest of the way to tighten it.Are you installing a hook that doesn’t have a hole and hangs from the screw instead? In this case, you’ll need to drill in your screw most but not all of the way.
A small but trusty hook, you can rely on FELIX to hang your coats 💪
7. Make adjustments and add caps
For wall hooks with a screw hole, double check everything is level. Once you’re happy, you can cover your screws with the caps. It’s slightly different for wall hooks that go onto the screw. Place your wall hook on the screw to see if it lines up. You may find you need to adjust the screw in or out further to ensure it’s flush against the wall.7. Do a strength test and you're ready to go!
Strong wall hooks are key to making sure that whatever you hang on your walls stays put. Before hanging up anything important, do a quick strength test and make any adjustments you need so it’s as secure as possible.
Different uses for wall hooks
Wall hooks are more than just functional hardware. They act as an essential touch to complete your interior design schemes and create a much-needed air of organisation 🙌 There are all sorts of ways you can use decorative wall hooks in your home – here are some ideas to get you started.In the bedroom:
Maintain a clutter-free and stylish bedroom by using a single circular hook to hang your robe or bath towel. Alternatively, you could use multiple hooks in a line to hang your shirts, dresses and jackets in your wardrobe or on an open wall. For easy access to ties or scarves, affix a hook next to your dresser.
HOFFMAN offering a helping hang to a decorative bedside light 💡

A pair of hooks cleverly installed along the side of Liz’s kitchen cupboards.
In the entryway:
Bring some order to your home’s entrance and hang coats, umbrellas or hats from square hooks near the front door. If you’re forever leaving your keys lying around, save yourself the stress of losing them by having a dedicated hook near the front door. Or even better, build an under stairs storage unit.Here’s one for busy parents of school-aged children 🧒 Keep track of all your kid’s after school clubs, homework and upcoming trips with a whiteboard or chalkboard attached to a wall. At a height your child can reach, use hooks to hang their backpacks, jackets and PE kits. Now there’s no excuse if they leave things at home!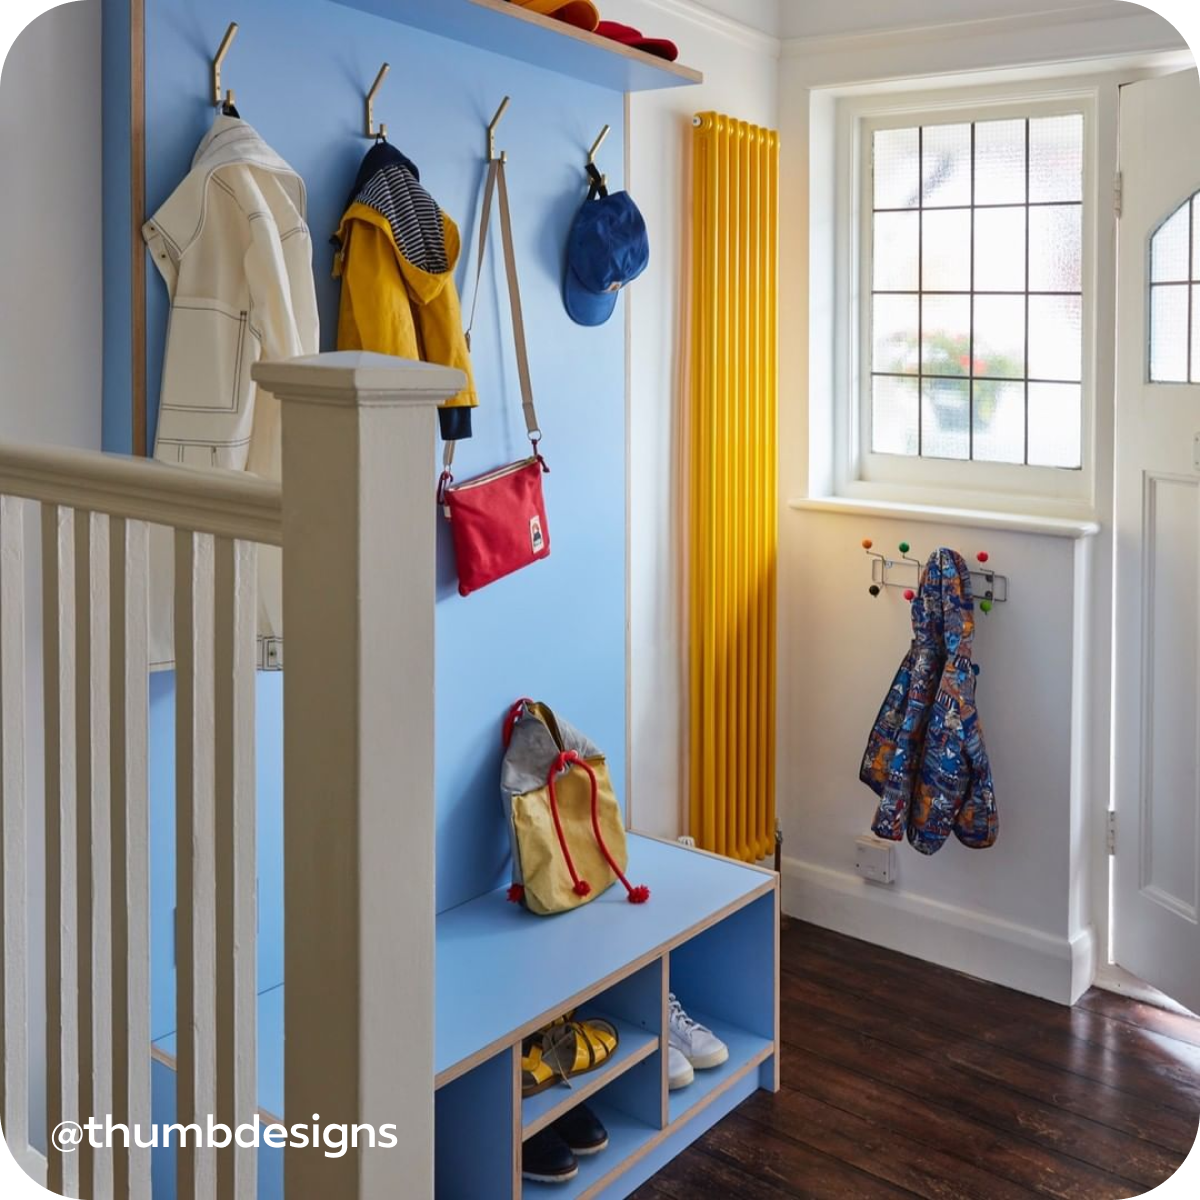

In the living room:
Sometimes less is more when you’re looking to spruce up your living room walls. For example, you can create a calm and aesthetically-pleasing space by hanging a leafy plant or a beautiful landscape painting with a single J hook.Or if you’re keen to display family photographs, you can hang multiple frames from different hooks to build a gallery wall. We suggest extending your gallery wall to the ceiling to hack your way to a larger looking room 👍Perhaps you’re feeling brave and have always wanted to experiment with different patterns and textures? In this case, fill a bare wall with a hanging blanket or throw, and bonus points if you add string fairy lights around the edges.In the office:
Whether you work from home all the time or only when you need a moment’s quiet, it helps to be in an environment that inspires you. One way you can do this is by creating your own bulletin board. Simply attach a corkboard to the wall and add hooks to hold push pins. You could pin anything in your home office from practical supplies like scissors, string and sellotape, through to samples of your favourite colours, pictures of your friends and family, or your dream holiday destination 🏝How to remove wall hooks
Whether you’re moving house or going for second or third time lucky on your drilling attempts (😬), you’ll be pleased to know that removing wall hooks is nice and simple:Unscrew the hook from the wall. Or, if it’s attached with nails, use a hammer or screwdriver to remove it.Now you can patch up the hole with multi-purpose filler, putty or caulk.Allow the patch to dry thoroughly and then sand using even pressure. You’re aiming to sand down the filler so it’s flat with the surface of the wall and doesn’t show underneath paint.Last but not least, repaint the area you sanded over.
Now you’re clued up on everything involved in mounting hooks to walls, we can’t wait to see how you transform your design schemes. Keep us in the loop with your #PlankProjects and tag @plankhardware in all your reels, before and after shots, and stories 👀
Blog


Fit for pro skills…