How To Upcycle A Chest of Drawers
So, you want a unique piece of furniture for your home, but don’t fancy buying something new? Or maybe you don’t like the idea of having the same item as everyone else? We think you’ll find fantastic value in upcycling old furniture, which lets you get those creative juices flowing and give your old homeware a much-needed facelift. In our go-to guide, we’re showing you how to upcycle an old chest of drawers into a modern piece with a professional and durable finish.
Upcycle your basic storage into show-stopping furniture pieces
By upcycling old furniture, you don’t just get the satisfaction of completing a DIY project over a weekend. You can also feel good knowing you’re being kind to the planet 🙏 Upcycling is the very opposite of throwaway culture. It helps you transform old furniture into something new, saving it from being chucked in the tip.Ready to get going? We’re taking you through renovating an old chest of drawers step by step and have all the upcycling for beginner tips you’ll ever need. And if, like us, you’re partial to affordable Swedish homeware with simple assembly instructions, keep reading for our best IKEA furniture hacks.What You Will Need
Before you get started, make sure you prep all of the equipment you’ll need:Plastic sandwich bagsPencil and post-it notesPhillips screwdriverScrewsSugar soap and waterHand-held belt sander120 – 220 grit sandpaperDrillPutty knifeWood fillerPrimerPaintVarnish or wax


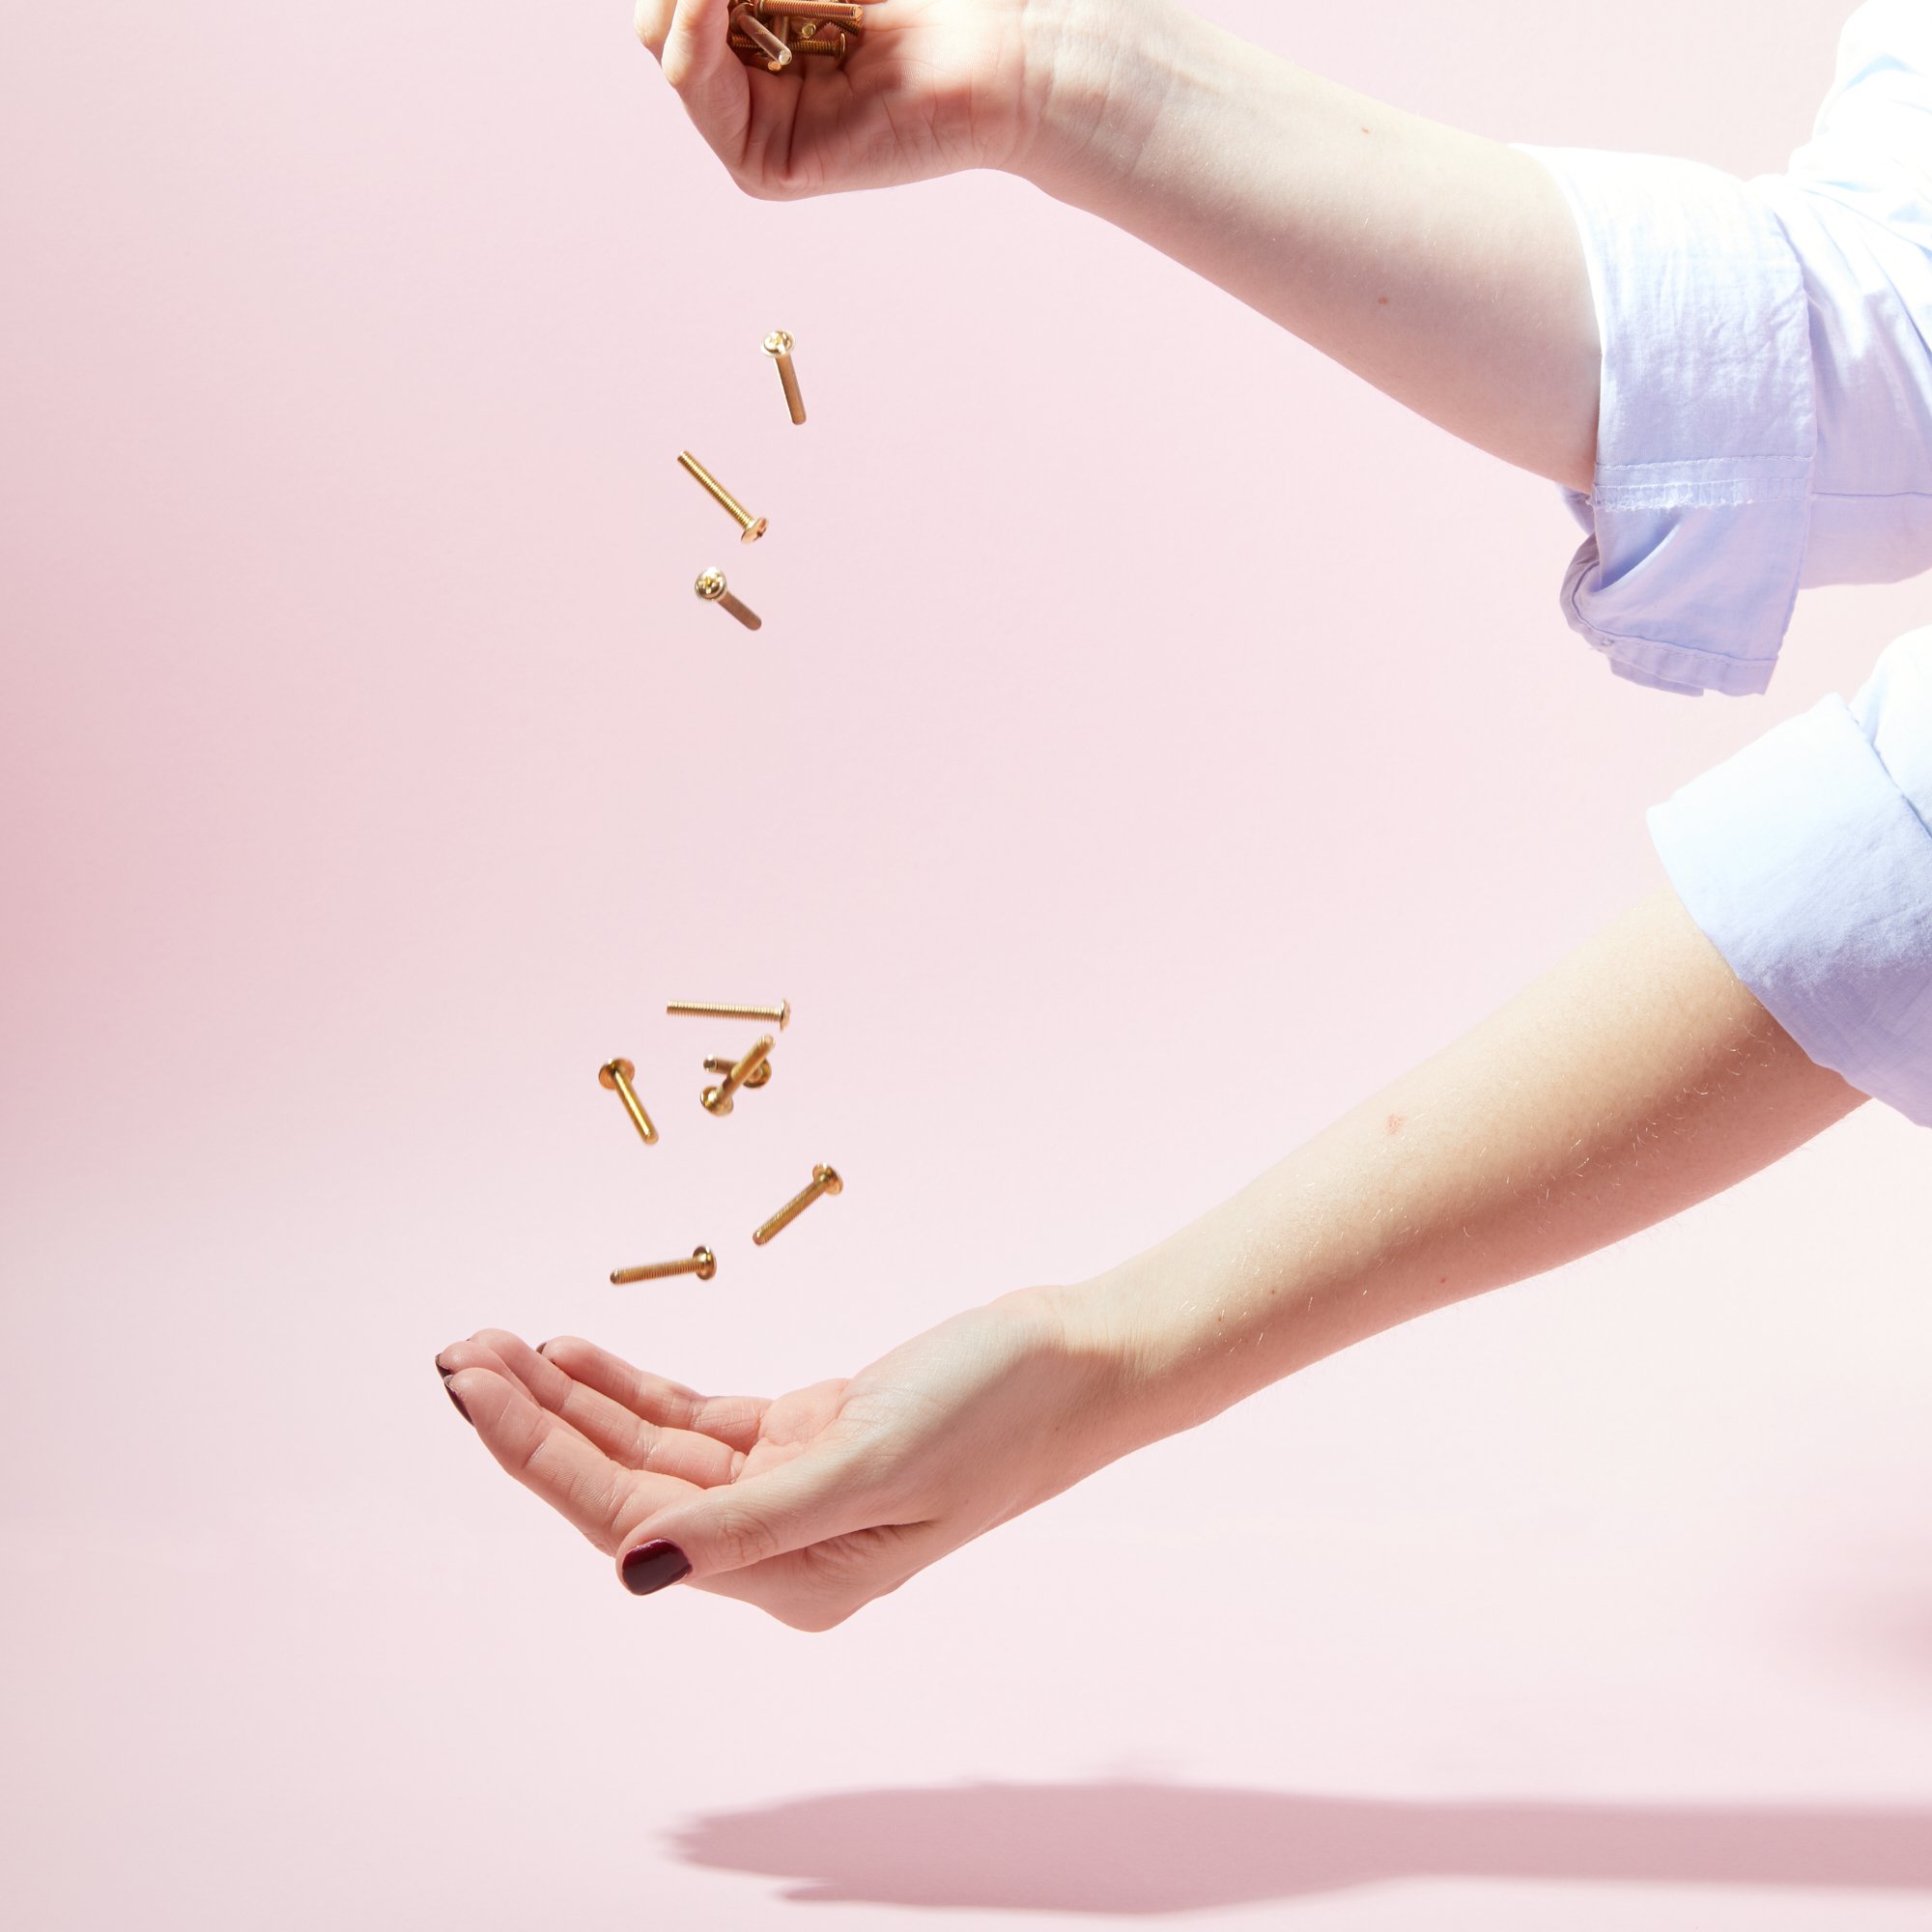
Remove Original Hardware And Clean
The first part of your prep is removing the drawers and original hardware such as any pulls, knobs or handles. It’s relatively straightforward and up to you whether you want to use a screwdriver or drill.Top tip: Give the drill a shot if you’re a slightly more seasoned interior creator. But, if you’re in the early stages of your DIY journey, you may feel more in control and confident with a screwdriver.Rather than chucking your now unscrewed hardware into a messy pile, we suggest opting for a more organised approach. Get some plastic sandwich bags, put in each piece of hardware and attach a post-it note explaining where the knobs or handles go on the chest of drawers. Take it from us, it’ll make reassembling your finished piece 10 times quicker.It’s now time to clean your chest of drawers with sugar soap before you sand them down. Wondering why? If you’ve bought your chest of drawers secondhand or can tell they’ve seen better days, you’ll probably have some grease or grime to contend with. Yes, you could try and sand this off, but we can guarantee you’ll have to work a lot harder and feel knackered as a result. There’s also the risk of sanding the dirt into the wood, which no-one wants. Save yourself the stress and wash your chest of drawers down with sugar soap, leave to dry and get ready for the fun part – sanding!Sand The Chest Of Drawers
Sanding your chest of drawers will help smooth the wood’s surface, taking it from a glossy to matte finish which is really good for paint to adhere to. Prepare to put in some elbow grease and follow these steps:Sand any hard-to-reach spots like corners or decorative grooves – Wrap between 120 – 220 grit sandpaper around a sponge and apply gentle, even pressure.Sand the outer surfaces of the chest of drawers – Now you can move onto the bigger areas using a hand-held belt sander. If you’re able to, reposition the surface you’re sanding so that it’s horizontal and sand in the direction of the grain.Once finished, use a damp cloth to wipe away any dust.
Fill Screw Holes With Wood Filler
Don’t worry, those old screw holes aren’t sticking around. You’re going to fill these in using just wood filler and fine grit sandpaper:Start off by sanding down any rough edges, if there are any, around the hole – This will help remove splinters and any irregularities in the wood.Once the hole is smoother, use a wet cloth over the screw hole and surrounding wood to clean the surface of any dust or dirt.Then you can use the wood filler – Don’t worry what colour you use, as you’ll be painting over your entire cabinet a bit later on.Using a putty knife, scoop enough wood filler into the hole to overfill it slightly – This will mound over the top of the screw hole and then, as the wood filler hardens, it shrinks and gives a seamless finish.
Let the wood filler dry for 30 to 60 minutes – Then you’re ready to move on.Drill Holes For New Hardware
It’s always a little daunting drilling that first hole into your furniture – even for the experts! But don’t worry, we’ll guide you through this.If you’re replacing your old hardware with new knobs, you’ll only need one screw and will want to drill a hole in the centre of the drawer for each knob. For two hole pulls that have a different width from the old furniture hardware, you’ll need to measure and mark the two holes. This can be done using a plastic or cardboard template, which helps you easily and correctly mark where you want your screw holes to go. Then it’s time to get drilling. Top tip: Start off by choosing a smaller drill bit, fitting it to your drill and creating a ‘starter hole’. Larger drill bits can very easily jump over from the marked position and as a result, the hole could be a tiny bit wonky.Great, you’ve drilled the smaller hole and are ready to drill a larger hole that your screw will definitely fit into. Use a drill bit the size of the screw you’re using and keep your hand steady and level as possible. Slowly start drilling the hole from front to back so there’s no chance of the wood splintering at the front.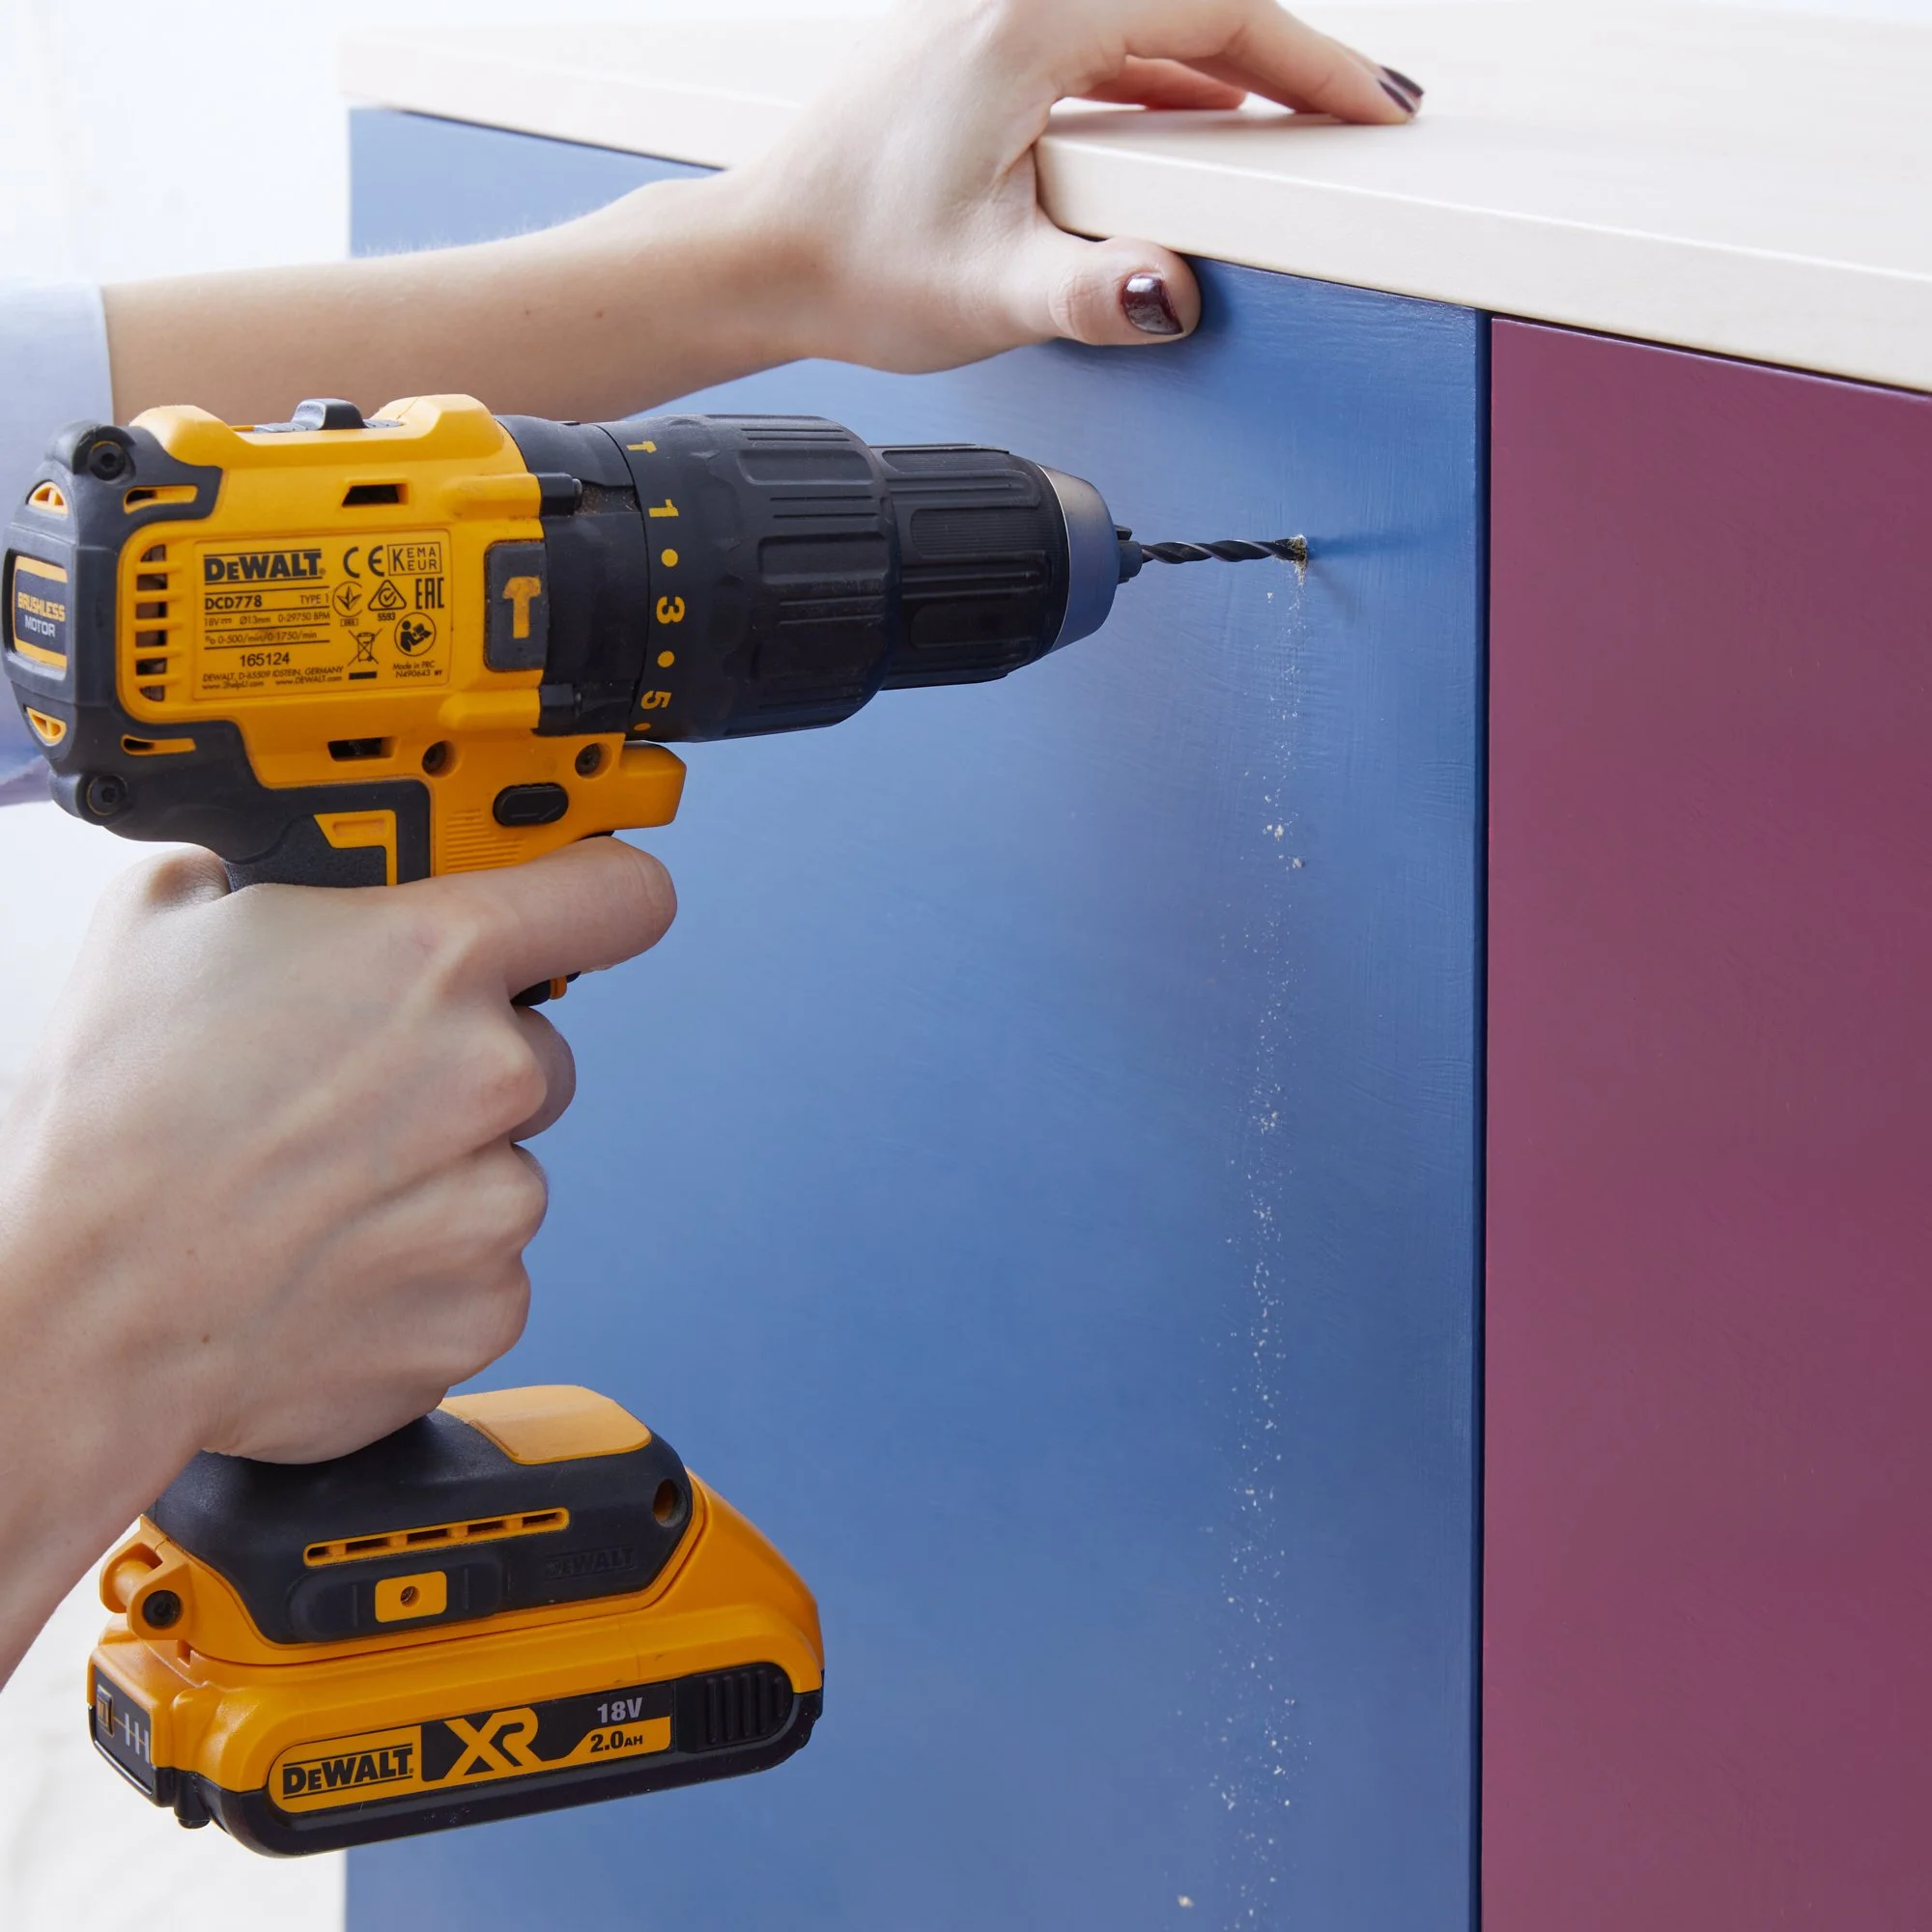
Add A Fresh Coat Of Paint
Nothing takes tired-looking furniture from drab to fab, and cleverly covers up any scuffs or scratches, quite like a fresh lick of paint. Before choosing a colour scheme for your chest of drawers, have a good think about how it will fit in with the rest of your room. Is a bright pop of colour like sunshine yellow what you need for an injection of personality? Or perhaps you’re a fan of more subtle and timeless décor? In which case, you’ll be best off sticking to a more classic colour palette for your chest of drawers; greens, greys, whites and beiges.Before you start painting, here’s how to prep your chest of drawers:Lay down protective dust sheets or disposable decorating sheets – This will avoid any damage to the carpet.Even out wooden surfaces with sandpaper – Remember, you just want to take the surface from glossy to matte, so don’t sand down to the bare wood.If your chest of drawers are varnished, use solvent to strip them – Or be prepared to put in the hard yards with your sandpaper.Apply your primer – This will help the paint apply smoothly, make it last longer and prevent any flaking.
If you’re wondering what’s the best paint for a chest of drawers, it all depends on the desired effect you’re after. Eggshell paint has a semi-matte effect and can reflect light, without appearing overly shiny. It doesn’t pick up dirt easily and with an extra coat, you can craftily disguise any imperfections or bumps to the wood 🙌 Chalk paint also has a matte finish and creates a lovely rustic, textured effect. It works like a treat if you’re looking to bring a vintage or shabby-chic vibe to your interiors.Alternatively, you have silk paint, which offers a ‘mid-sheen’ finish and tends to look like a slightly polished surface. There’s also gloss paint, the one that reflects light the most and makes the colour look brighter and more vivid.Whichever paint you choose, apply it evenly and leave it to dry. Your chest of drawers might need another coat or two, so don't put everything away until you're 100% positive that you’ve achieved consistent coverage.Add Detail
We’re not through with our upcycling ideas just yet. If you’ve painted your chest of drawers and want to add your own spin to them, there are loads of ways you can add some eye-catching details. For the distressed look that you typically find on vintage pieces, recover your sandpaper and sand the areas of the chest of drawers you think will naturally wear. Hint – it’ll most likely be the edges.Lovers of an effortlessly cool ombré effect should try adding another layer of paint in a different colour. When you start sanding the new top coat away, the bottom coat will be revealed. If you’re up to the challenge, a few slightly more complex upcycling furniture ideas include adding embellishments like a stencilled design. Or why not try découpage? The pretty papercraft involves decorating objects with patterned paper cutouts and then coating these with a protective layer of varnish or wax.Install Your Plank Hardware
Last on the list is installing your Plank Cabinet Hardware, the perfect finishing touches to help freshen up dowdy old furniture or lacklustre Ikea cabinets – which we’ve probably all owned at some point 🙈 From our modern handles to our contemporary and geometric cabinet knobs, we’ve a number of styles and structures for you to get to grips with. They’re all made from solid brass and coated in a clear lacquered glaze, so you know you can rely on them to last.To install your new hardware onto your chest of drawers, all you have to do is hold the knob or handle at the front of the door and tighten on the screw at the back using a Phillips screwdriver. It’s that easy 👌
See our post on how to upcycle kitchen cupboards on a budget, upcycling ideas for front doors and bedside tables.With our fail-safe advice and premium range of hardware, you can give your chest of drawers the glow up they deserve. Shop unique Plank cabinet knobs and handles here.
Blog


Fit for pro skills…