How To Upcycle Kitchen Cupboards On A Budget
Once you realise your kitchen cupboards have become discoloured or look old-fashioned, you won’t be able to ignore them. Luckily, you can get around this by upcycling – which is all about repurposing your cabinets into ones that look brand new and even better than before. 
Why take this DIY approach? For starters, it’s tonnes more affordable and quicker than having a full kitchen reno. You’ll not only have full creative control, but you’ll also be doing good for the planet too! When you upcycle your kitchen cabinets, you reuse what you would have thrown away and reduce what goes into landfill. From how to upcycle kitchen units through to only the most Instagram-able upcycled cupboard ideas, we’re right by your side on your DIY journey – so let’s get going!Get Equipped
Before you dive into your creative project, you’ll need a few tools:ScrewdriverSandwich bagsPencil and post-it notesSpongeWater and sugar soap120-220 grit sandpaperHand-held belt sander (if you want to feel like a DIY pro)Surface primerFinish spray paintPlastic template or cardboard to make your ownGood-quality paint brushRollerPrimerPaintYour chosen set of Plank kitchen handles or knobs
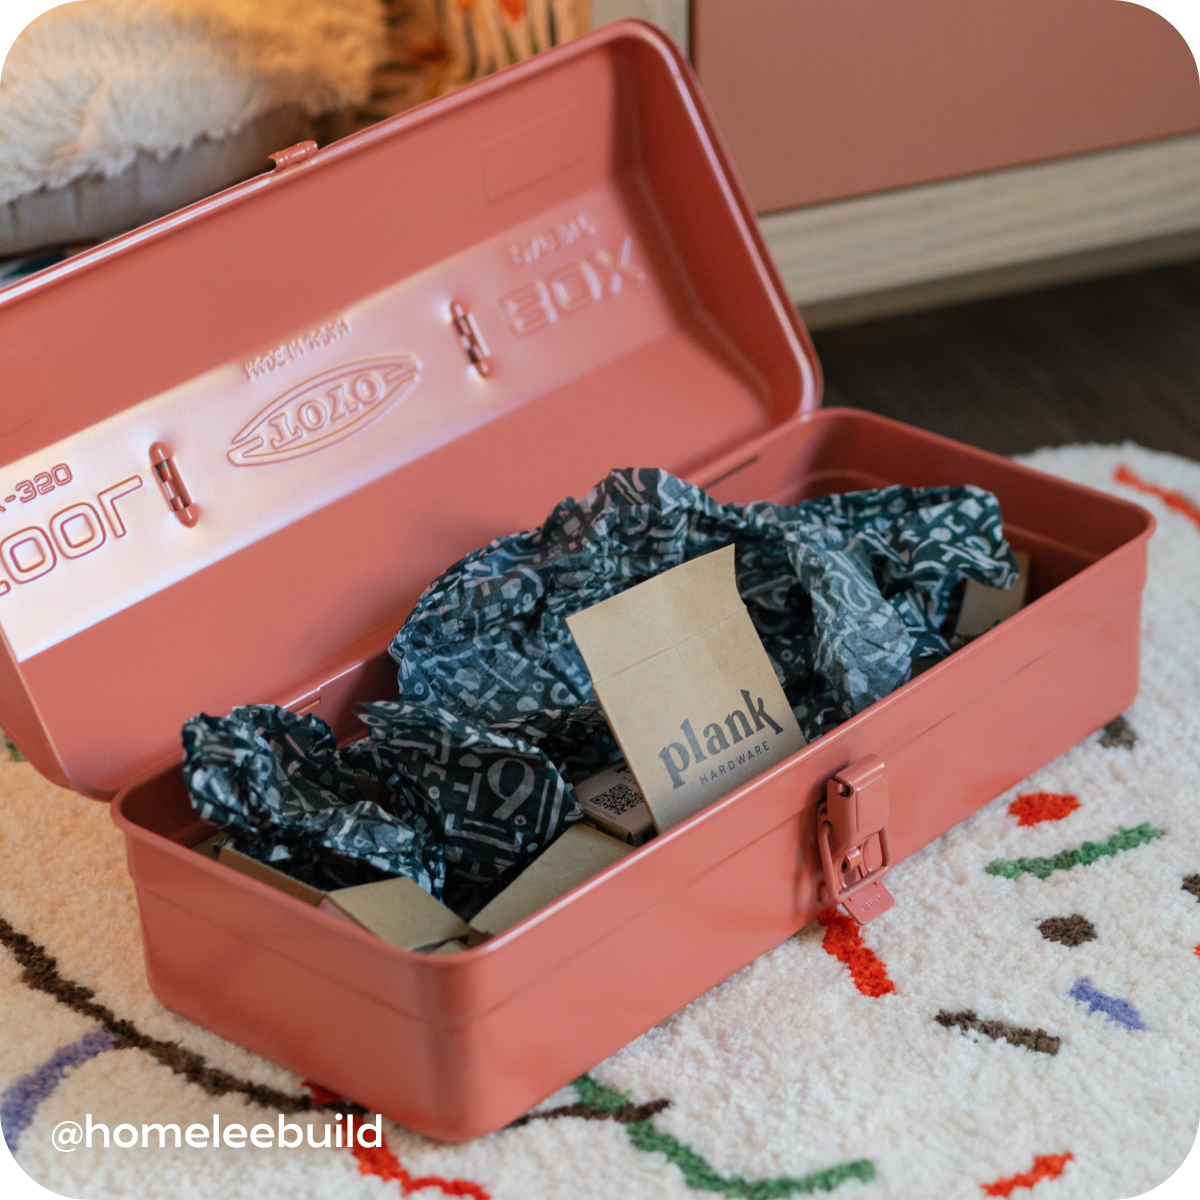
Our TOYO Tool Box will hold your essential tools with ease 🧰
Remove Hardware And Doors From Your Cupboards
Like with all DIY projects, we’re kicking things off with the all-important prep. You’re going to want to start by emptying all of the units (probably a good time to throw out that mysterious three-year-old jar hiding at the back of your cupboard). Then unscrew all of the hardware and keep it stored together in sandwich bags. Bonus points if you write the location of each item on a post-it note and put that inside the bag too. Trust us when we say that taking an organised approach now will make things so much easier when it comes to putting everything back together later on.Next you need to roll up your sleeves and wash everything down with sugar soap. The best upcycled cupboard doors are ones that are free from any dirt, grease or grime, and that paint can stick to easily. Now you can carefully unscrew the cabinet doors from the main units. Grab that pencil from earlier and make notes on the inside of each door of where they all go.
Sand The Doors and Units
You’re ready to sand down the doors and units, an essential step to get a beautiful wood finish that paint can grip to easily. By scuffing up the wood, you’ll smooth out its texture and get rid of pesky imperfections like bumps or chips.Sanding creates plenty of dust, so before you begin, be sure to grab your goggles, put on a dust mask and open the windows and doors.Sand smaller areas first
Sandpaper between 120 – 220 grit will do the job for the corners and crevices of your cupboard doors and units. Just wrap your sandpaper around a sponge, sand slowly and don’t apply too much pressure. You’re not trying to get down to the bare wood, you just want to take the surface from glossy to matte.Now sand the inside and outside of each cabinet door
You’re ready to move onto the bigger surfaces, which means it’s time to bring out the hand-held belt sander. It’s guaranteed to make you feel like a DIY pro 🙌 Again, don’t go over the top and remember to sand in the direction of the wood grain. You guessed it, this will sand off the pencil marks you made earlier, so just transfer onto a post-it note.
Apply Primer To Your Cabinets
Itching to get painting? We promise you’re nearly there, but you need to prime your cabinets first. This seals the pores in unpainted wood (if you want to impress your fellow DIY-ers with the technical lingo) but, simply put, it means you’re creating a smoother surface for your paint to stick to. Primer comes in different colours depending on the colour you want your kitchen cabinets to be. For a light-coloured paint, stick to a white primer and for darker paints, grey helps bring out the richness of the colour. Alternatively, opt for a universal primer like Ronseal's One Coat All Surface Primer and Undercoat. Steer clear of wood primer unless your kitchen cupboards are bare and unpainted. With your primer chosen, here’s how to apply it to your kitchen cabinets:Take the cabinet outside and paint from each angle
Unless you’re prepared to cover absolutely everything in your kitchen, we’d recommend painting your cabinets outside. Place on a bucket so you can easily paint the sides and top and spray from each angle using a wind-screen wiper motion.Make sure it’s 100% dry before turning each piece over and painting again, once the first coat has dried
And don’t forget to remove the post-its from earlier! Repeat this step until you have two full coats of primer on both sides.
Paint Your Cabinet
The best paint for kitchen cupboards gives a high quality look and doesn’t break the bank. Need some colour recs? White or cream paint gives you a blank canvas to work with and both reflect light, helping you hack your way to a more spacious room. Blue is another easy colour to live with – it’s soothing, timeless and when a darker shade is used, doesn’t show up any dirt 🙌 That reminds us, green also helps you feel more connected to nature and is great for bringing out your inner zen – we have the proof here.How to paint your cabinet
When repainting kitchen cabinets, stir your paint well and coat the slightly more awkward bits like grooves in the wood with a small paintbrush. Use long even strokes from top to bottom. When you’re ready to use a roller, be sure to apply even pressure.Once the paint has dried, add your second coat and wait to dry before moving onto the next step. Top tip
It’s easy to miss the finer details when you’ve been repainting kitchen cupboards for a while. We’d recommend having a second pair of eyes check that nothing’s been missed.Add Your Plank Hardware
Hide Old Holes
Whether you’re switching from a pull handle to a knob, or are about to create a new hole pattern, you’re going to want to cover the old screw holes. Don’t be surprised if there’s a little bit of damage left behind once you’ve removed your handles too. All of this can be craftily covered by one of our striking Handle Backplates. These sophisticated fixtures will add an industrial finish to your kitchen cabinets and are coated in a clear protective lacquer, so you know they’ll last the test of time.Another way you can cover up old screw holes is by filling them in. All you need is wood filler and fine grit sandpaper. It doesn’t matter what colour wood filler you use if you’re painting over the wood filler or cabinets. But if you’re ever staining over wood, remember to use stainable filler.
Use A Template
Don’t sweat about drilling new holes in your cabinets. All you need is a template, which helps you easily and correctly mark where you want your hardware to go. That way, you know you’ll put it in the right place every time and don’t have to bother measuring and re-measuring. You can either buy a plastic template or make your own from a piece of cardboard.How to use a plastic template
Align your template with the corner of the door and mark the desired hole location with a pencilTo make sure everything you do is consistent, make sure the hole being used for mounting is noted on the templateThen, flip the template to mark the same hole location on the adjacent door
How to make your own template
Hold up a piece of cardboard to the location of your first knob, with the edges lined up to the edges of your cabinetMark the desired spot with a pencilDrill a hole through the cardboard. That will be where you mark all your other holes on each cabinet
Have no cardboard at hand? Use masking tape instead. If you’re using cabinet handles, you’ll need a different template. It’s made pretty much the same way, but with a hole for each screw. Easy!Get Drilling
With your template sorted, you know what’s next. Take a deep breath, go to your happy place and drill that first hole. Don’t worry, you’ve got this! Start off by fitting the correct drill bit into your drill. For standard cabinet hardware screws, this is usually 5mm, but check the supplied screws first to make sure it’s the correct size.Line your drill bit up to the hole you marked on the front of the cabinet door. With a steady hand and holding the drill as level as possible, slowly start drilling a hole. To help your hardware line up correctly, keep the drill level.When drilling, make sure you’re doing it from front to back. This will keep the wood from splintering on the front of the door. While the wood may splinter a little as the drill comes through the back of the door, it’ll mostly be covered by the head of the screw – and won’t be visible from the front anyway.To be extra careful, you can place a piece of scrap wood behind the section you’re drilling into. This will completely prevent drill blowout 👌Install Your Hardware
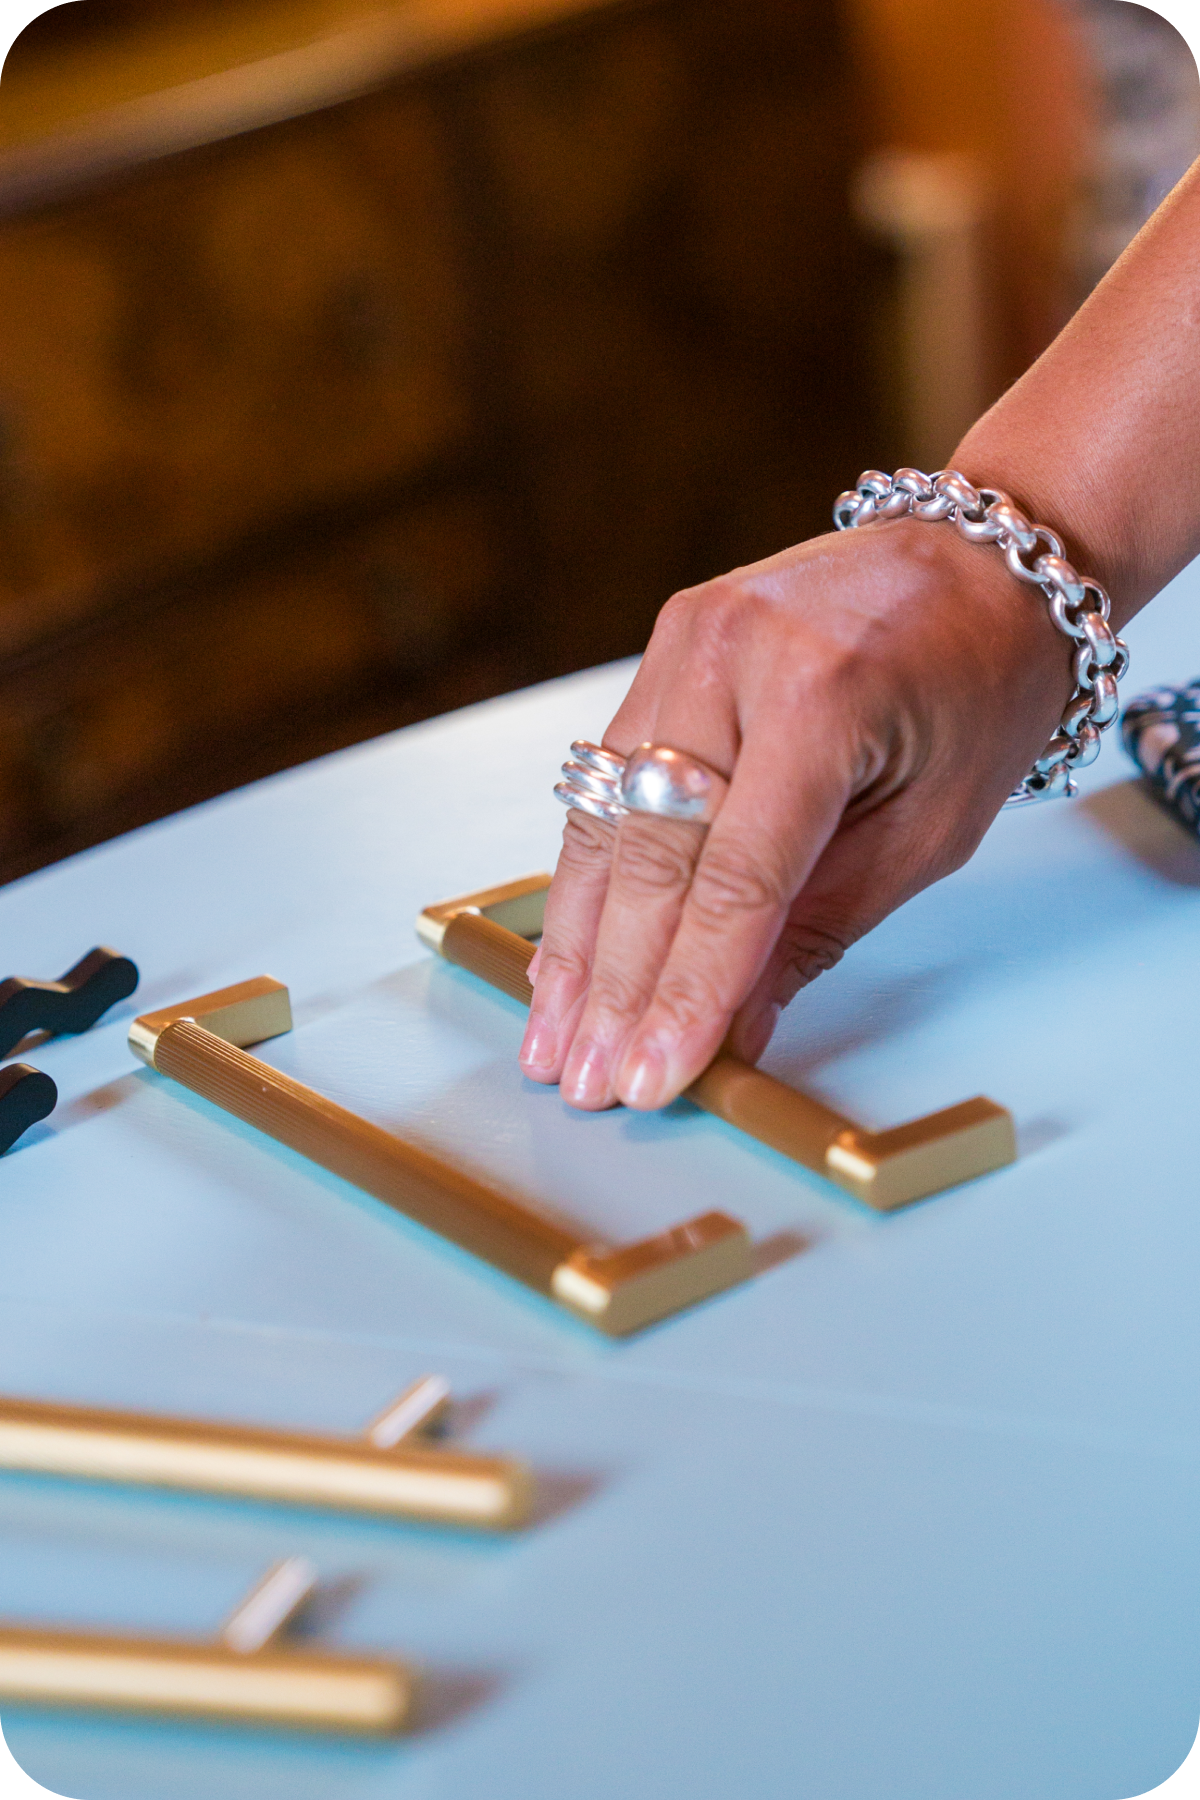
You’re almost there! Only a few more steps until you have Pinterest-worthy kitchen cabinets that’ll be the envy of all your guests. Polish off your project with the addition of Plank’s high quality hardware. Whatever you’re looking for, our Kitchen Handle and Knob Collections have all sorts of shapes, sizes and colours to help you achieve a sophisticated and accessible cooking space.To add a timeless touch to your shaker kitchen, explore our minimalist handles and knobs such as the HUDSON T-Bar and HUDSON Knob. For a touch of character, turn to our trend-inspired BOBBIN Handle or SQUIGGLE Handle. These pulls will keep your kitchen looking sharp and sleek, and are ergonomic, making them super easy to get to grips with. Or if you fancy a contemporary, colourful splash, we think you’ll love our MERCURY Lip Pull and LOVELL Knobs, available in Soft Lilac, Cobalt Blue, Sage Green and Lemon Yellow.How to install cabinet handles
To screw your chosen hardware onto the doors and cabinets, simply hold the knob or handle to the front of the door and then tighten on the screw at the back. Yes, you could hold the back screw and twirl the front piece onto it, but that motion could actually mess up your new paint finish. So, save yourself the hassle then tighten up with a screwdriver if you need to.See our post on how to upcycle a wardrobe.And that’s that. You now know how to upcycle kitchen cupboards and we can’t wait to see yours looking shiny and new 🤩 Keep us posted with your creation using #PlankProjects, which you can also use to get more kitchen ideas on a budget from our Plank Community.
Blog


Fit for pro skills…